
Technicians
Create a Technician
This module enables you to create technicians, manage their working days, activity, licenses and other information.

To create a technician, switch to edit mode and click on ‘Add’ in the main ribbon.
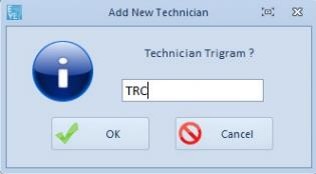
A pop-up window appears. Type the technician trigram and click on ‘OK’.
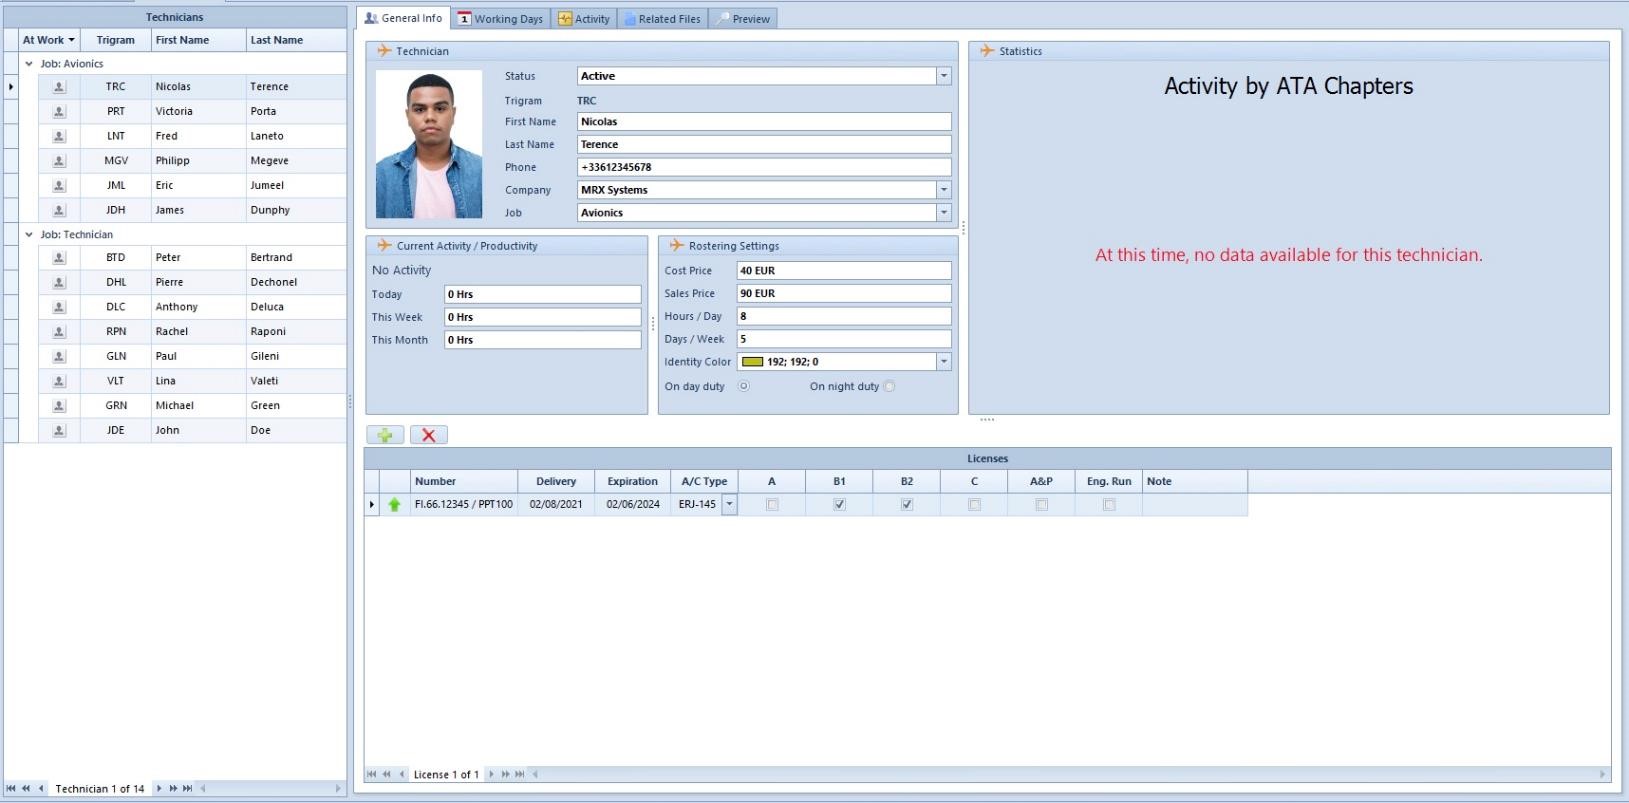
Select a status. There are four different statuses:
-Active: the technician is visible on the iPad app
-Inactive: the technician is not visible on the iPad app
-Indirect: this status is for stock employees, it only enables to create moves on the iPad app.
The ‘Job’ field is a free text field.
It creates a category in the ‘Technicians’ panel.
The address book entity you select thanks to the company drop-down menu will show the technician in the 'Address Book' module (when you select the address book entity and open the 'Technician' tab).
In the ‘Rostering Settings’ panel, you will find the information to take into consideration for technicians rostering.
Click on the plus button (icon) of the ‘Licenses’ panel to add as many licenses as needed.
Fill in the required information.
The number will be automatically retrieved when the technician validates a job card according to its aircraft type.
The validity of the license is tracked.
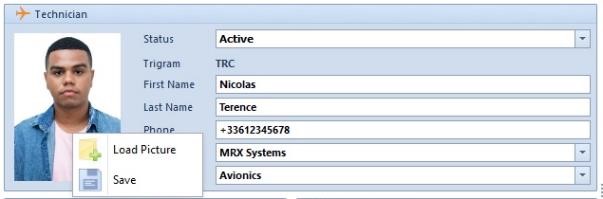
To add a picture, right-click on the right of the fields of the ‘Technician’ box and click on ‘Load Picture’.
Working Days
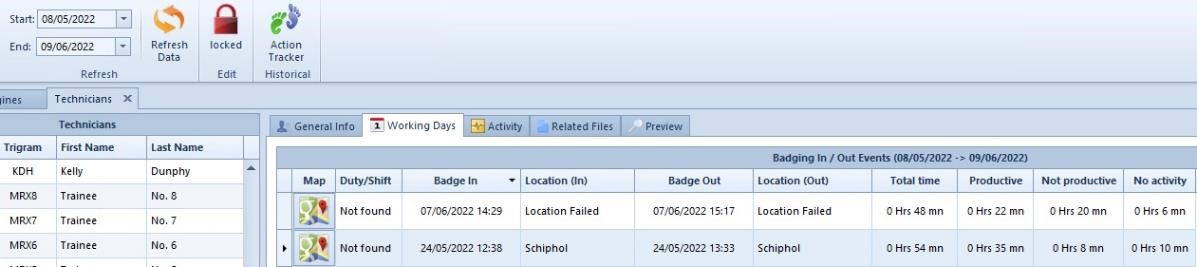
Set a time range in the main ribbon and click on ‘Refresh Data’ (icon).
The ‘Working Days’ tab allows you to see the badging in / out events of the technician. This enables you to know the on-site time spent by the technician.
You can correct the information if needed by switching to edit mode
 and overriding the content of the panel.
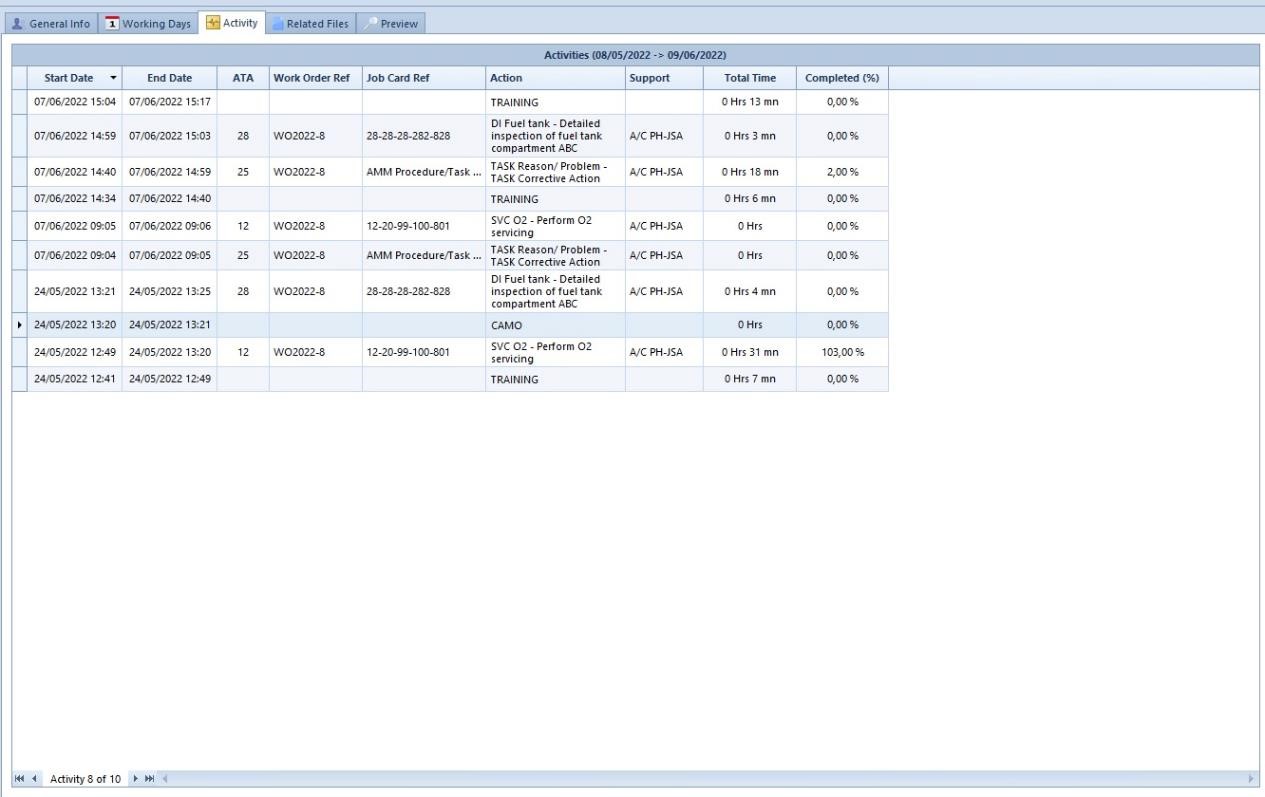
Activity
The activity tab shows the detail of the technician’s activity. You will see the performed tasks and their details. It also helps you to differentiate productive and non-productive time.
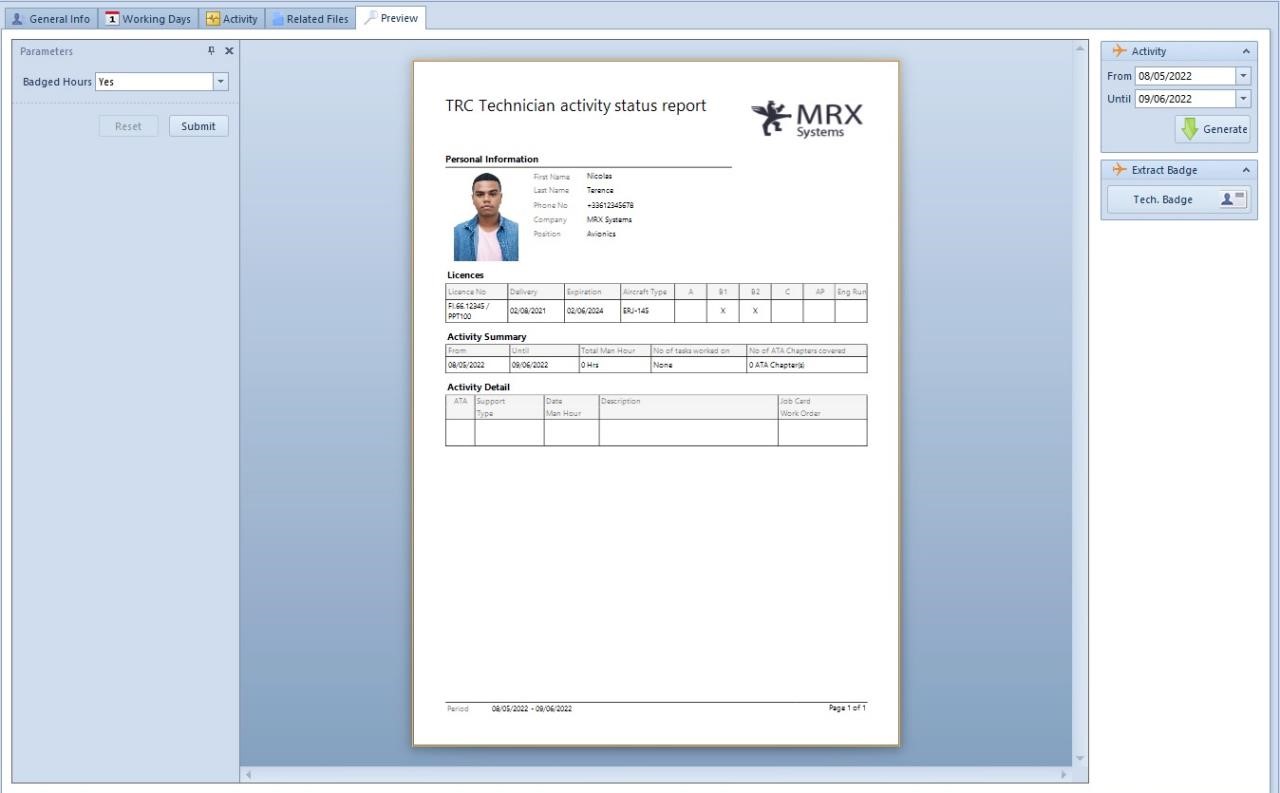
Preview
If you open the ‘Preview’ tab, you will get the technician activity status report.
Set the time range the report will cover in the ‘Activity’ box and click on ‘Generate’.
The parameter on the left of the panel allows you to display/hide the badged hours on the report. Select yes to display the badged hours or select no not to display them and click on ‘Submit’.
To see, print, or send the technician’s badge, click on ‘Tech. Badge’ in the ‘Extract Badge’ box.
Modify the layout thanks to the buttons in the main ribbon.
Export (icon) or E-Mail (icon) the badge.
