Inventory
Manage Inventory
The inventory status gathers all the references you may find in your inventory (whether you currently have them in stock or not).
If you select an inventory reference, the corresponding inventory items (the one you actually have in stock) will be displayed on the right on the ‘Inventory Items’ tab.
This allows you to know if you currently physically have this reference in your stock.

If you open the ‘Allocated’ tab, you will see the items of this reference that have been allocated to work orders.

By opening the ‘On order’ tab, you will see the orders associated with this reference.

The minimum order quantity field in the ‘Inventory Reference’ panel allows you to indicate how many items you should order, just for information purpose.
It is helpful when there is a special offer that allows you not to pay the shipping cost if you order a certain quantity for example.
This information will be available when you will select items while creating purchase orders or sales orders.
Setting a threshold thanks to the ‘Threshold’ field in the ‘Inventory References’ panel makes the system calculate the quantity that has to be ordered to reach the threshold.
This information will be available when you will select items while creating purchase orders or sales orders.

If you switch to edit mode  and click on the add button
  of
the main ribbon, you will create a new inventory.
of
the main ribbon, you will create a new inventory.
If you click on the plus button of the ‘Status’ tab, you will
create a new inventory reference.
Click on this button (icon) in the ‘Status’ tab to delete an inventory reference.
You can add an inventory item by clicking on the plus button of
the ‘Inventory Items’ panel on the right.
Click on this button (icon) in the ‘Inventory Items’ panel to delete an inventory item on the right.

When you add an inventory reference, a window pops up to enable you to manage the inventory reference list.
The references created in the ‘Reference’ module are displayed in the ‘Available References’ list.
You can add a reference by selecting an ‘available reference’ and
clicking on the orange arrow ![]() to add it to the inventory references.
to add it to the inventory references.
On the contrary, you can remove an inventory reference by selecting it
and clicking on the blue arrow ![]() .
.
The action related to this button is described
on the next page.
Then, click on the validation button  .
.

The plus button leads to a form to add a new reference.

The ‘Inventory Items’ tab gathers all the items you currently physically have in your stock. In other words, all the different serial/batch numbers that are referenced in your inventory.
The details panel shows the item information: the associated GRN, the order n° if applicable, the ATA chapter, category, type description, status, reference, serial n°, zone, shelf, and quantity.
The item QR code label is also displayed.

Click on ‘Preview’ on the right of the screen to display the item’s label.
There are two different customizable templates.

The related files tab allows you to attach any document such as guaranty, type certificate, receipt, Form 1…

If you click on the plus button of the ‘Inventory Items’ tab,
you add an inventory item.
A new line appears at the end of the inventory items list and you just have to fill in the required information.
If you click on this button (icon) of the ‘Inventory Items’ tab, you remove the selected inventory item(s).
This button (icon) enables you to import inventory items from an Excel file.
Thanks to this button (icon), you can move the selected item(s) to another inventory.

Here is what happens when you want to import inventory items.
MRX Systems provides you with an Excel sheet template. Fill it in while respecting the appropriate text formats and use it to import the items.
Select the document and click on ‘Next’.

The system confirms the information. If everything is correct, click on ‘Next’.

Here are the items of the Excel file. You can click on ‘Next’.

Click on ‘Finish’. The items will then be available in your stock.

Physical Inventory
This feature helps you prepare the items you want to count on the desktop version, then you can take your iPad and go physically check the items, shelf by shelf.
In the end, you process the corrections from the desktop and validate the physical inventory.
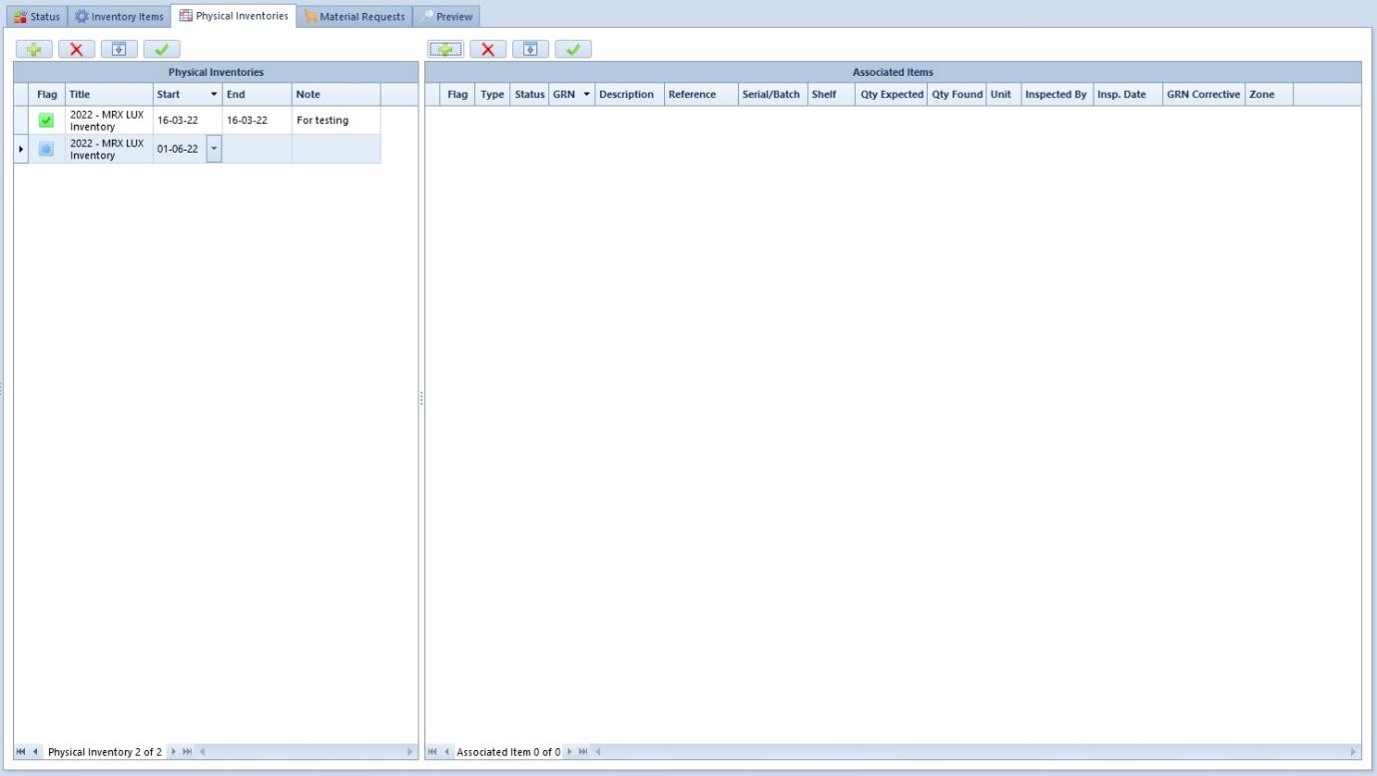
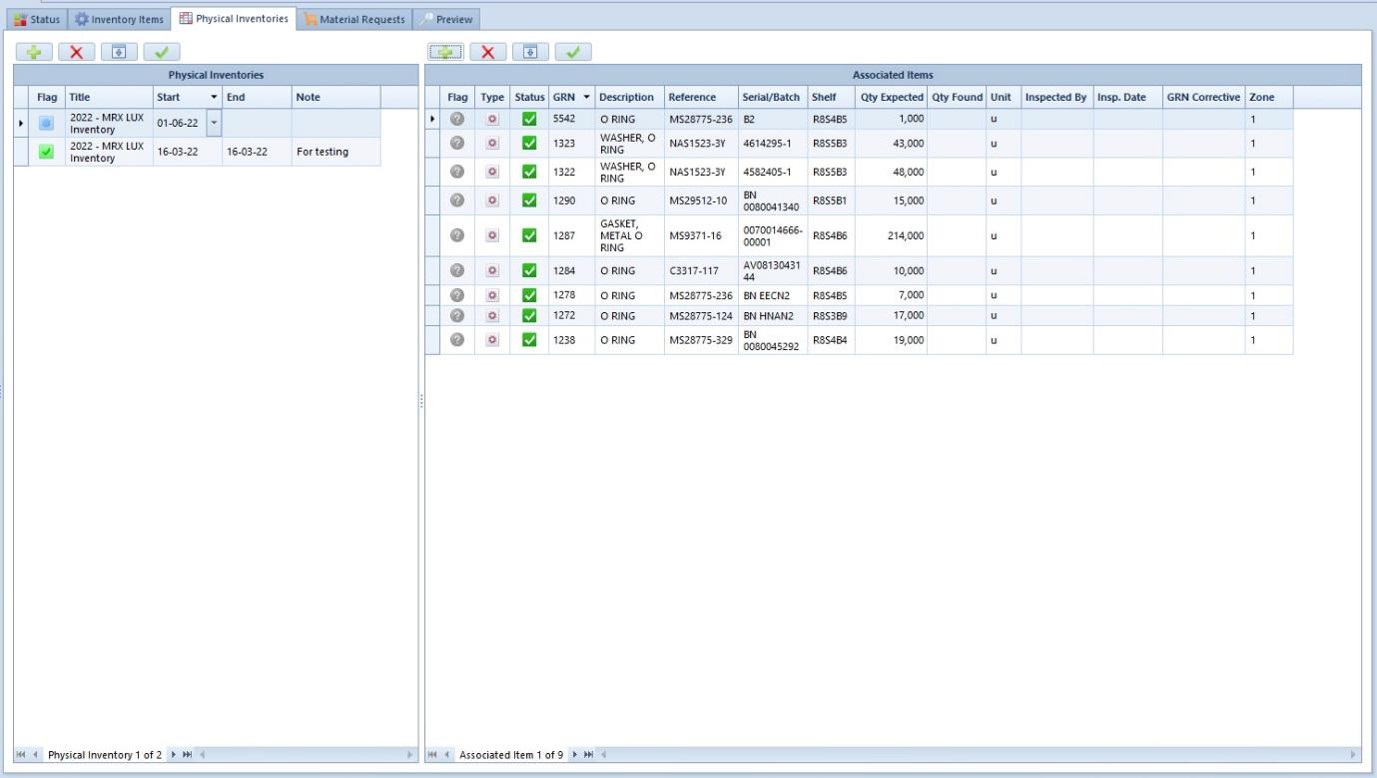
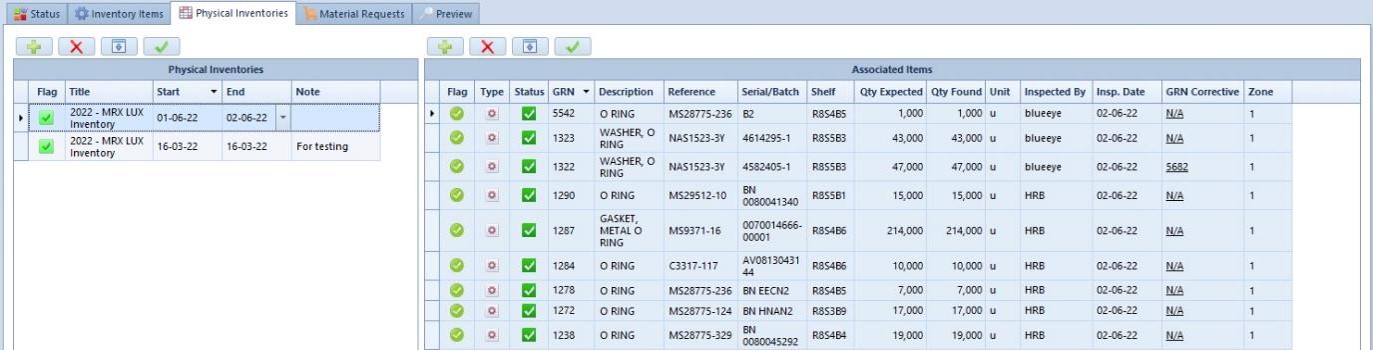
Switch to edit mode and click on the plus button of the
‘Physical Inventories’ tab.
A new physical inventory is created. You can modify the title, and the start date and put an end date and a note.
Click on the plus button of the ‘Associated Items’ panel to list
the items to count.
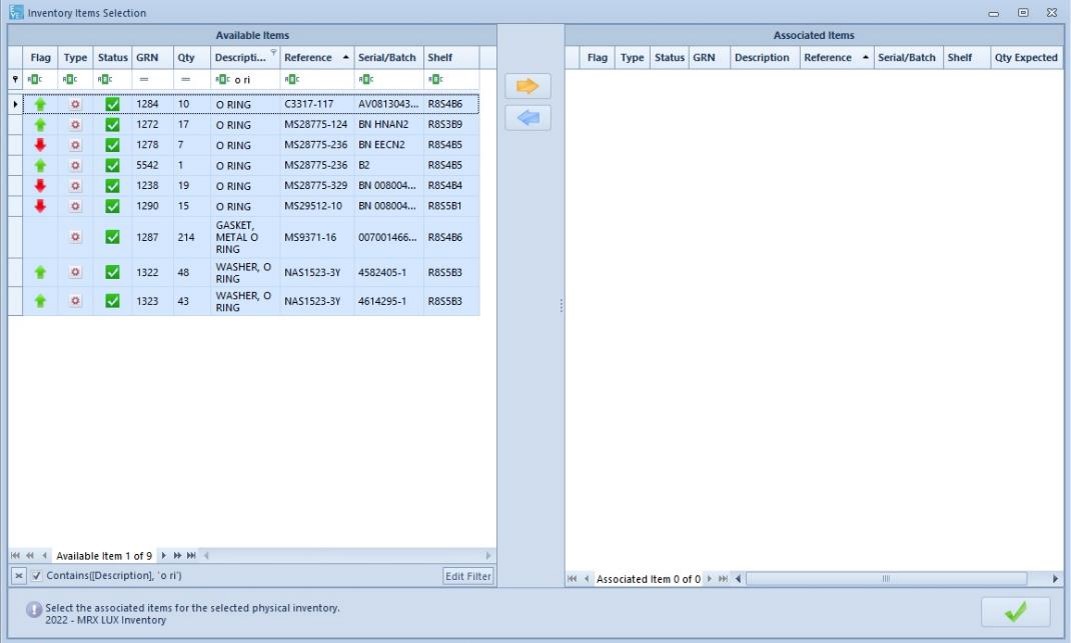
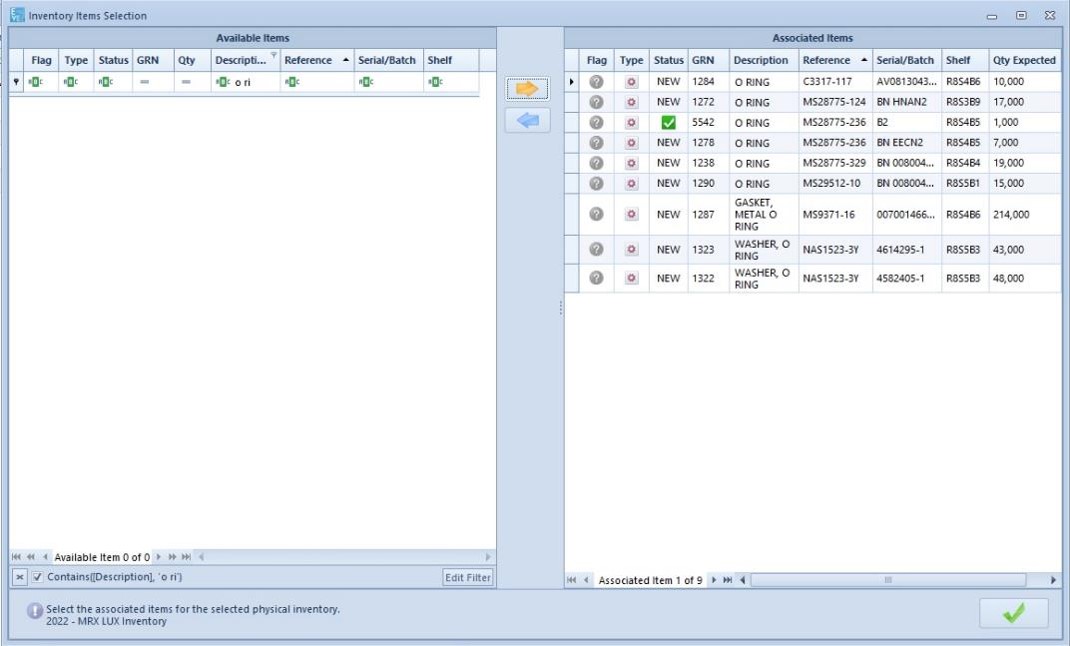
A window pops up to allow you to select the items contained in the inventory. You can filter at your convenience to find what you need. It can be a type, a zone, a shelf, or any column.
Select the relevant elements and click on the right arrow ![]() .
.
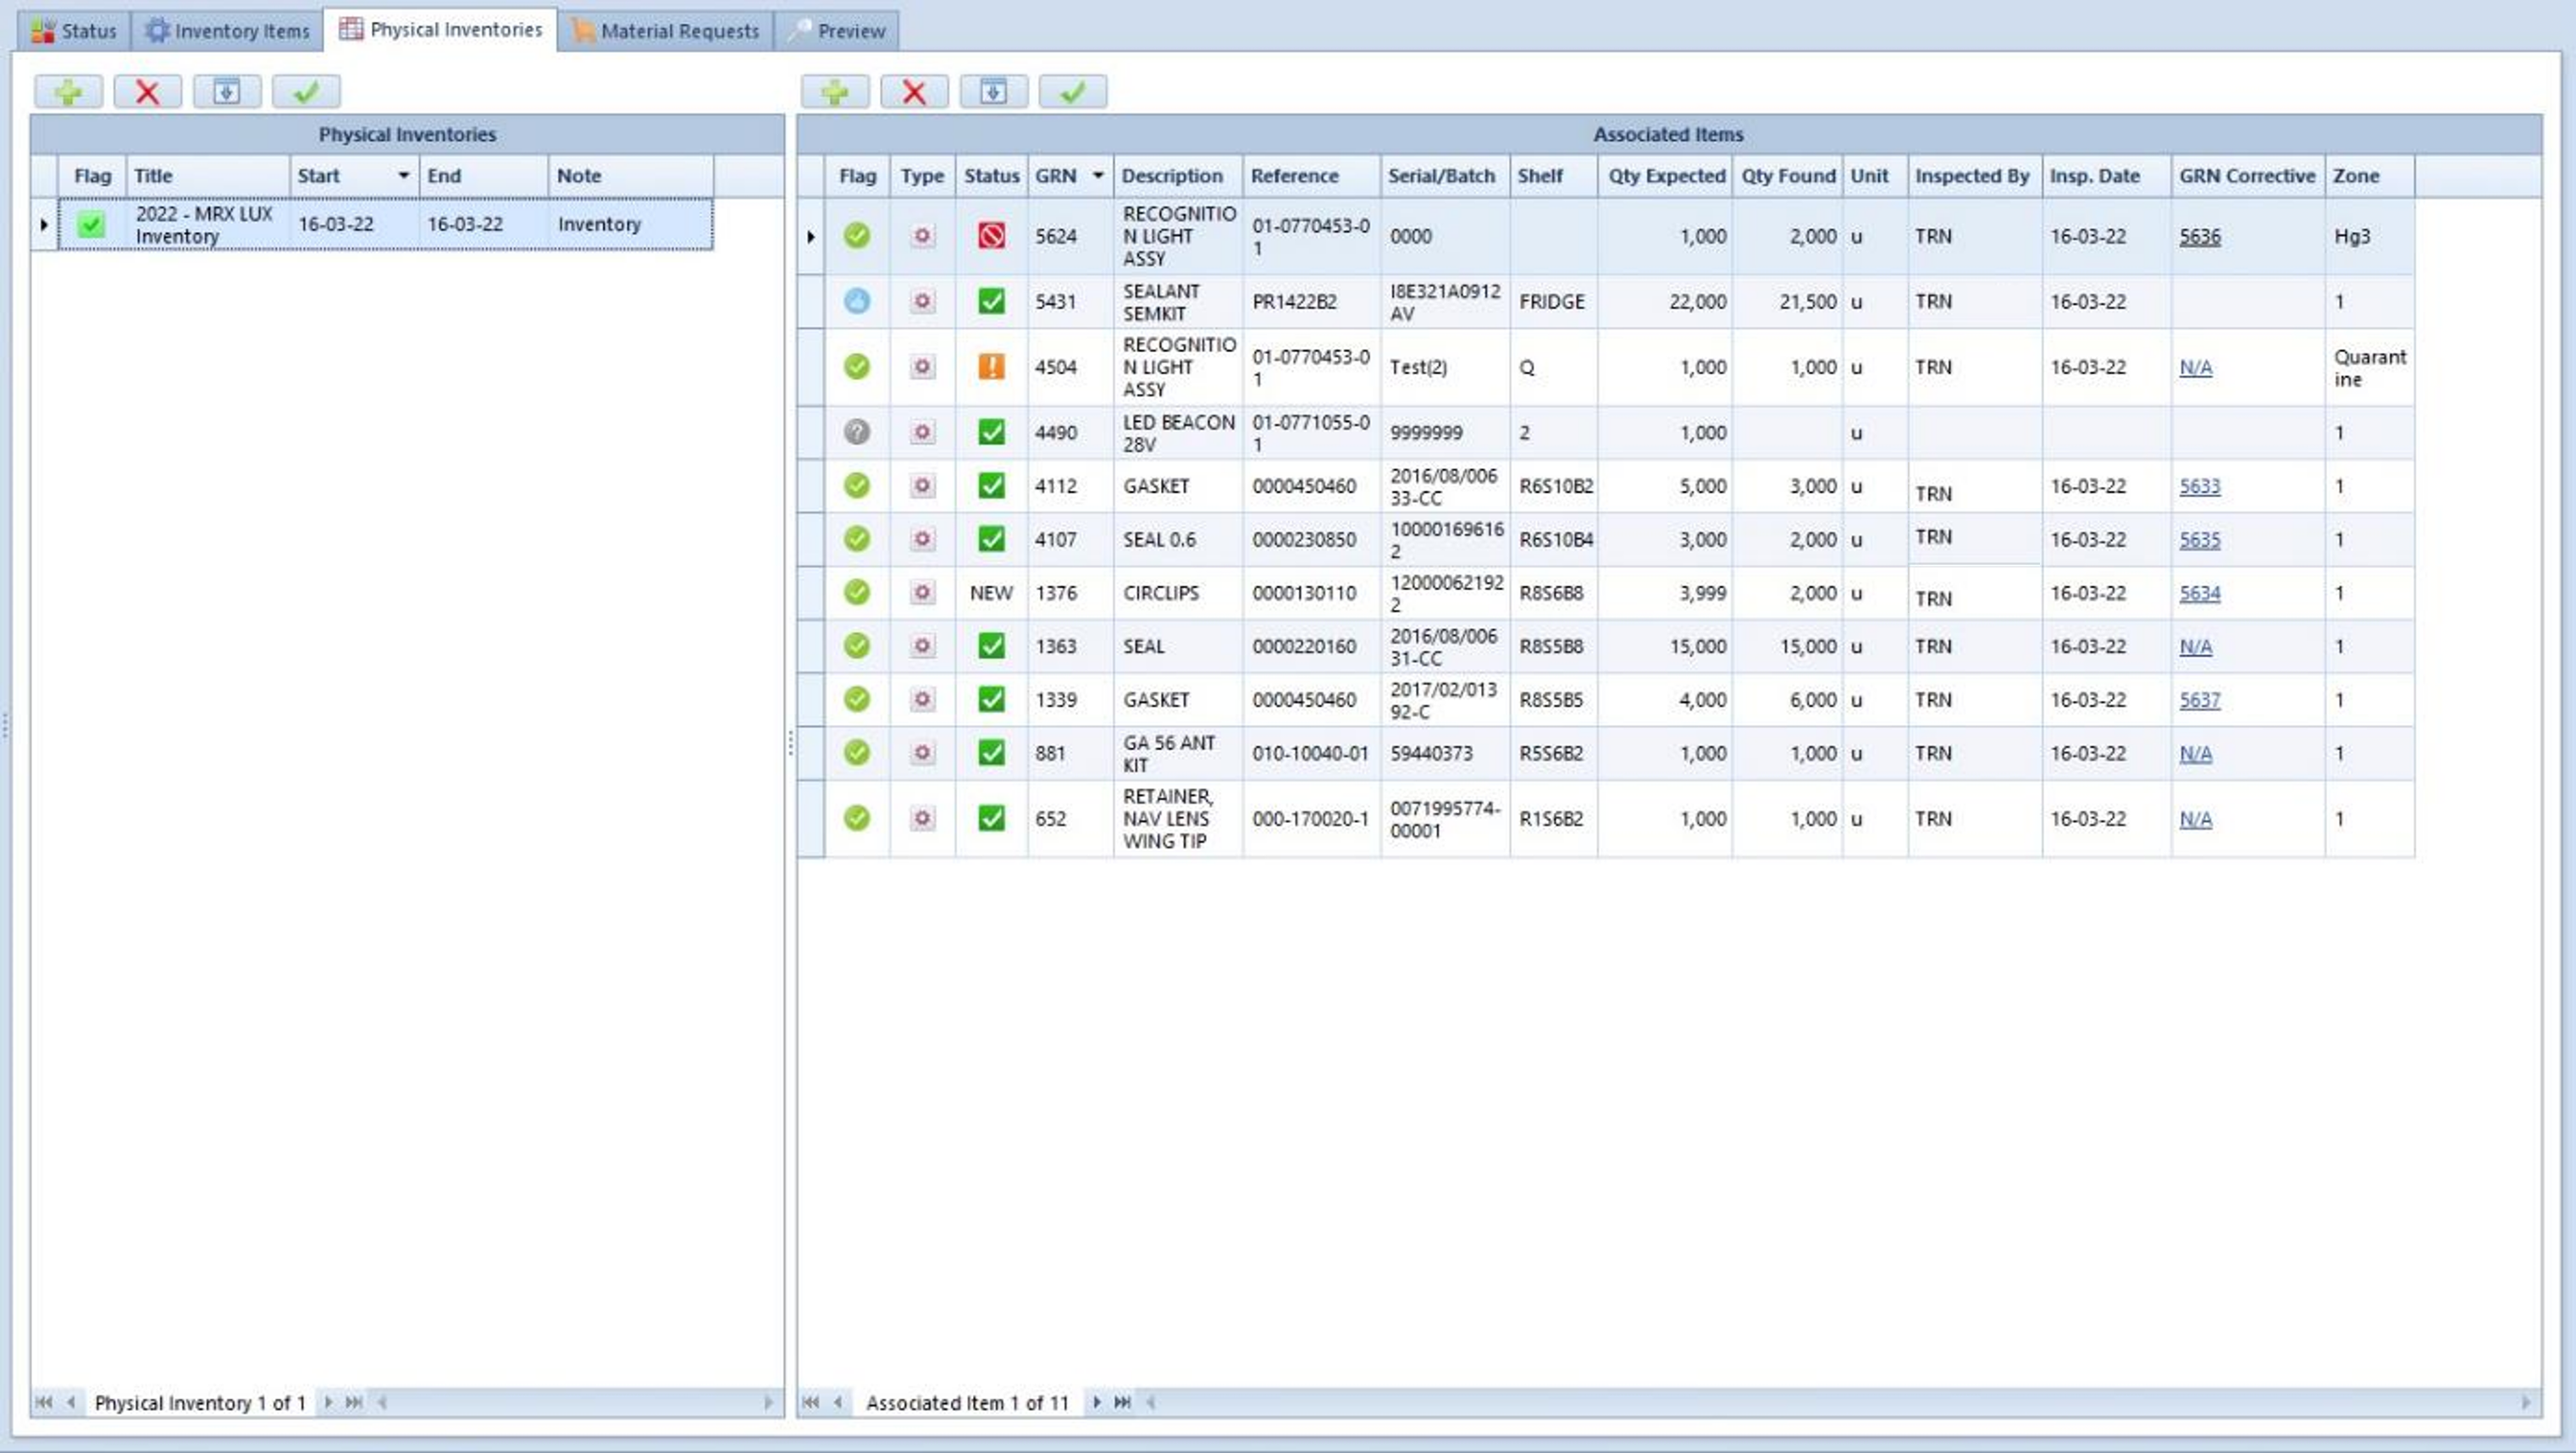
For now, you can see a ‘to be verified’ flag. It indicates that you did not already check how many items are truly in your stock.
The inventory is now prepared.
Proceed to your physical inventory.
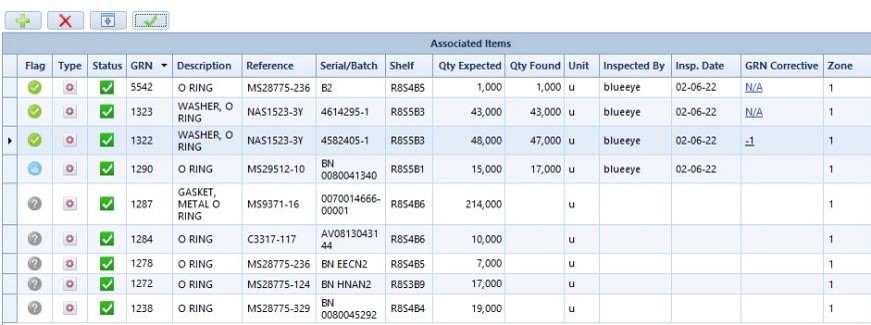
When the number of items is equal to the expected quantity, ‘N/A’ will be automatically put in the GRN corrective column.
An ‘updated’ flag will indicate that the expected quantity is approved. You can either enter the number of items in the ‘Qty Found’ cell or you can click on the ‘validate’ button on top of the panel.
When the quantity found is different from the expected quantity, the ‘verified’ flag appears to state that you made the verification.
When you will validate the change by clicking on the validate button, the flag will turn into the ‘updated’ flag.
A temporary corrective GRN will be automatically generated. It will appear when you validate this change.
When you create a physical inventory and generate a GRN
correction by validating a line, the quantity is immediately updated in the
stock (as soon as it is validated, and the 'GRN Corrective' column is filled).
If you then create an outgoing move, the actual quantity will be correct in the 'Inventory Item' tab.
If you do not validate the changes, when will do, the
expected quantity will be updated (column 'Qty Expected') and the quantity
found (column 'Qty Found') will replace the quantity you currently have in the
'Inventory Items' tab.
If any moves have been generated in the meantime, they will
be ignored as the current information will be overwritten by the data in the
'Qty found' column.
A GRN will be generated to correct the stock (with the remark 'Item quantity correction - current year - Name of the physical inventory').
For items for which the quantity to be checked had been
validated, everything is done in real-time.
This means that if you have validated a quantity and it has changed afterward when you close the physical inventory everything will remain the same. The quantity will remain as currently indicated.
In line with this, I think it is better to count the actual
quantity and validate the GRN as soon as you fill in the ‘Qty found’ column.
Click on save when you are done. The temporary GRN will be replaced by a definitive GRN.
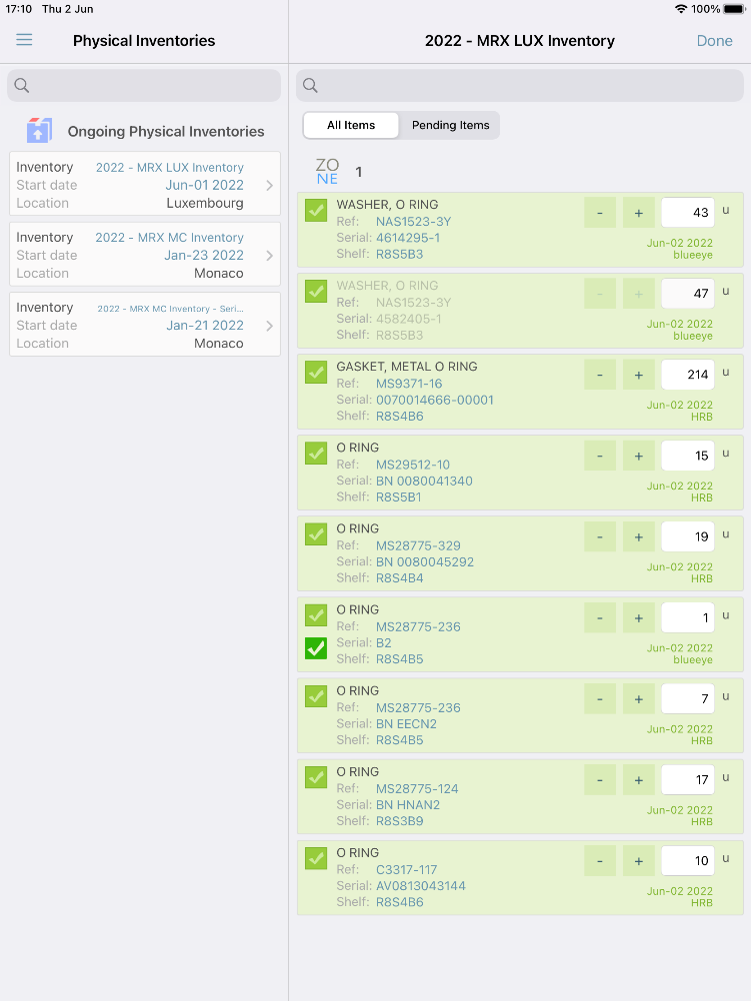
You can also perform the inventory on the iPad app.
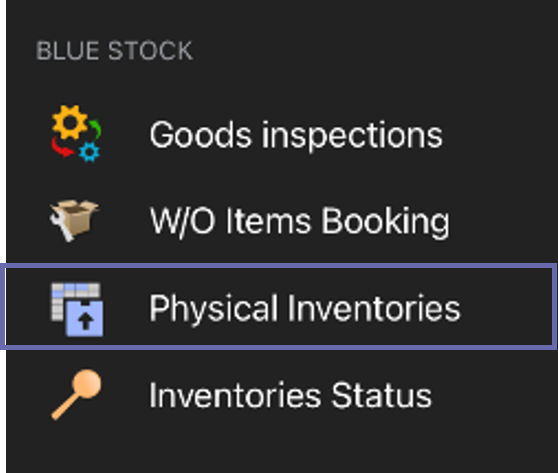
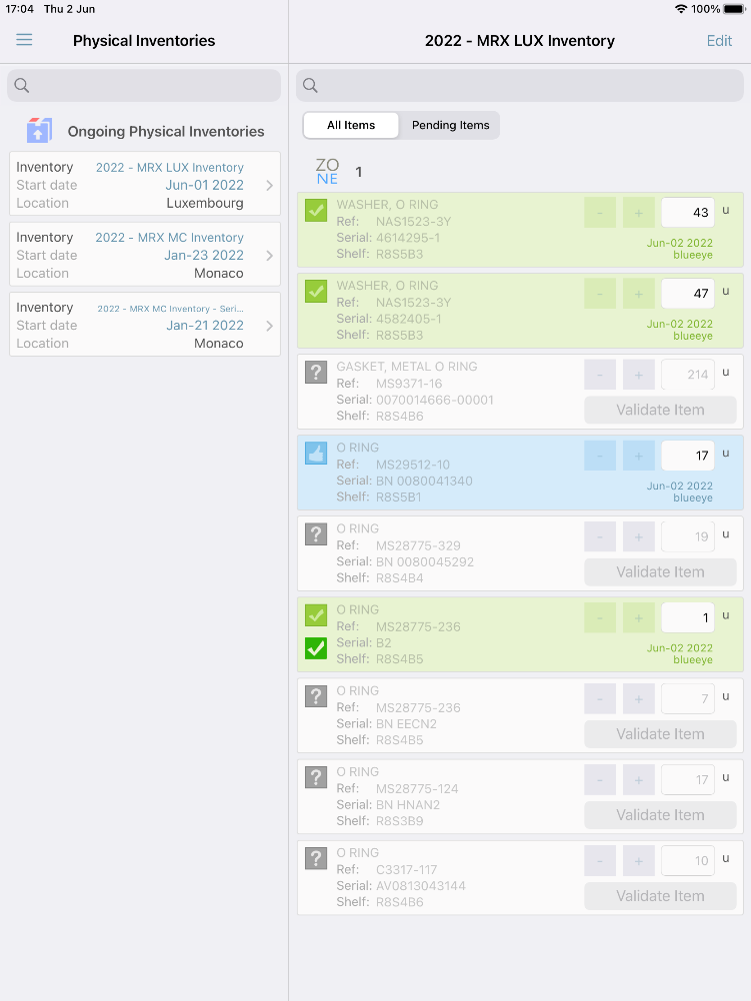
Open the Blue MRO app, and tap on the ‘Physical inventories’ button in the menu.
On the left side of the screen, select the inventory in the ‘ongoing physical inventories’ column.
Tap on edit in the top right corner.
You can see all the items at a time or just the pending items by tapping on ‘All items’ or ‘Pending Items’.
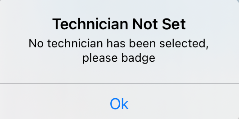
When you will tap on an action button to start working, you will be asked to badge in.
Thanks to this, we will know who checked each item and when.
Tap on ‘Ok’ to be able to scan your badge.
Scan your badge.
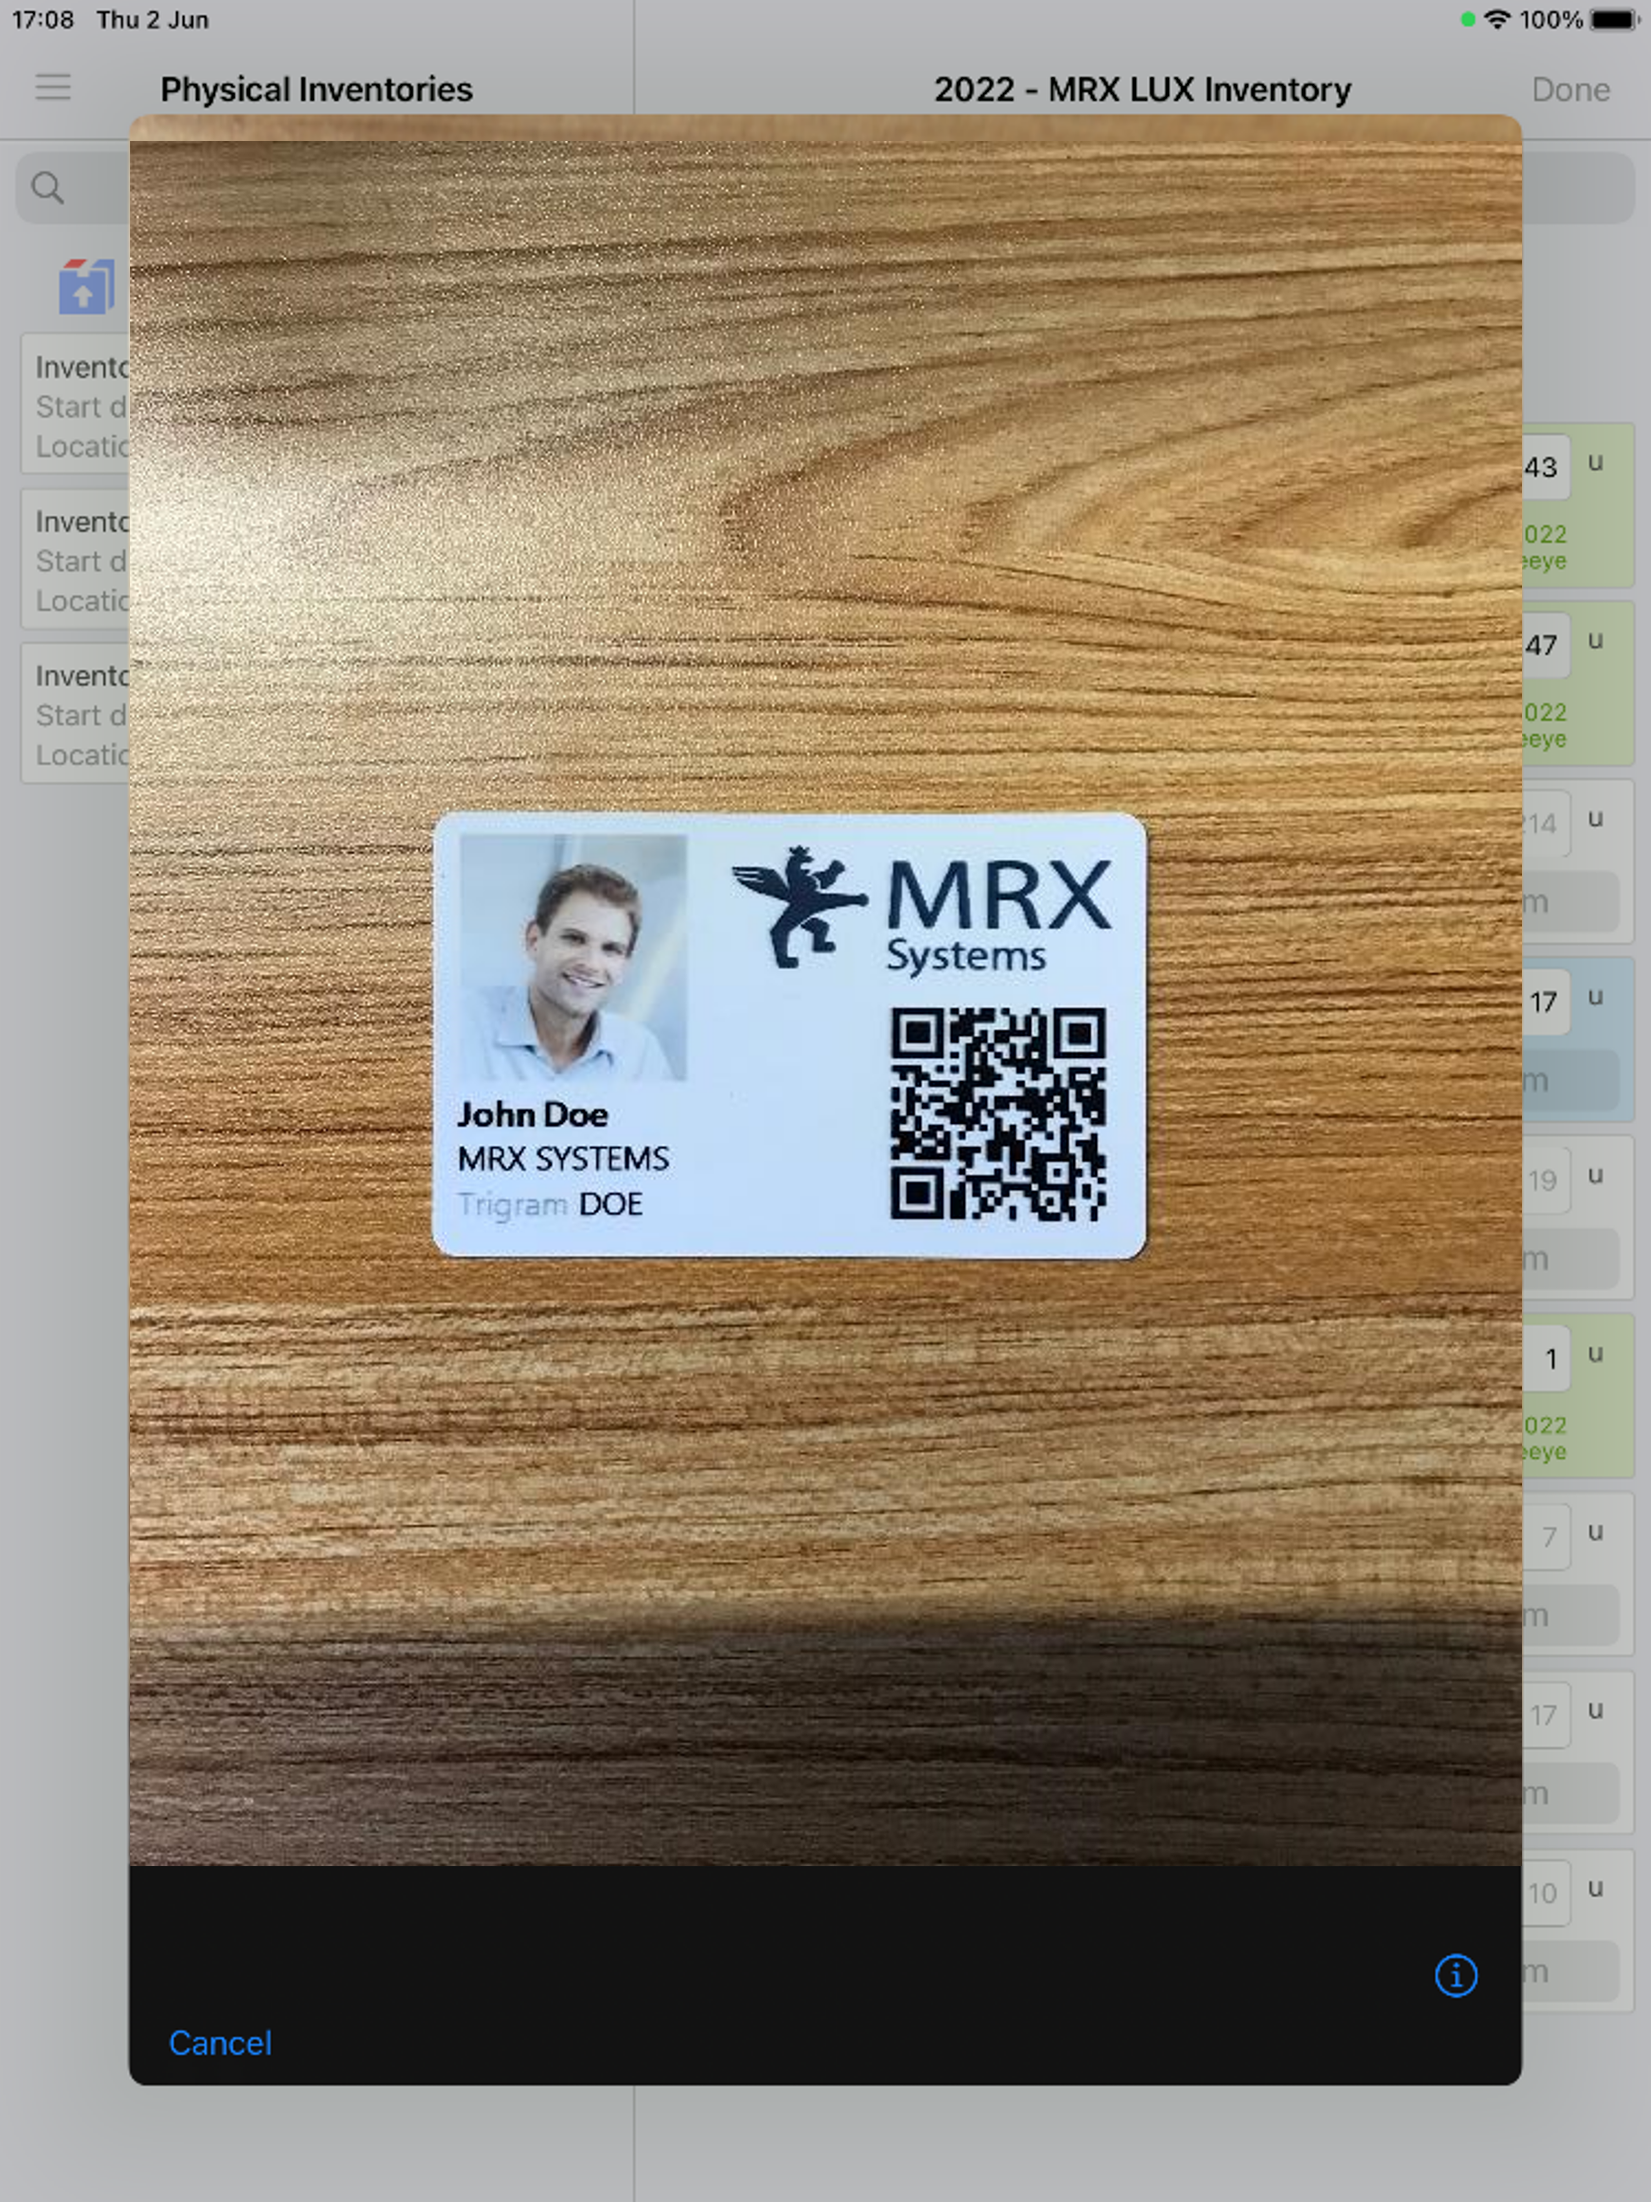
Thanks to the search bar, you can filter to find the items that are on a certain shelf for example.
To validate the item, tap on the ‘Validate item’ button.
You can tap on the plus or minus button to set the new quantity, or you can edit the number thanks to the free text field.
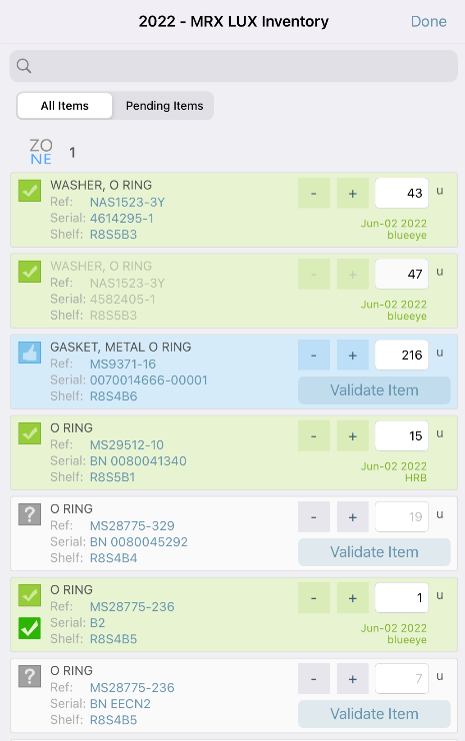
Once you have checked all the items, tap on ‘Done’.
Go back to the desktop version and refresh the data (icon).
Switch to edit mode and click on the ‘perform stock correction’
button (icon) to apply the changes to the stock.
There are two buttons of this type. The one on the associated item panel applies the changes to the selected lines. The one on the physical inventory panel will apply the changes to the entire inventory.
The ‘updated’ flag will turn into a ‘verified’ flag.
A definitive corrective GRN will be generated as you save.
You keep a history record of this inventory.
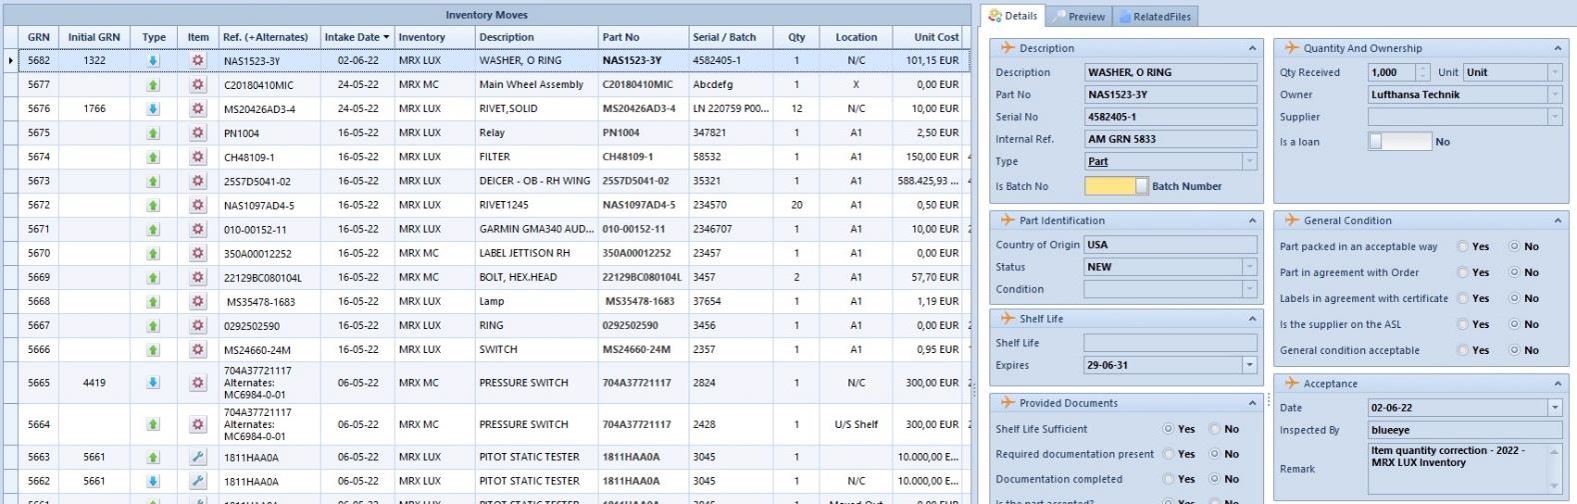
In the ‘Inventory Moves (GRN)’ module, the corrective moves are now created.
An automatic remark is displayed in the ‘Acceptance’ box on the right to indicate the reason for the move.
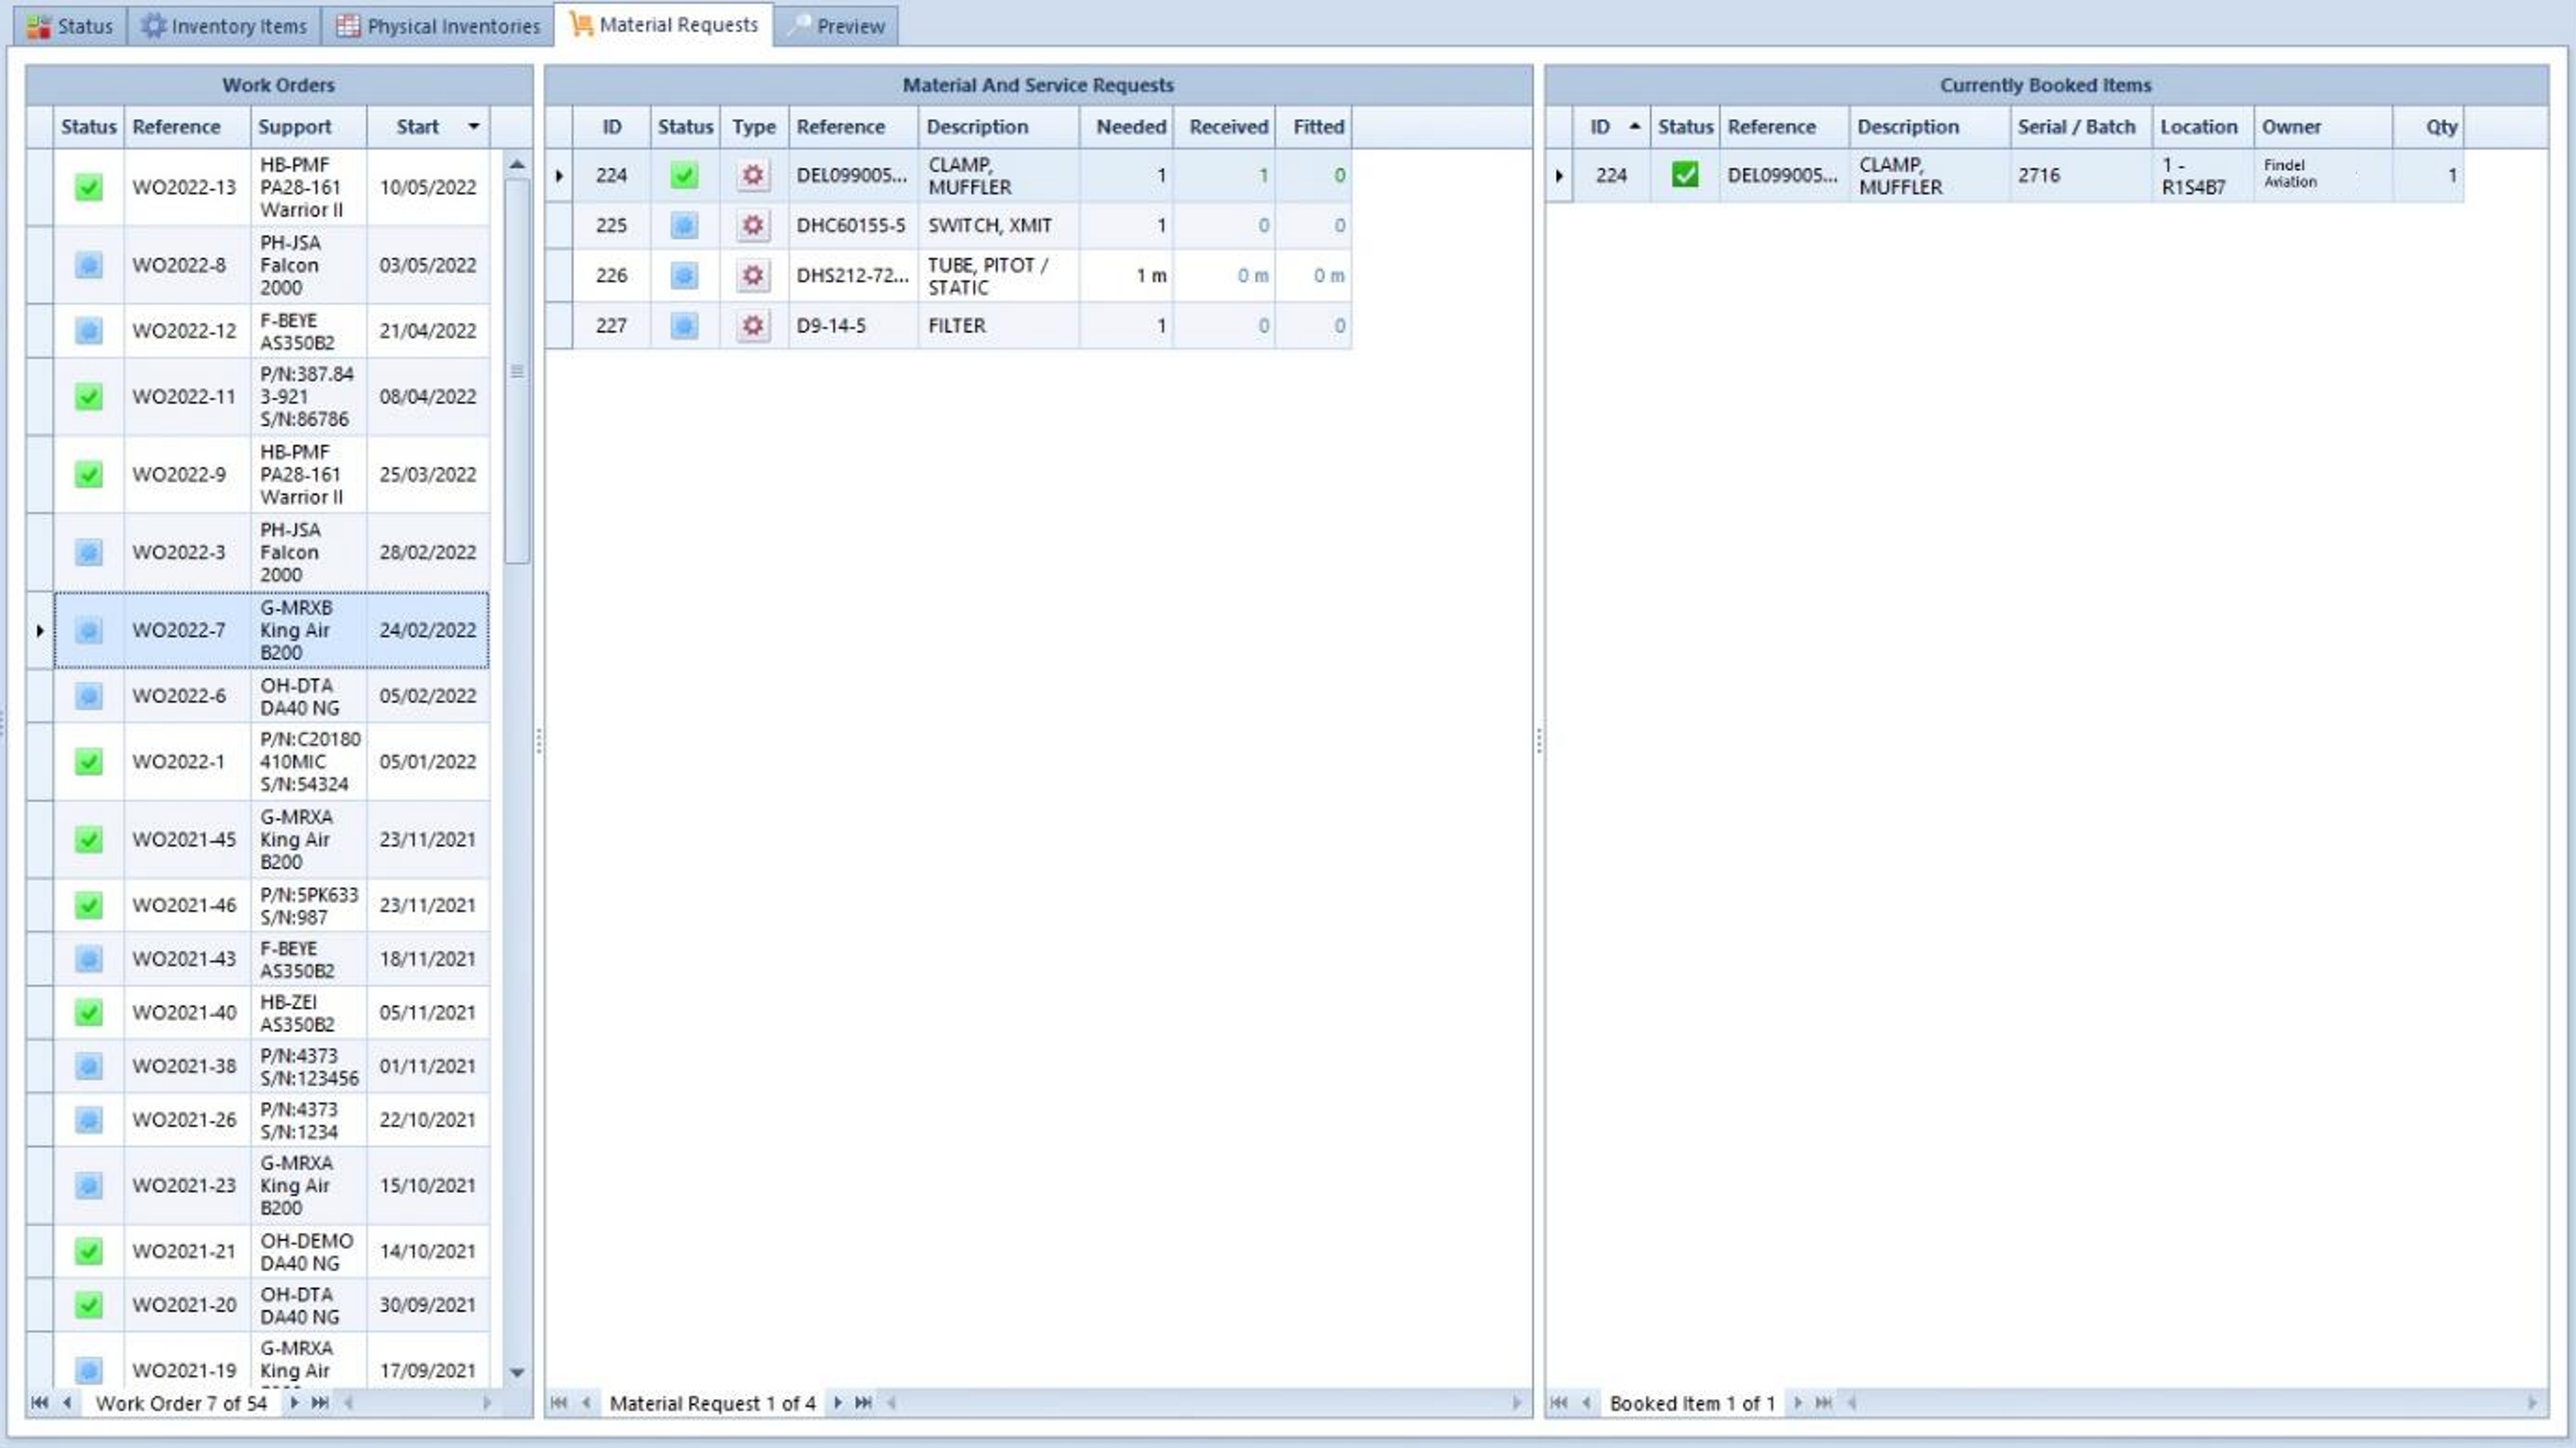
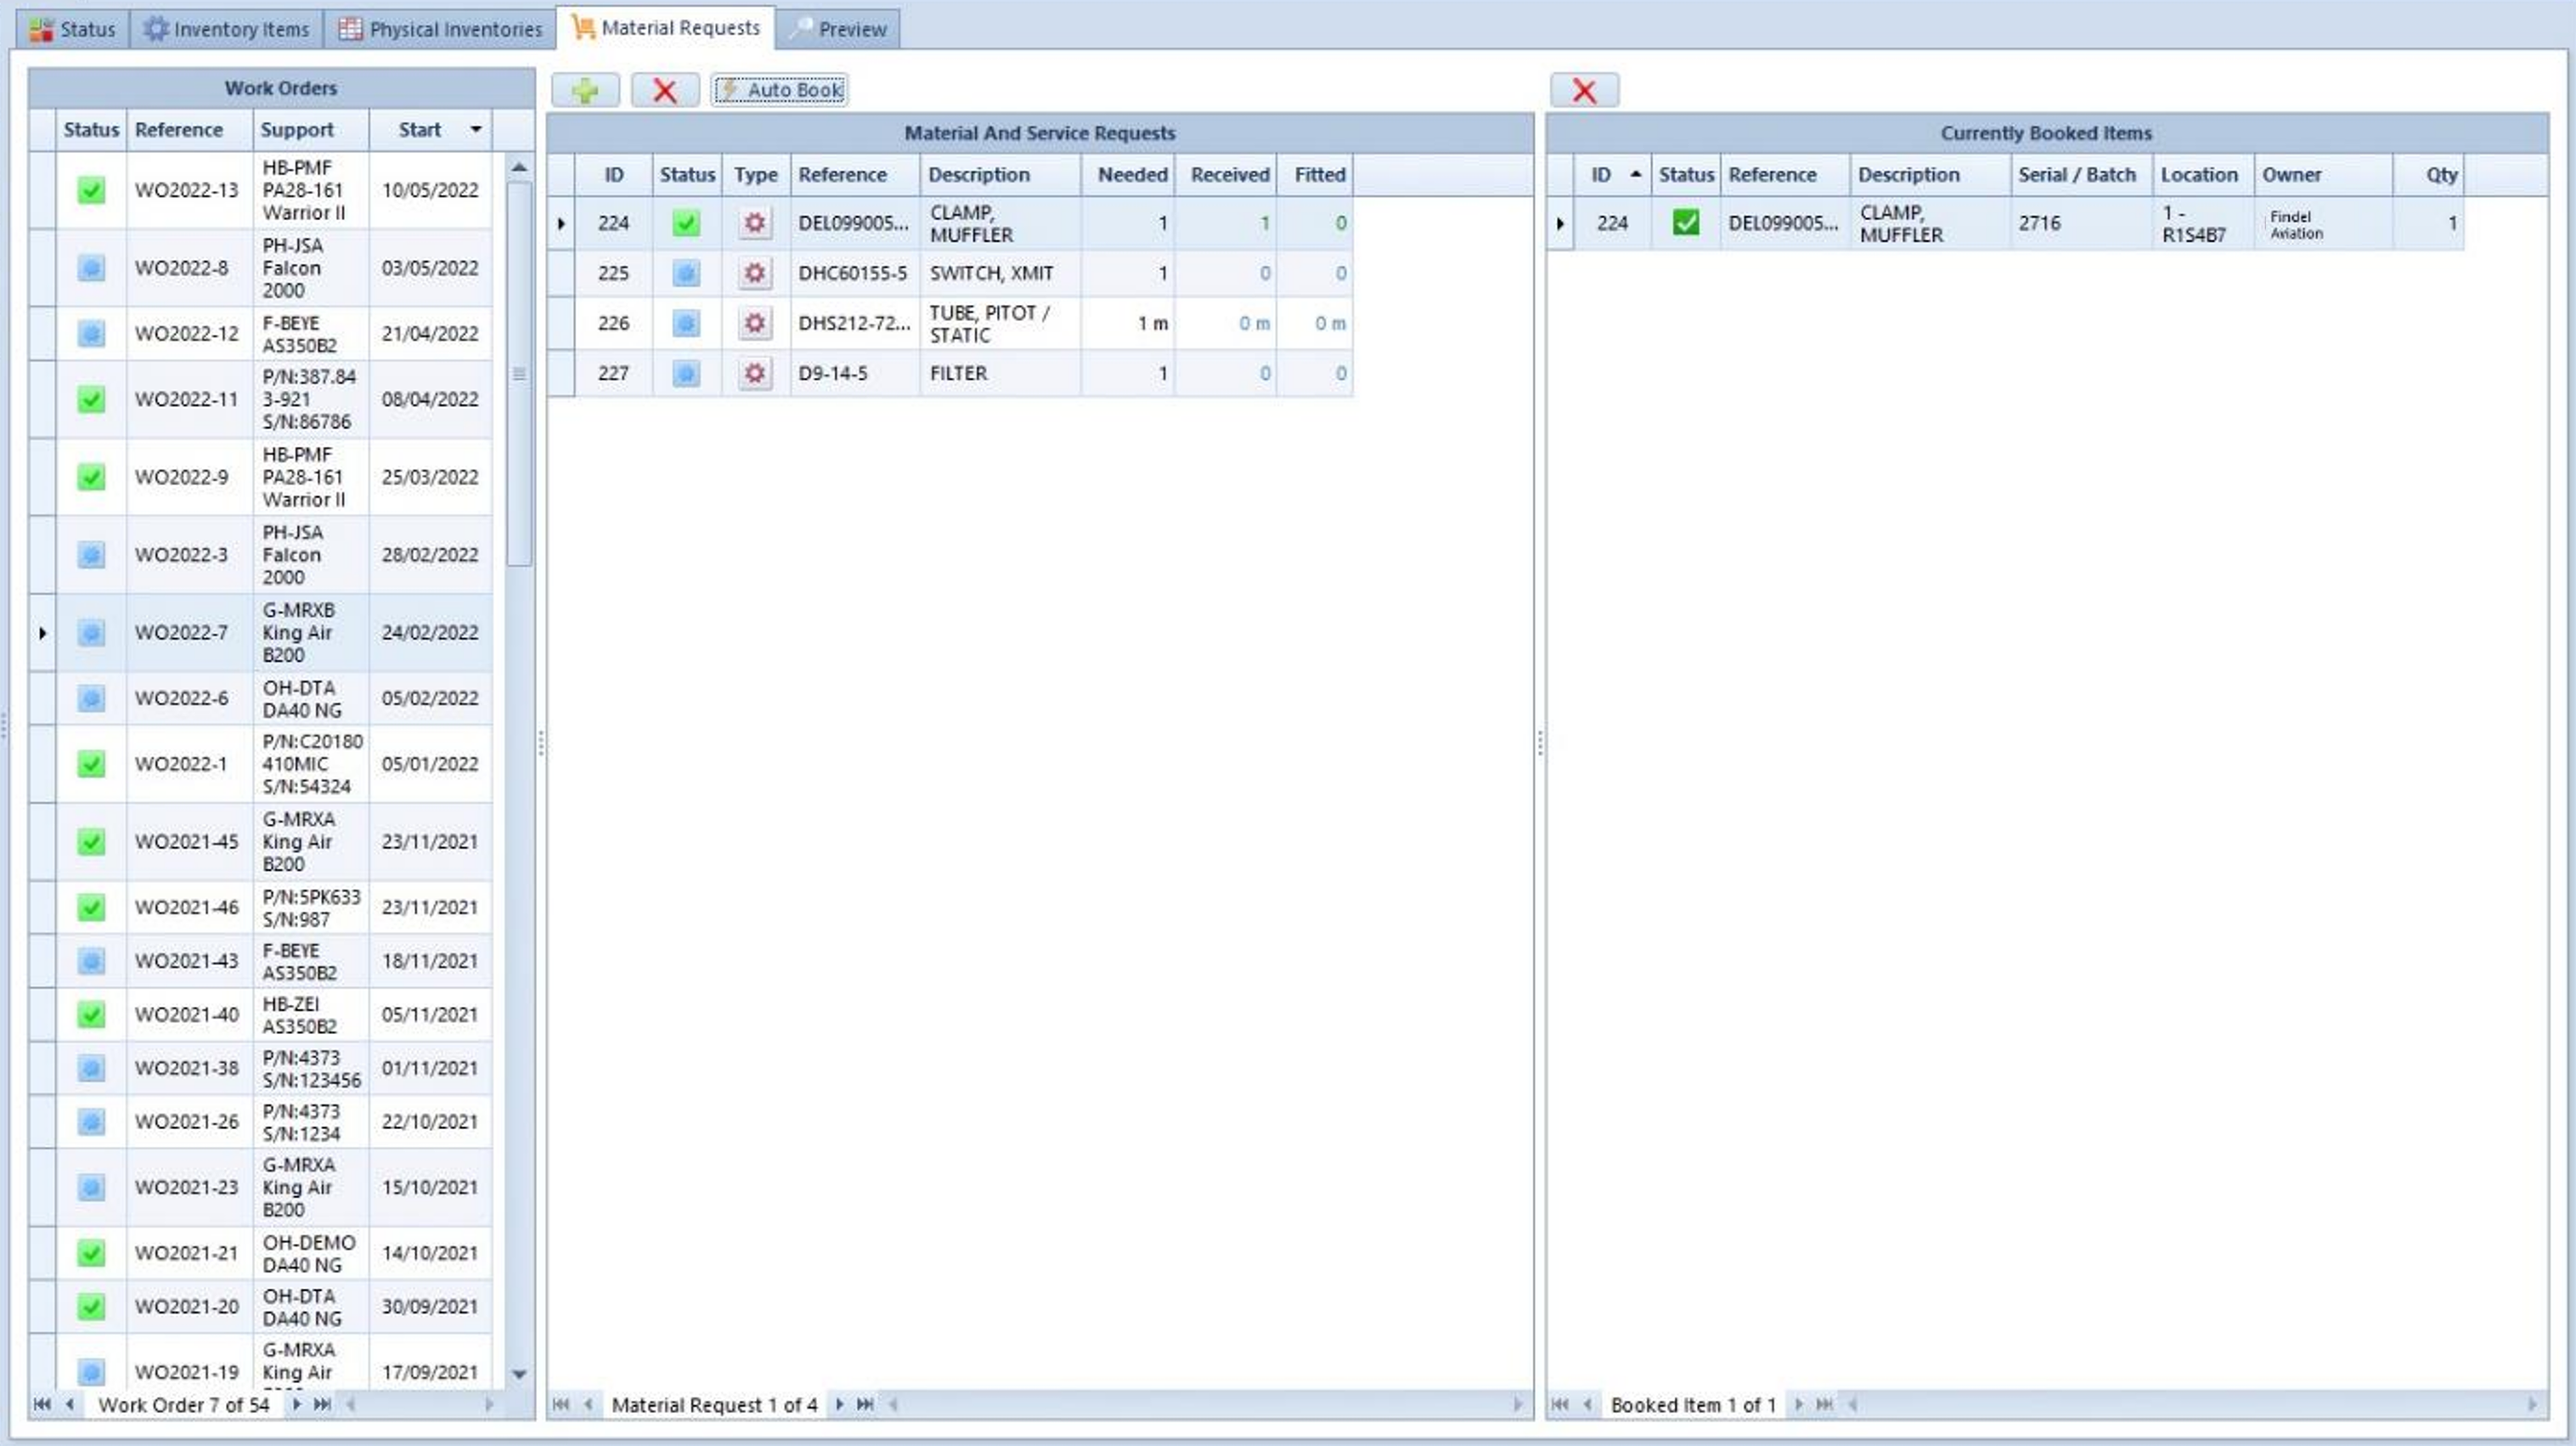
Material Request
The ‘Material Requests’ tab gathers all the material requests no matter what their status is.
They are sorted by work orders. You can also have a view of the currently booked items.
Please note that you can also manage the material requests thanks to the 'Work Orders' module or the iPad app, as explained in the 'Work Orders' and the 'W/O Items Booking' articles.
When you switch to edit mode , you can add or delete
(icon) material and service requests thanks to the button of the ‘Material
Requests’ tab.
The ‘Auto Book’ button (icon) allows you to automatically book the items that are available in stock.
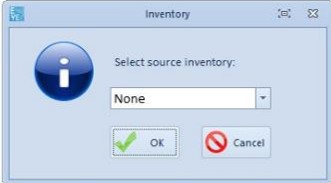
If you click on the ‘Auto Book’ button, a window will appear to let you select the source inventory.
Once you have selected it, click on ‘OK’.
All the requested items available in your stock will appear in the ‘Currently Booked Items’ panel.