Job Cards Operations
Create Operations
This article explains how to add operations to a job card in the 'Job Cards' module.

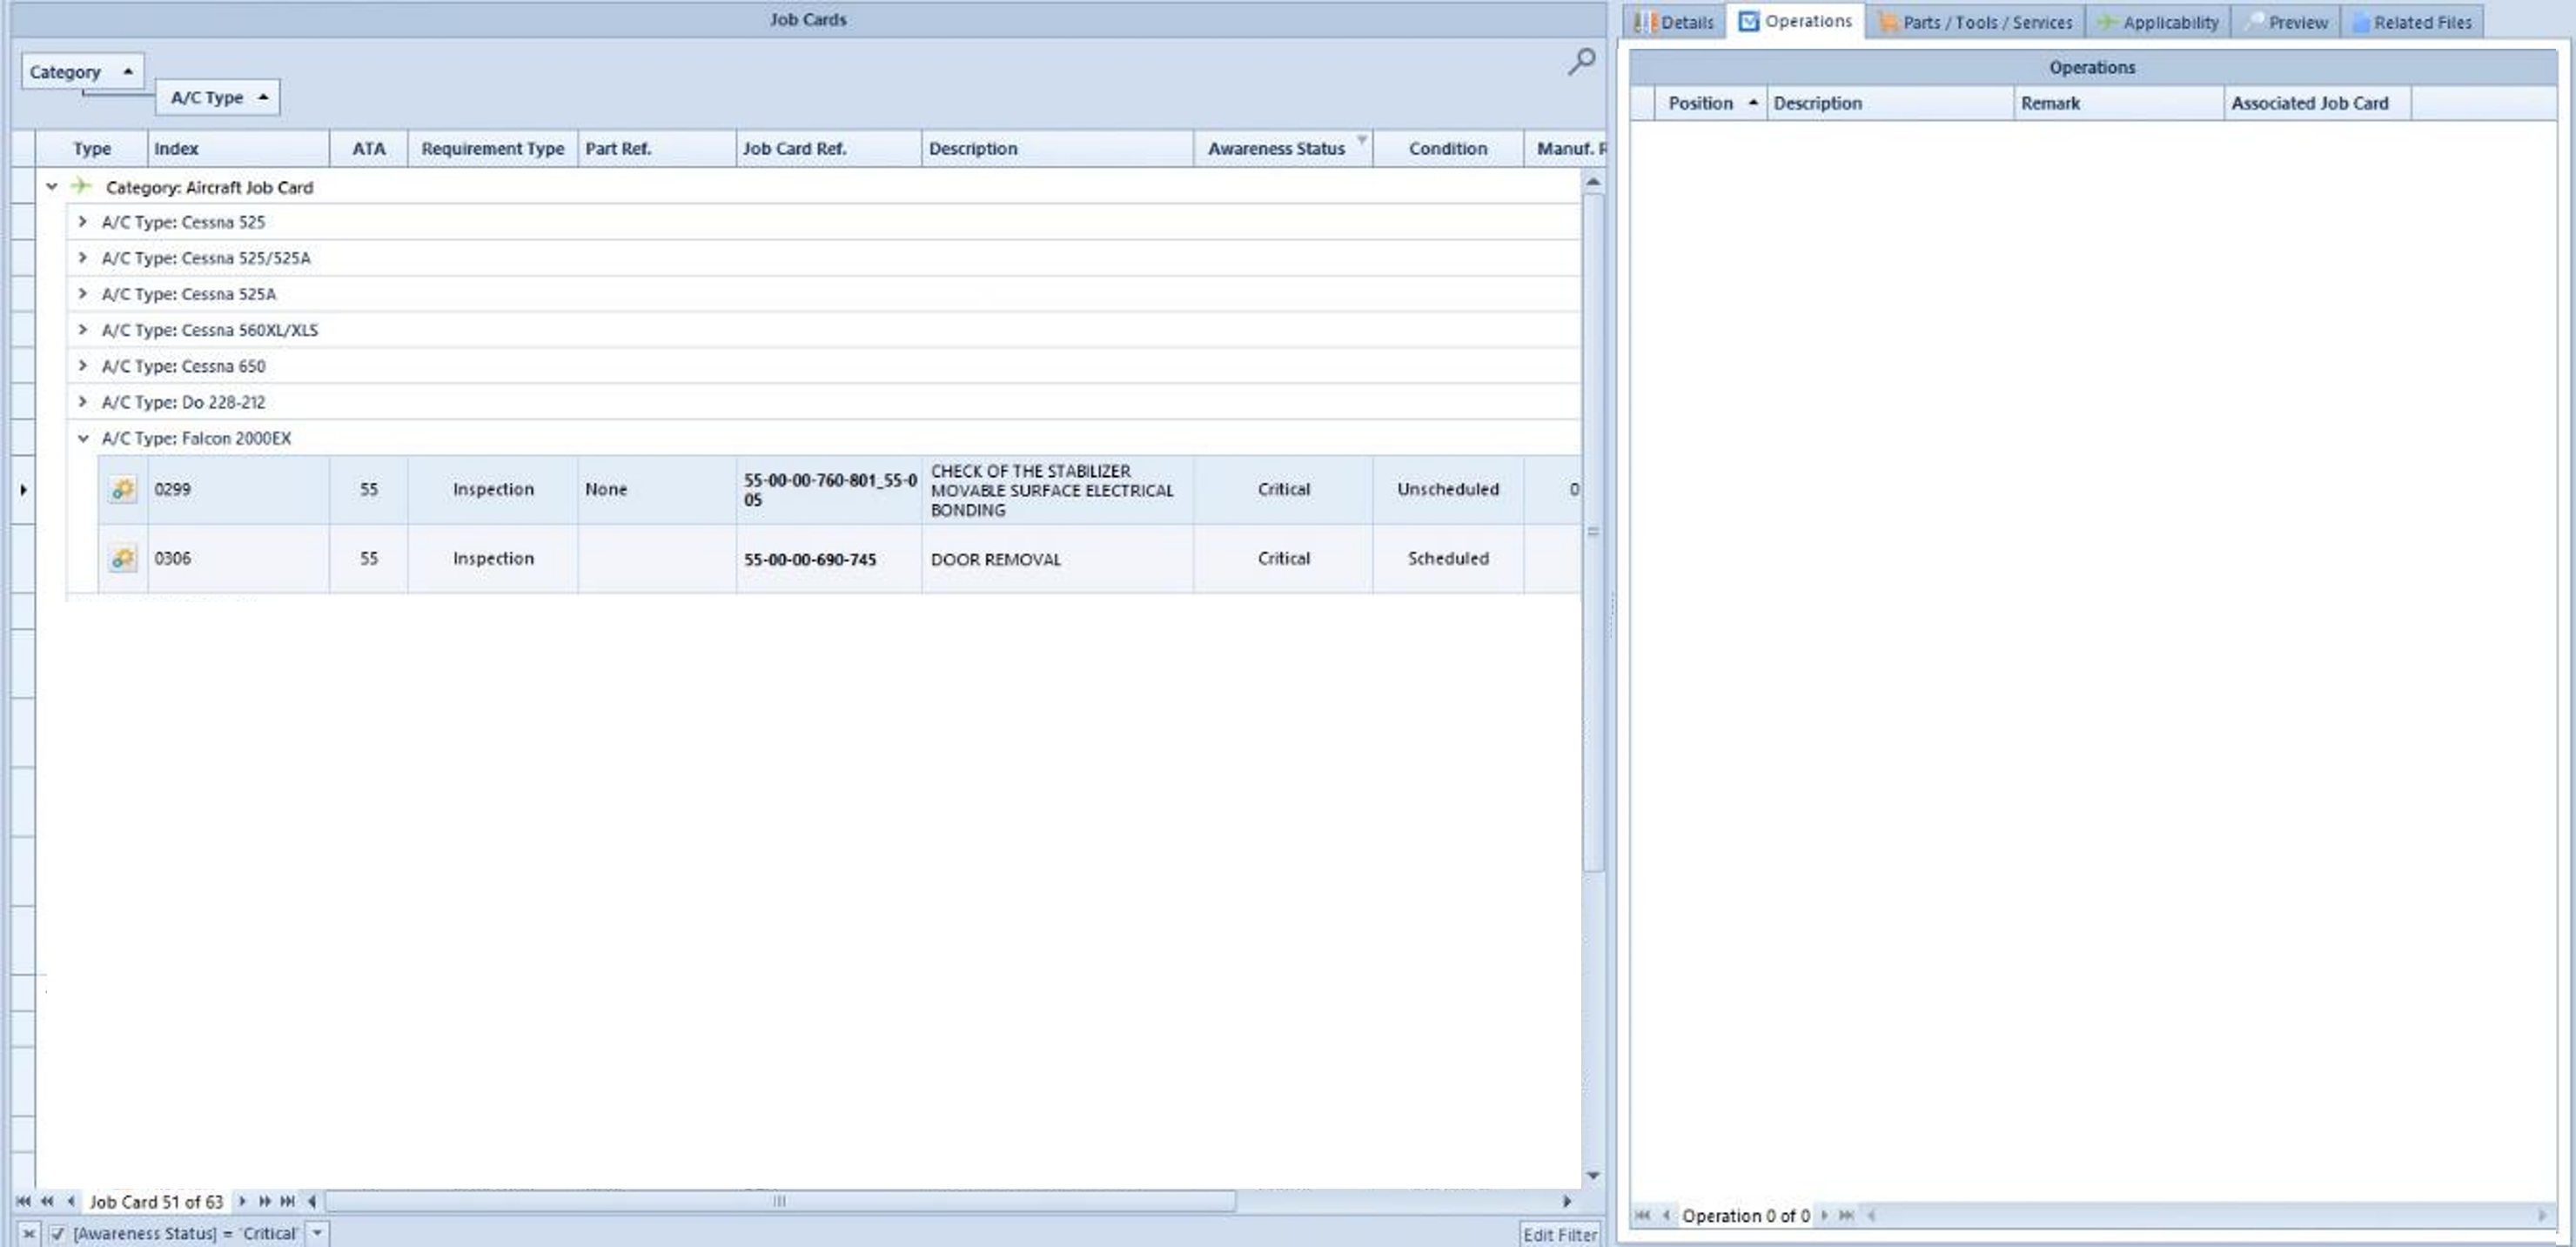
To add operations to a job card, open the 'Job Cards' module and look for the appropriate job card.
Select
it, open the ‘Operations’ tab and switch to edit mode  .
.
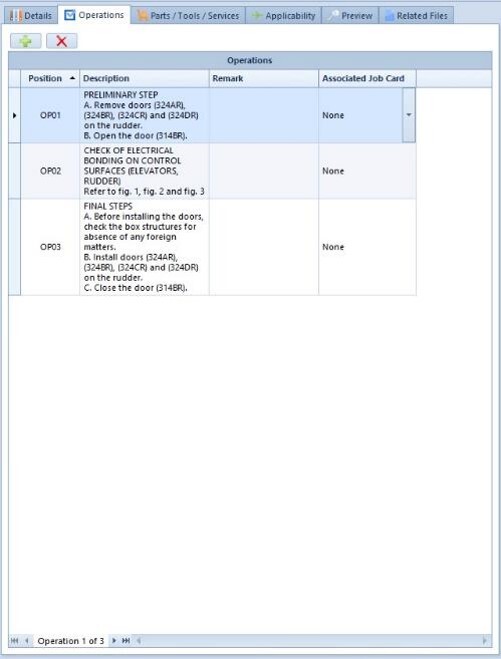
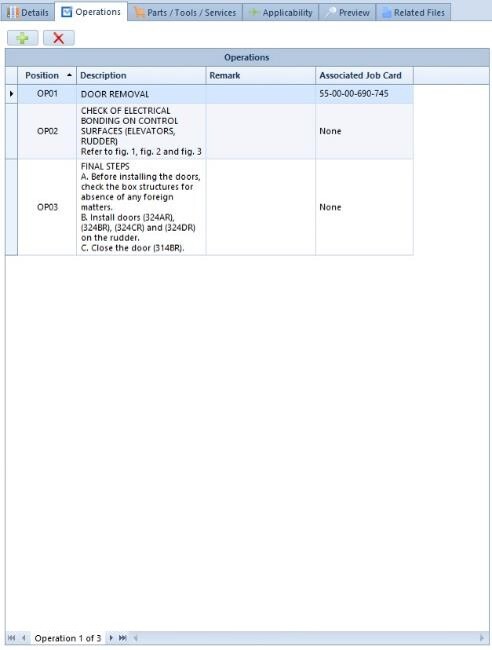
Click on the plus button of the Operations panel to add as many operations as needed. The ‘Position’, ‘Description’, and ‘Remarks’ cells are free text fields.
By default, the position will be OP01 for the first one, OP02 for the second, etc. You can override this information.
Please note that the operations will be sorted by alphanumerical order depending on the information in the ’Position’ field.
Link an Operation to a Job Card
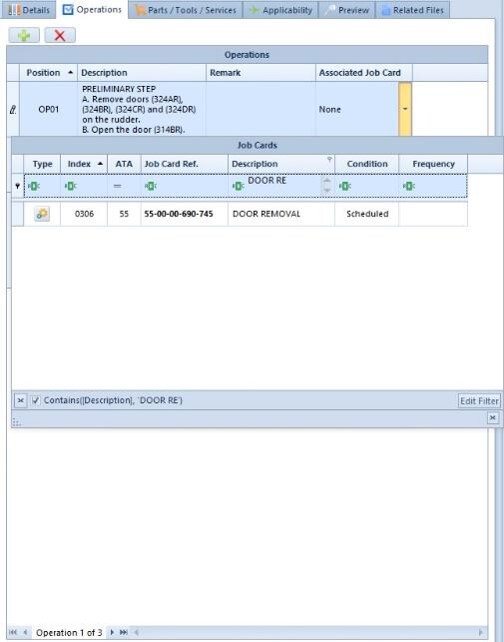
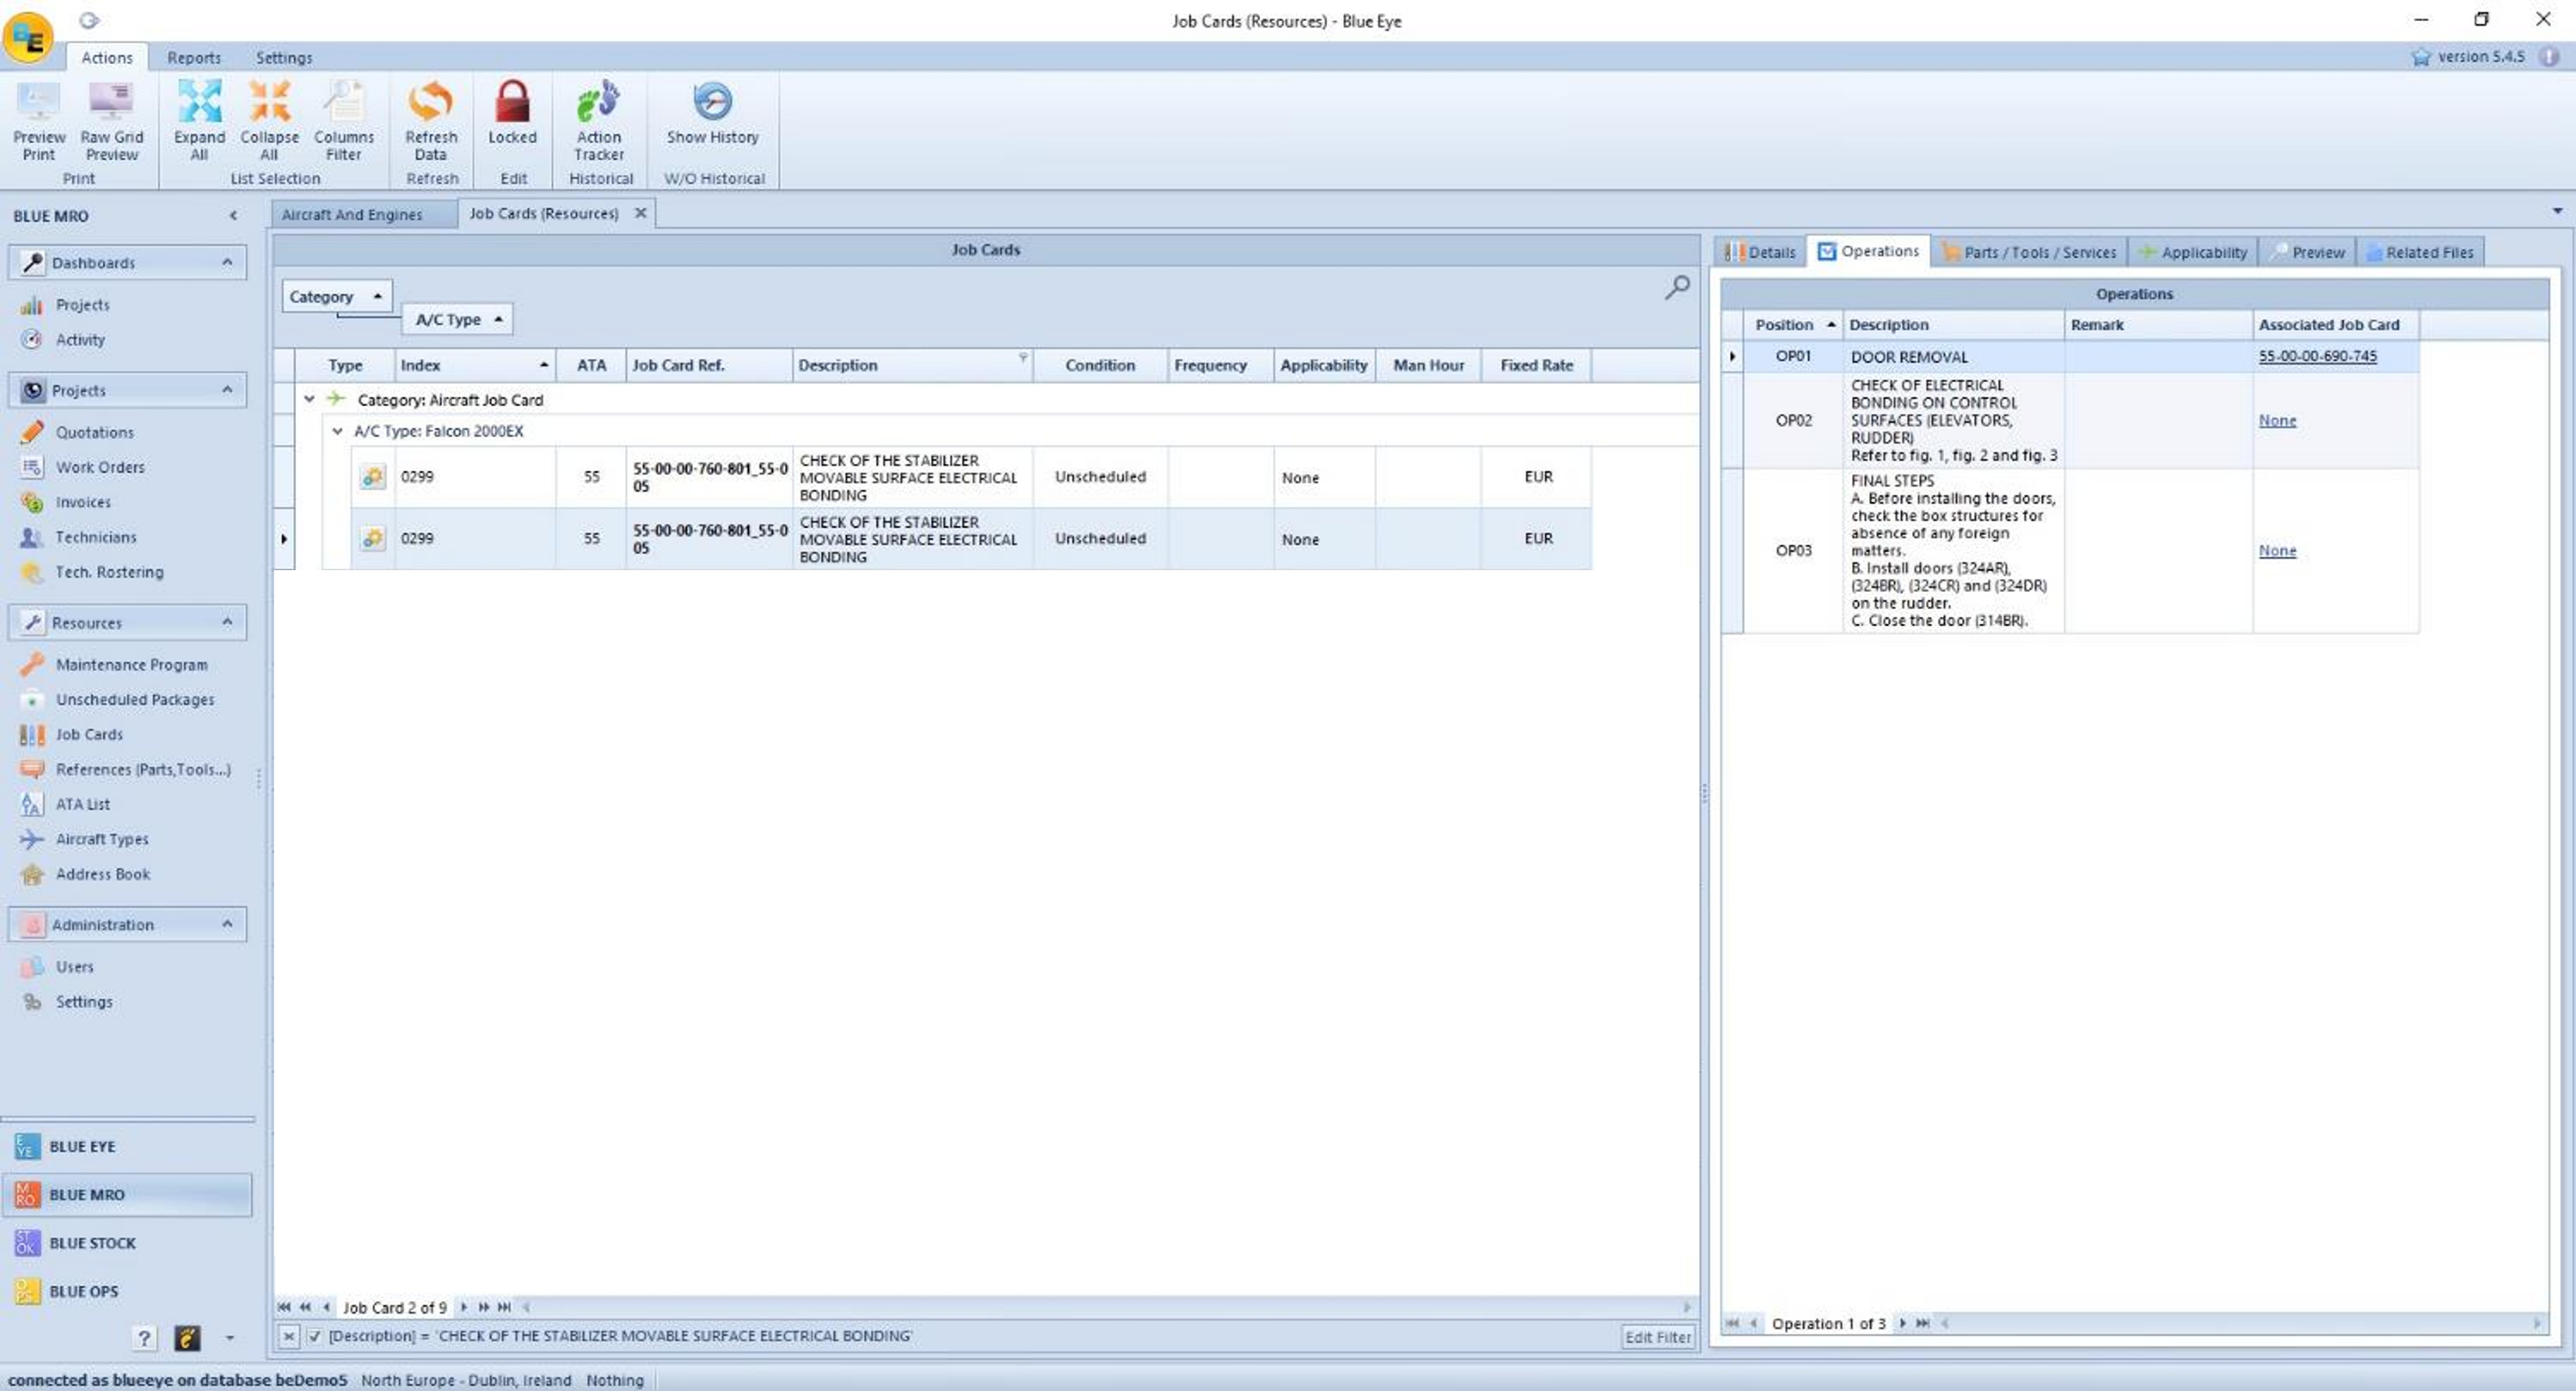
Operations can be linked to job cards. Click on the ’Associated Job Card’ field.
A panel appears to allow you to select the relevant job card. Use the auto filter row to help you find it.
Click on the job card to set it as the one associated with the operation.
This process will allow the technician to access the related files of the job card and the associated job card but also the operations of the associated job card when working on a work order on the iPad app.
Click
on ‘Save’ in the main ribbon to validate the changes  .
.
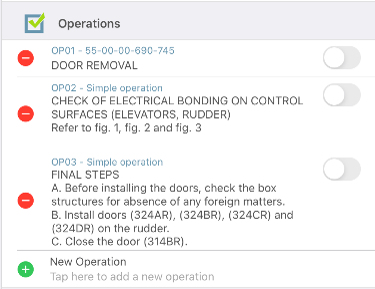
Here is the result.
Operations Management on a Work Order the iPad App
If you add this job card to a quotation that leads to a work order, and you assign this task to a technician, here is how it will be displayed on the iPad app.
Here is the result when you tap on the toggle and sign to indicate that the operation has been performed.
You will see the different operations of the associated job card under the line of the operation of the main job card.
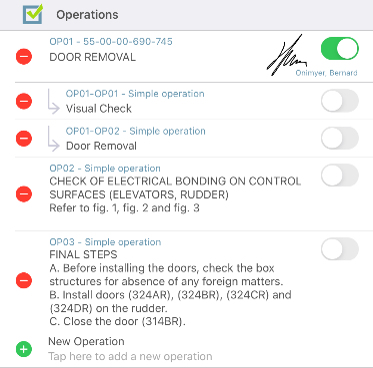
You can either sign for each operation or sign for all the operations at once.
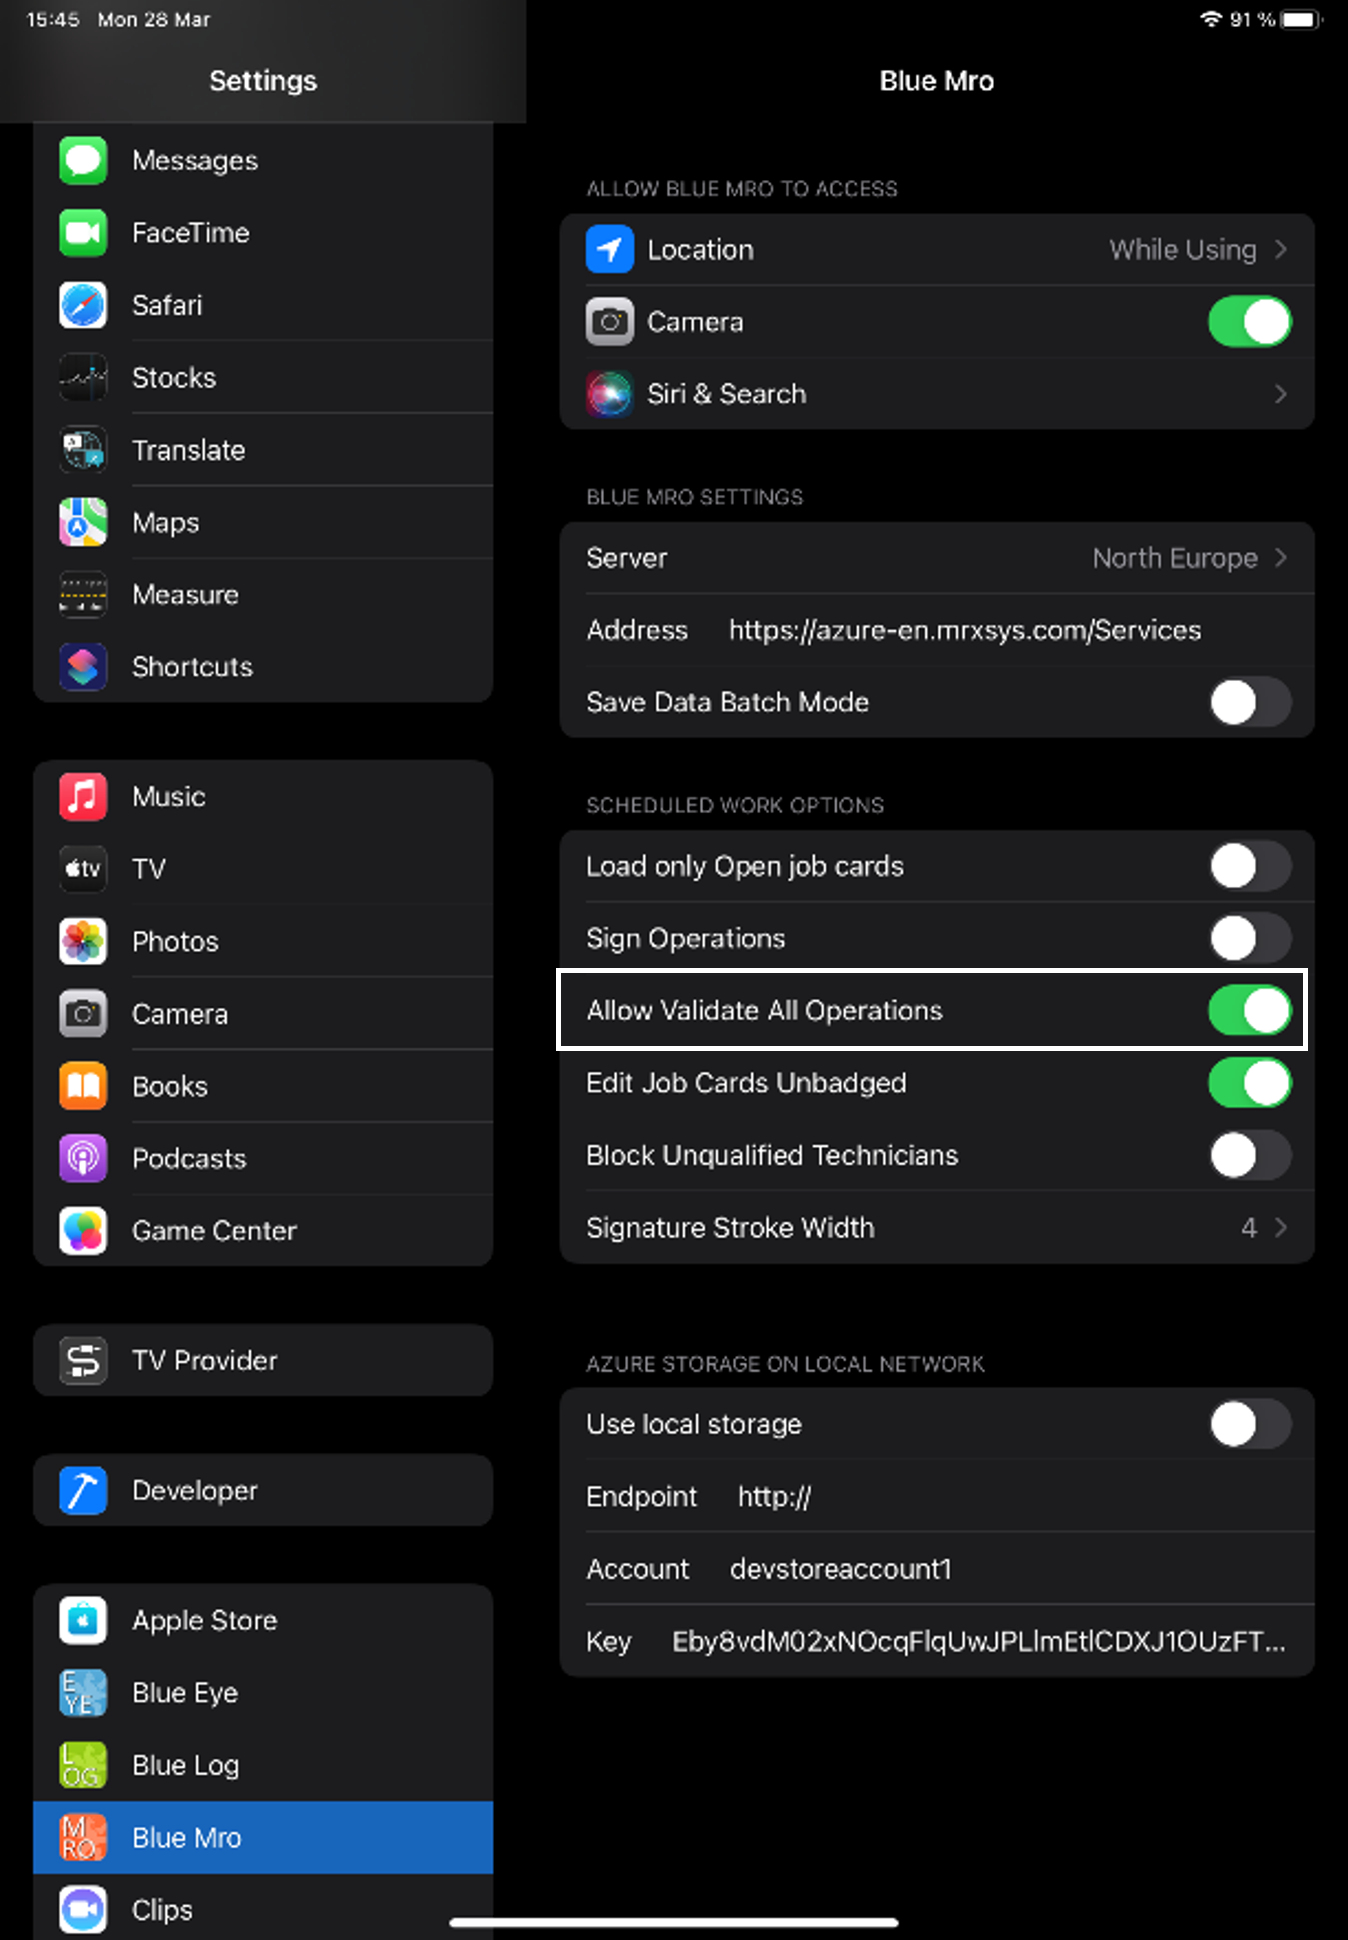
In the iPad settings of Blue MRO.
By default, ‘Sign Operations’ will be activated. In this case, you need to sign to validate each operation.
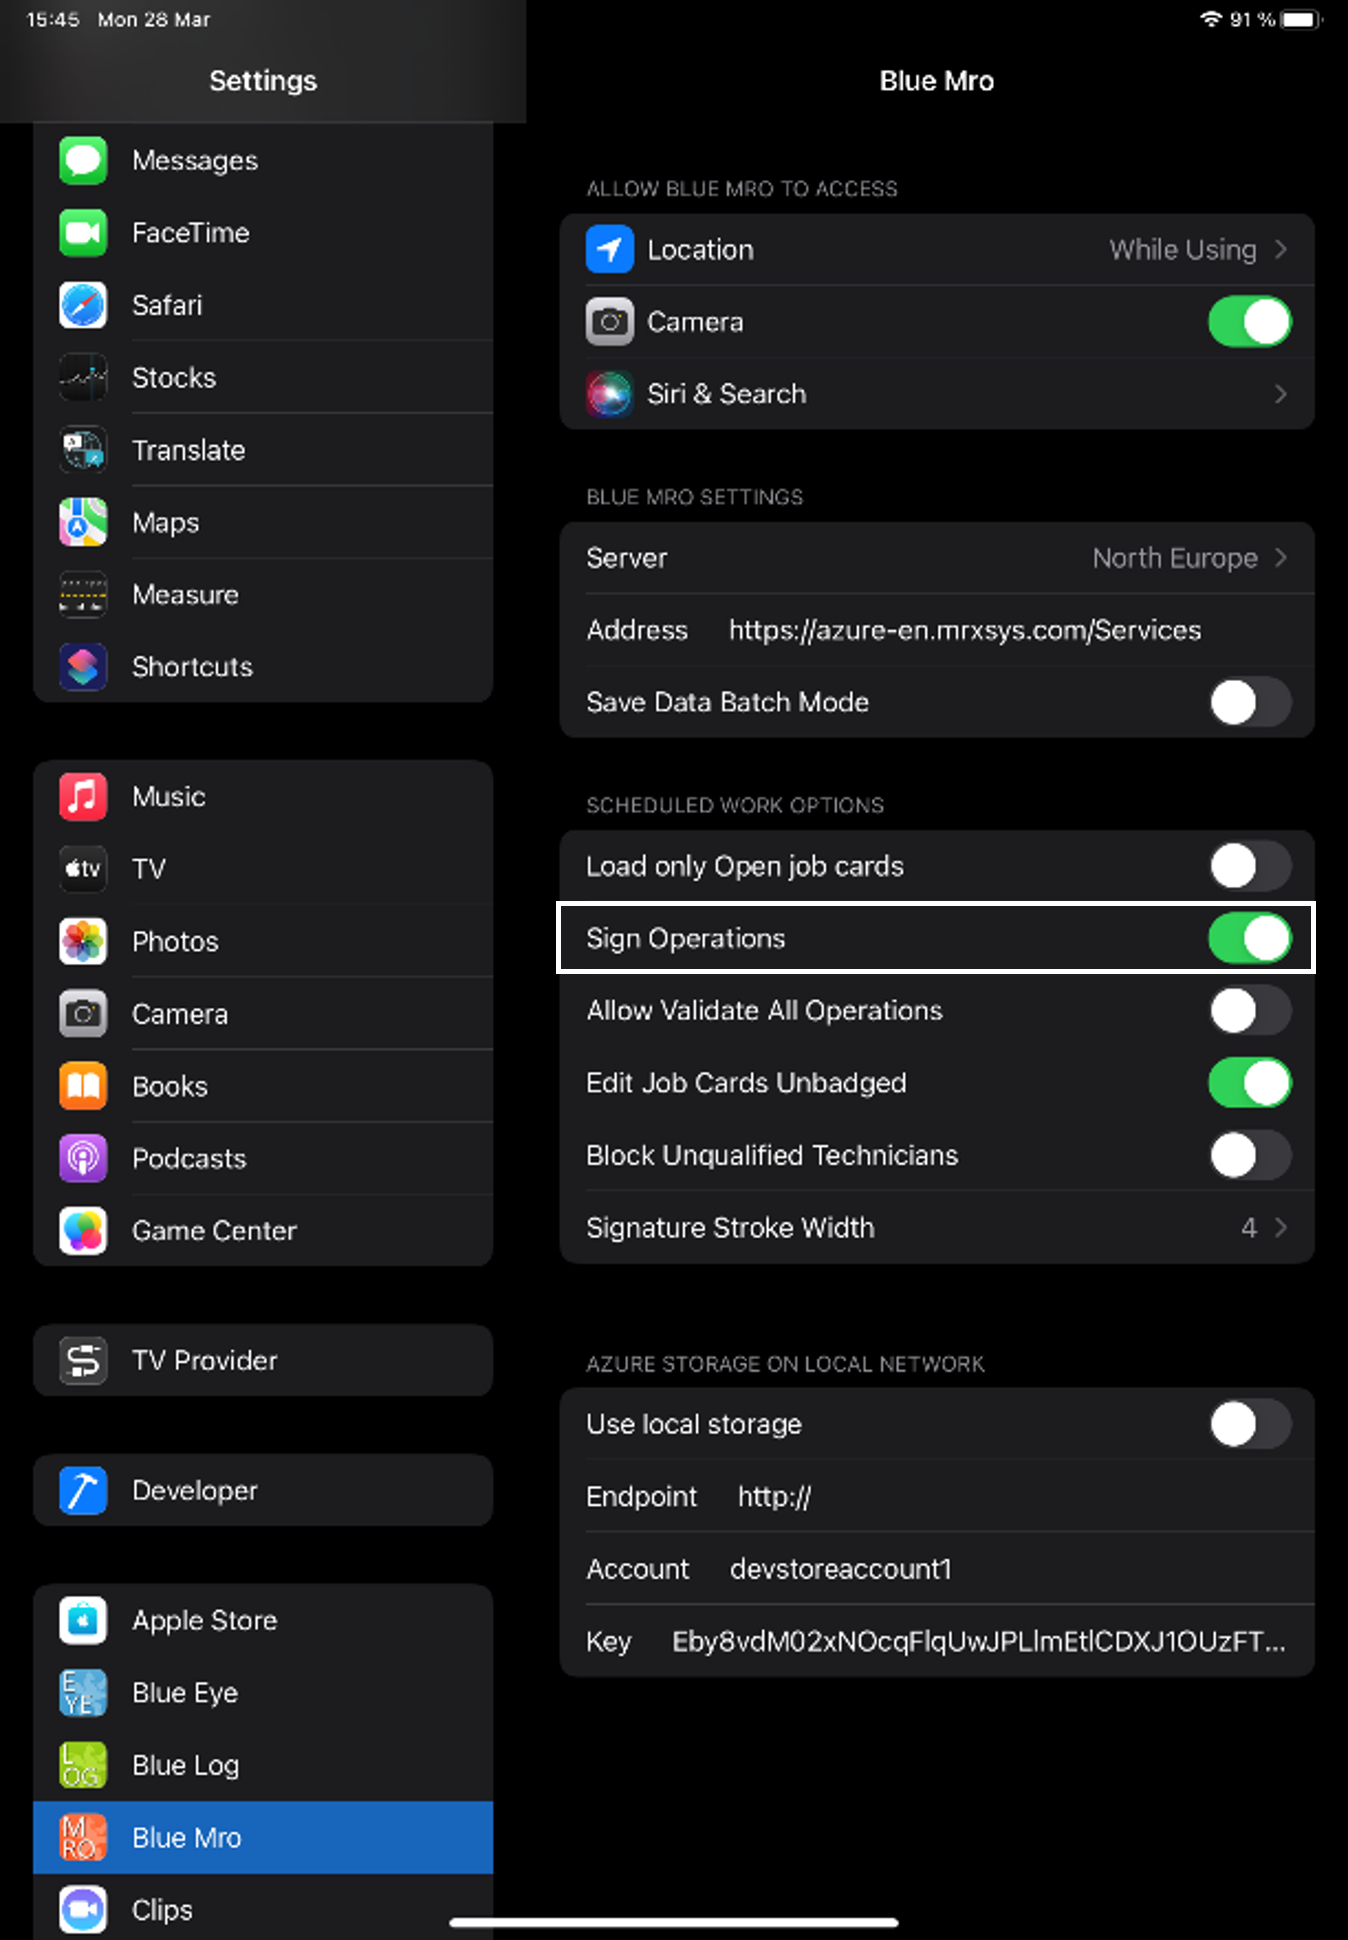
Activate ‘Allow Validate All Operations’ to sign all the operations at once.