Scheduled Work - Blue MRO app
Job Card Completion
The 'Scheduled Work' module of the Blue MRO iPad app allows you to complete job cards, set components as fitted or removed, badge tool used, validate operations, declare findings etc.
Open the menu and tap on ‘Scheduled work’.

Tap on the technician who is assigned to the work order you are completing.
The work order appears, tap on it to display its job cards.

You can either filter job cards by tasks:

Or by zone:

You can also use the search bar to filter.

Tap on a job card to start working on it.
You will see the status, the information, the description, and the internal requirements (the required items set on the quotation/job card).
Here are some facts you need to know about the badging system:
-When you badge into an open job card, complete the work and update the job card status to set it as ‘Performed’, or when you badge into another job card, you will be automatically badged out from the first job card you badged in (it is a security to avoid situations where you are badged in two job cards at the same time).
-It will update the actual man-hours of the job card so that the billing department will be able to compare the quoted man-hours to the actual man-hours.
-It also updates the technician's activity and experience.

If the job card has no operations set, you can add one or more if needed. Tap on ‘New Operation’.

A window appears to allow you to describe the new operation. Once you are done, tap on ‘Done’.

The new operation appears, you can tap on the toggle to state that the operation has been completed.

A window appears to enable you to add a remark or details about the work performed. Once you are done, tap on ‘Done’.

You will be asked to sign to validate the operation.

The technician's name and signature are now displayed. The toggle is switched on.

You can indicate which tool you are using to perform the work by tapping on ‘New tool used’.

You will be able to scan the QR code of the tool.
Tap here to do so.

Tap on ‘Scan now’ and scan the QR code.

The part information is now displayed, you can override the quantity selected if needed.
Then, tap on ‘Done’.

The information of the selected tool is now automatically displayed.
Tap on ‘Done’ to go back to the job card.

Once the work has been performed, you can validate.
Tap on the ‘Tech.’ field to badge, tap on ’License’ to select it or type it, and tap on ‘Date’ to display the date of the day.
Sign off the task.
Tap on the status box to pick the status of your choice.

Tap on a status to select it.
Then, tap on ‘Close job card’.

If a trainee that is not allowed to validate job cards has performed the work, he/she can select the ‘Awaiting Validation’ status. This will state that the job has been done but a certified technician has to validate it.

A certified technician will then be able to tap on the magnifier on top of the screen to apply the filter.
If the technician selects ‘Awaiting validation’, he/she will see all the job cards he/she needs to validate.

The status of the job card is updated.


You can select another job card to keep completing the work order.
You can declare a finding by tapping on the ‘New Finding’ box.

Pick the appropriate ATA chapter, describe the finding and the action required, scan your badge by tapping on ‘Tech.’ and sign.
To recommend corrective action, tap on ‘Package’ to select a package from your database or tap on ‘Job Card’ to pick a job card.

Select the appropriate job card by tapping on it.

The information of the job card will be displayed as well as the material required.
Tap on ‘Done’ when all is set.

Once the finding will be quoted and added to the work order, it will be displayed among the job cards (More information in the 'Finding' article).
Tap on it to start fixing the issue.
Tap on the ‘New Part Removed’ box to report a part removed.


Tap on ‘Select from Blue Eye Status’ to be able to select a part from the ‘Inventory Status’ module (if the support associated with the job card is an aircraft, you will see the aircraft components, if it is associated with an engine, the engine components will be displayed).

Select the appropriate part.

The information on the selected part is displayed.
If you switch on the ‘Reinsert in stock’ toggle, you will be able to fill in the information related to the insertion of the part into your stock.

The acceptance section is already partially filled (the date and the remark are already displayed but can be overridden).
Tap on the ‘Inspected By’ box to badge.
Then, tap on the ’Signature’ box to sign off.
Once everything is filled, tap on ‘Done’.

The part removed is now declared.
To fit a new part, tap on the ‘New Part Fitted’ box.

Tap on ‘Badge part label’ to scan the label of the part that is being fitted.

Tap on ‘Scan now’.

Once you have scanned the label, the part information is displayed.
You can override the selected quantity.
Tap on ‘Done’ to move forward.

The information of the selected part (part number, designation, S/N or B/N, quantity, and certification documents) is now available.
You can indicate which part is being replaced if needed by tapping on the ‘Replacing’ box.

Select the part that is being replaced by tapping on it.

The selected part information is now displayed.
Tap on ‘Associated quotation part’ to select one.

Tap on the appropriate associated quotation part.

All the information is now available.
You can tap on ‘Done’.

Once you are done with this job card.
Tap on the ‘Tech.’ box to badge.
Tap on the date to display the date of the day.
Tap on the ‘Signature’ box to sign off.
Tap on the ‘Status’ box.

Pick one status by tapping on it.

Here, we set the job as performed.
To confirm it, tap on ‘Close job card’.

If there is a related file associated with the job card, you can either tap on the job card box to see it or you can tap on the pencil to edit it.

At the bottom, you can see the different pages.
There are two buttons above. The one on the left allows you to draw on the page.
The one on the left allows you to add a text zone.

Type the text you want to add and tap on ‘Done’.

Tap on the text to be able to edit it (by tapping on ‘Edit’), make it bigger (by tapping on the plus sign) or smaller (by tapping on the minus sign), or delete it (by tapping on the trash).

When you will tap on the arrow on top of the screen to go back to the job card, you will be asked if you want to save the modifications.

In the iPad settings, if you select ‘Blue Mro’, you will be able to modify the scheduled work options.
You can decide to load only open job cards.
You can choose to sign operations.
You can allow validating all operations at once.
You can give permission to edit job cards unbadged.
You can block unqualified technicians which means that the technicians that do not have a license corresponding to the aircraft that is subject to maintenance will be blocked.
You can adjust the signature stroke width.

Release to Service
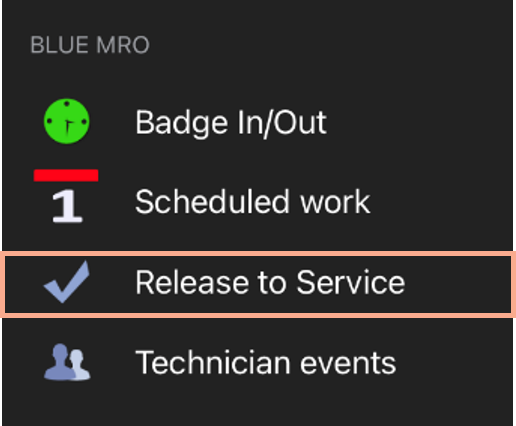
To sign a CRS or a Form 1, open the menu of the app and tap on ‘Release to Service’.
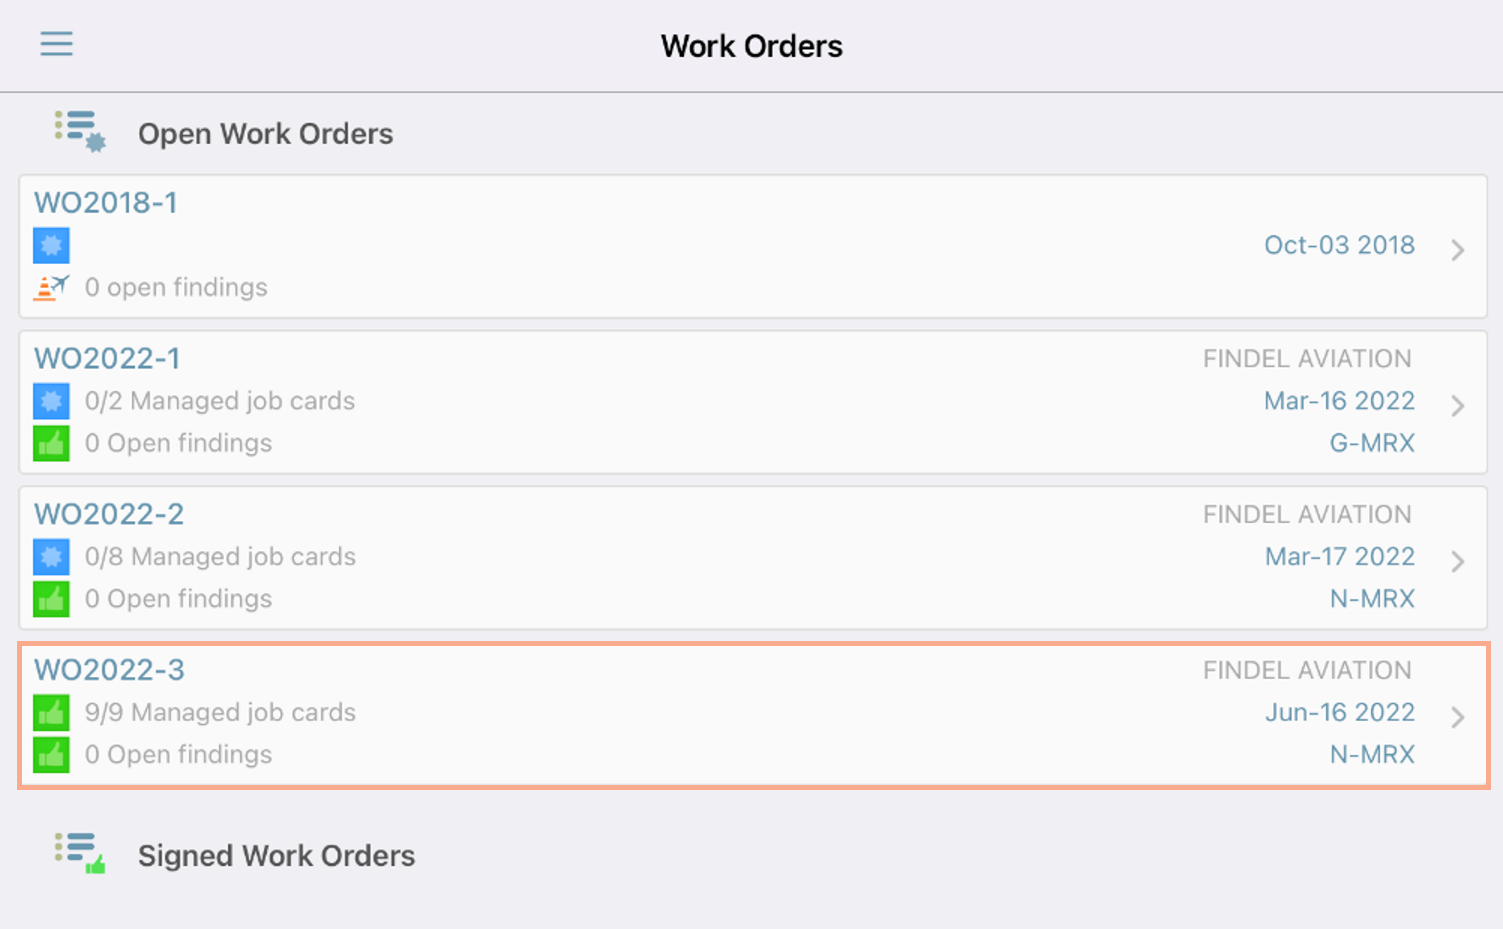
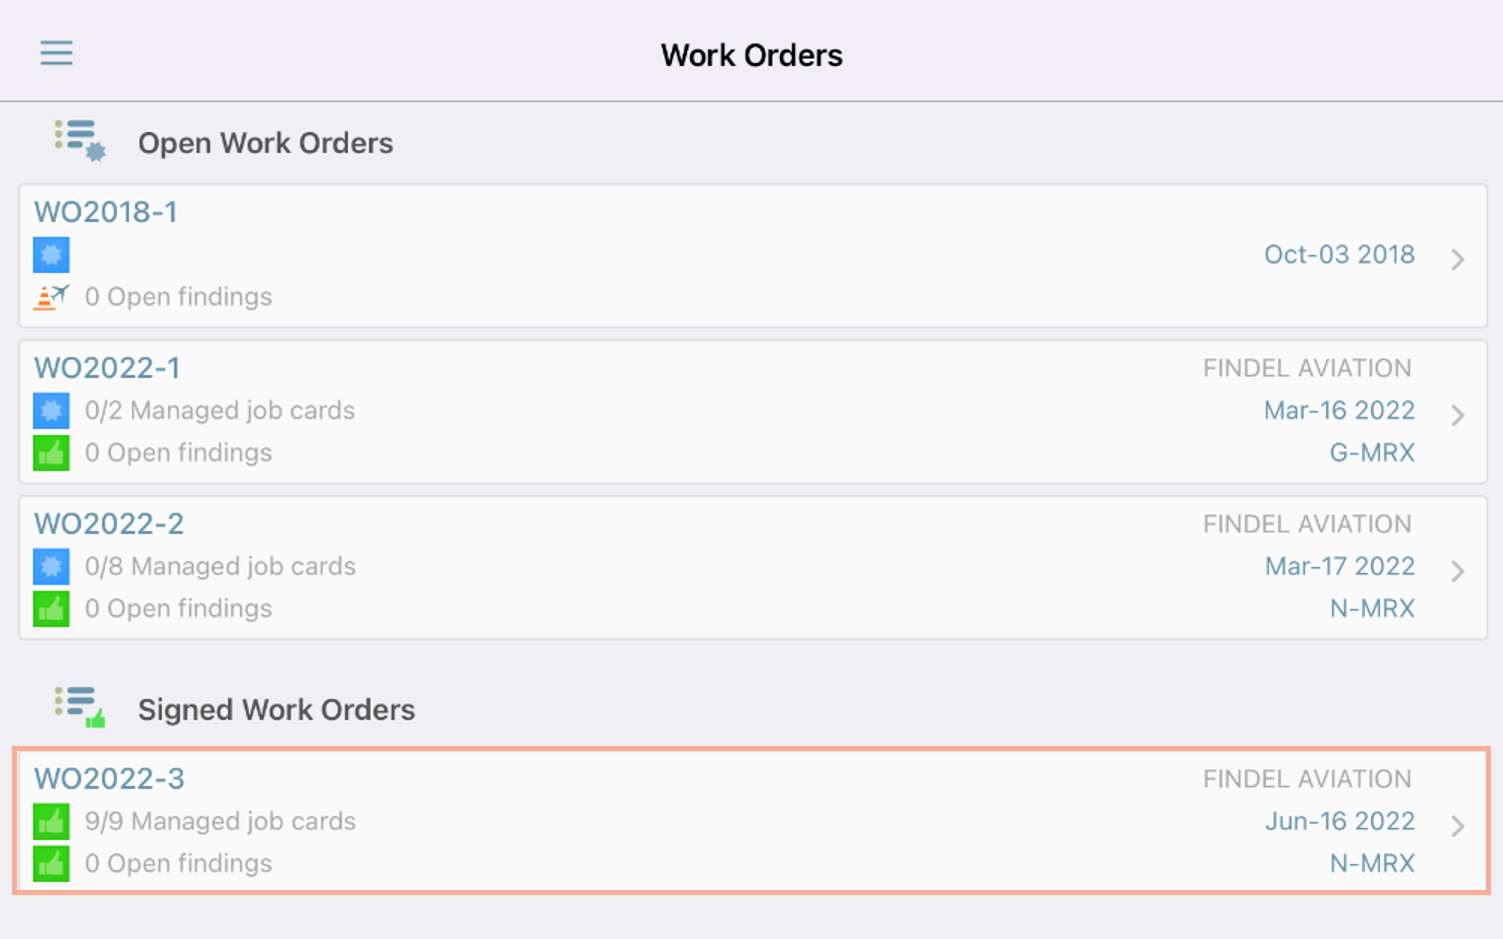
This page is divided into two lists:
-The Open Work Orders (the ones that are not signed);
-The Signed Work Orders (the ones with a signed CRS or Form 1).
To sign a CRS or a Form 1, tap on an open work order.
You can see at a glance if all the job cards have been performed and if all the findings are closed.
Here, we will select the WO2022-3 that is ready to be signed.
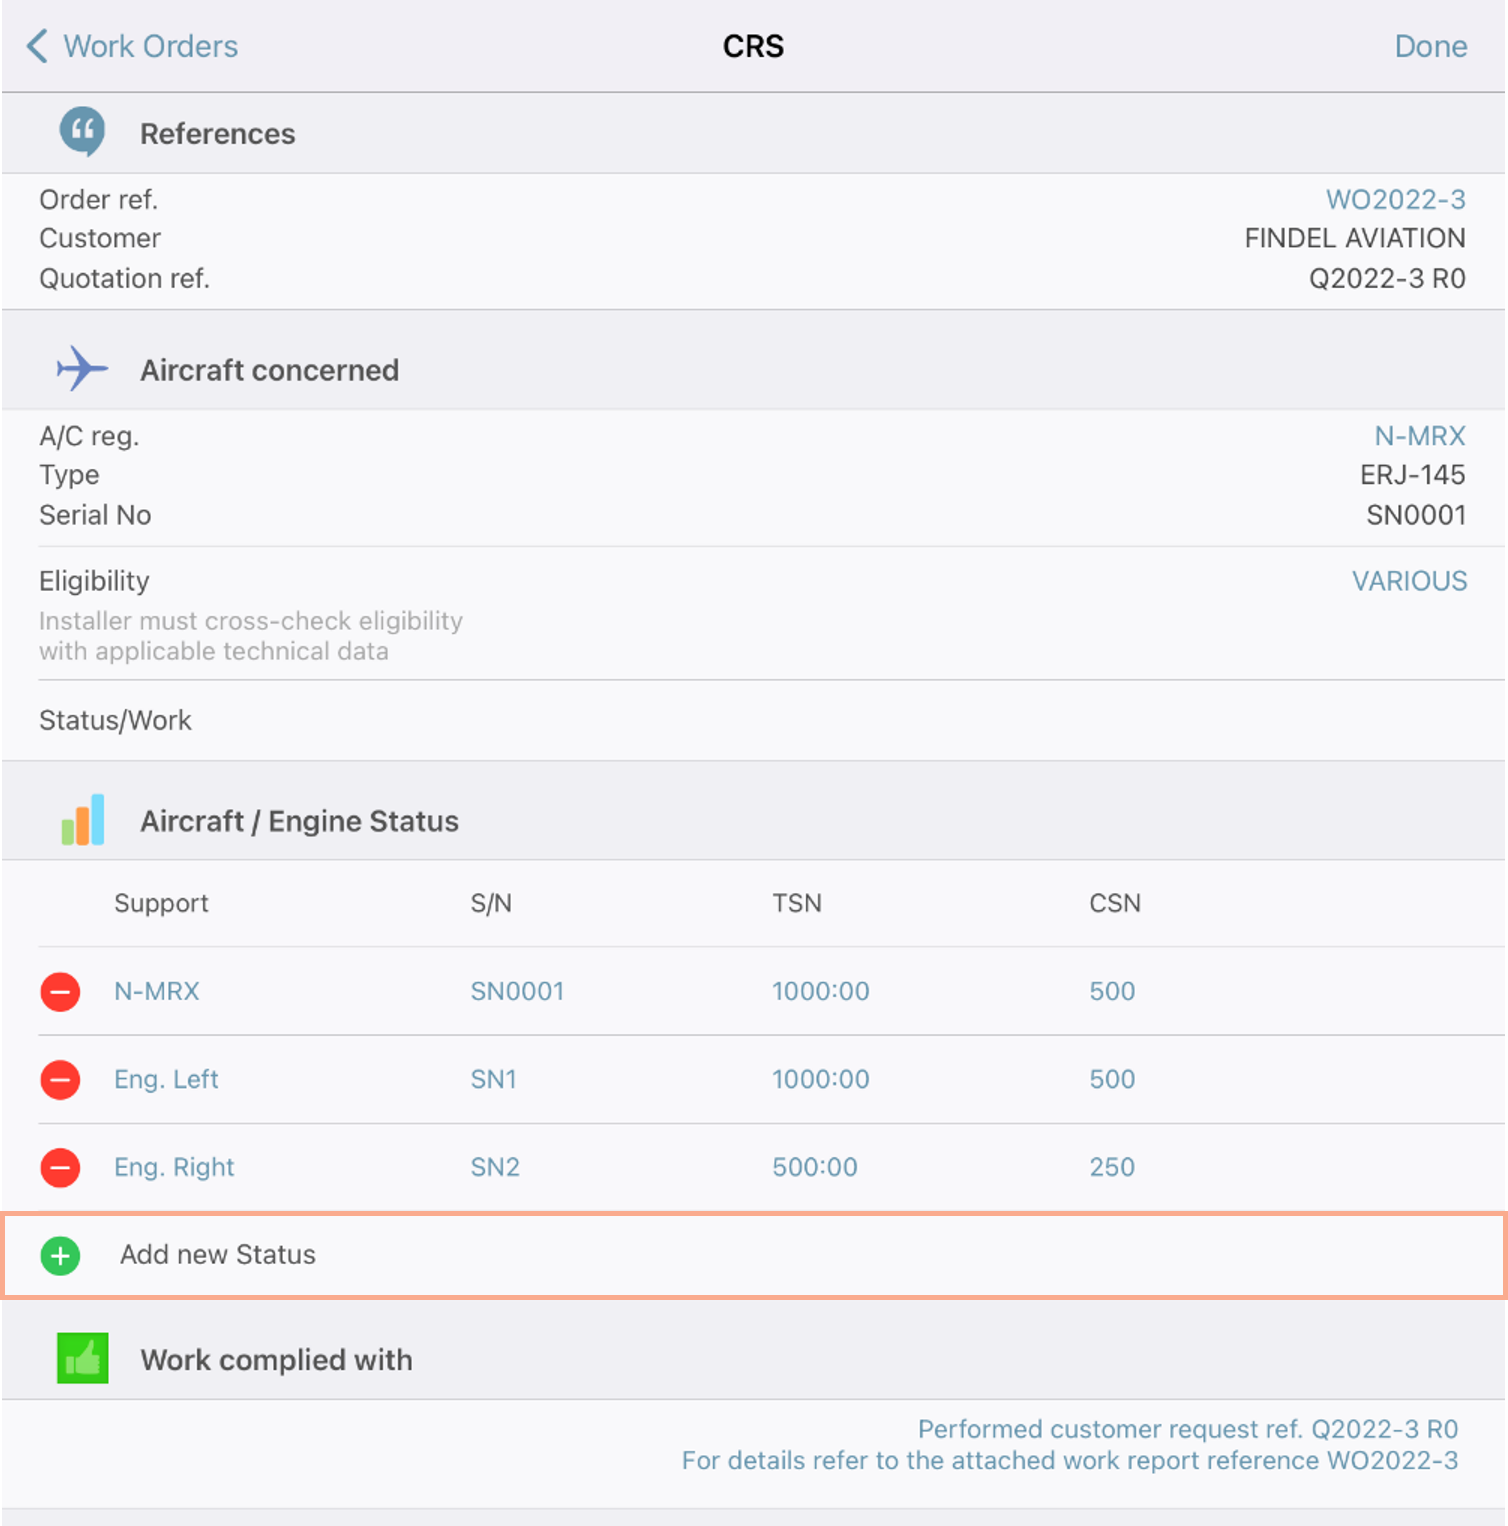
You can see the status of the aircraft and/or engines at the start of the work order.
If you performed a test flight that amended the status, you can tap on ‘Add new Status’.
Tap on the ‘Status/Work’ box to indicate the status of the aircraft.
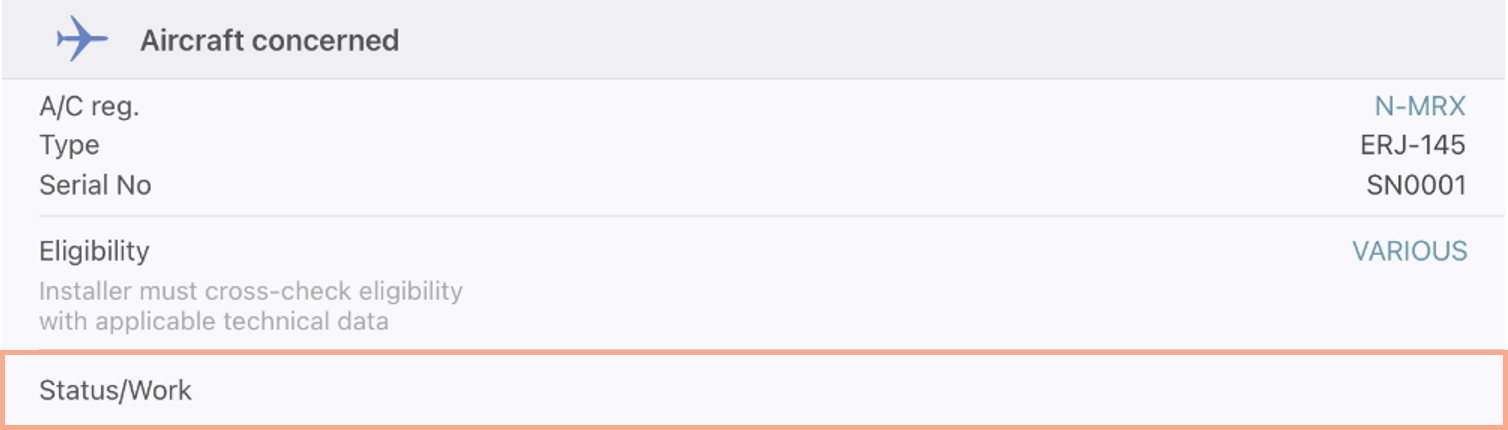
Pick one status from the list.

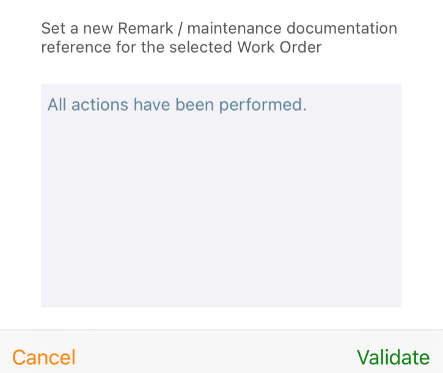
Tap on the ‘Add new…’ box to set a new remark or maintenance documentation reference for the selected work order.

Type your text and tap on ‘Validate’.
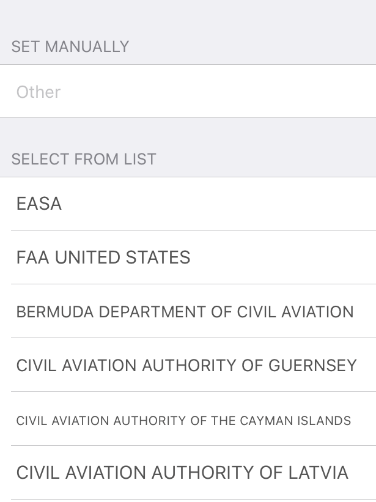
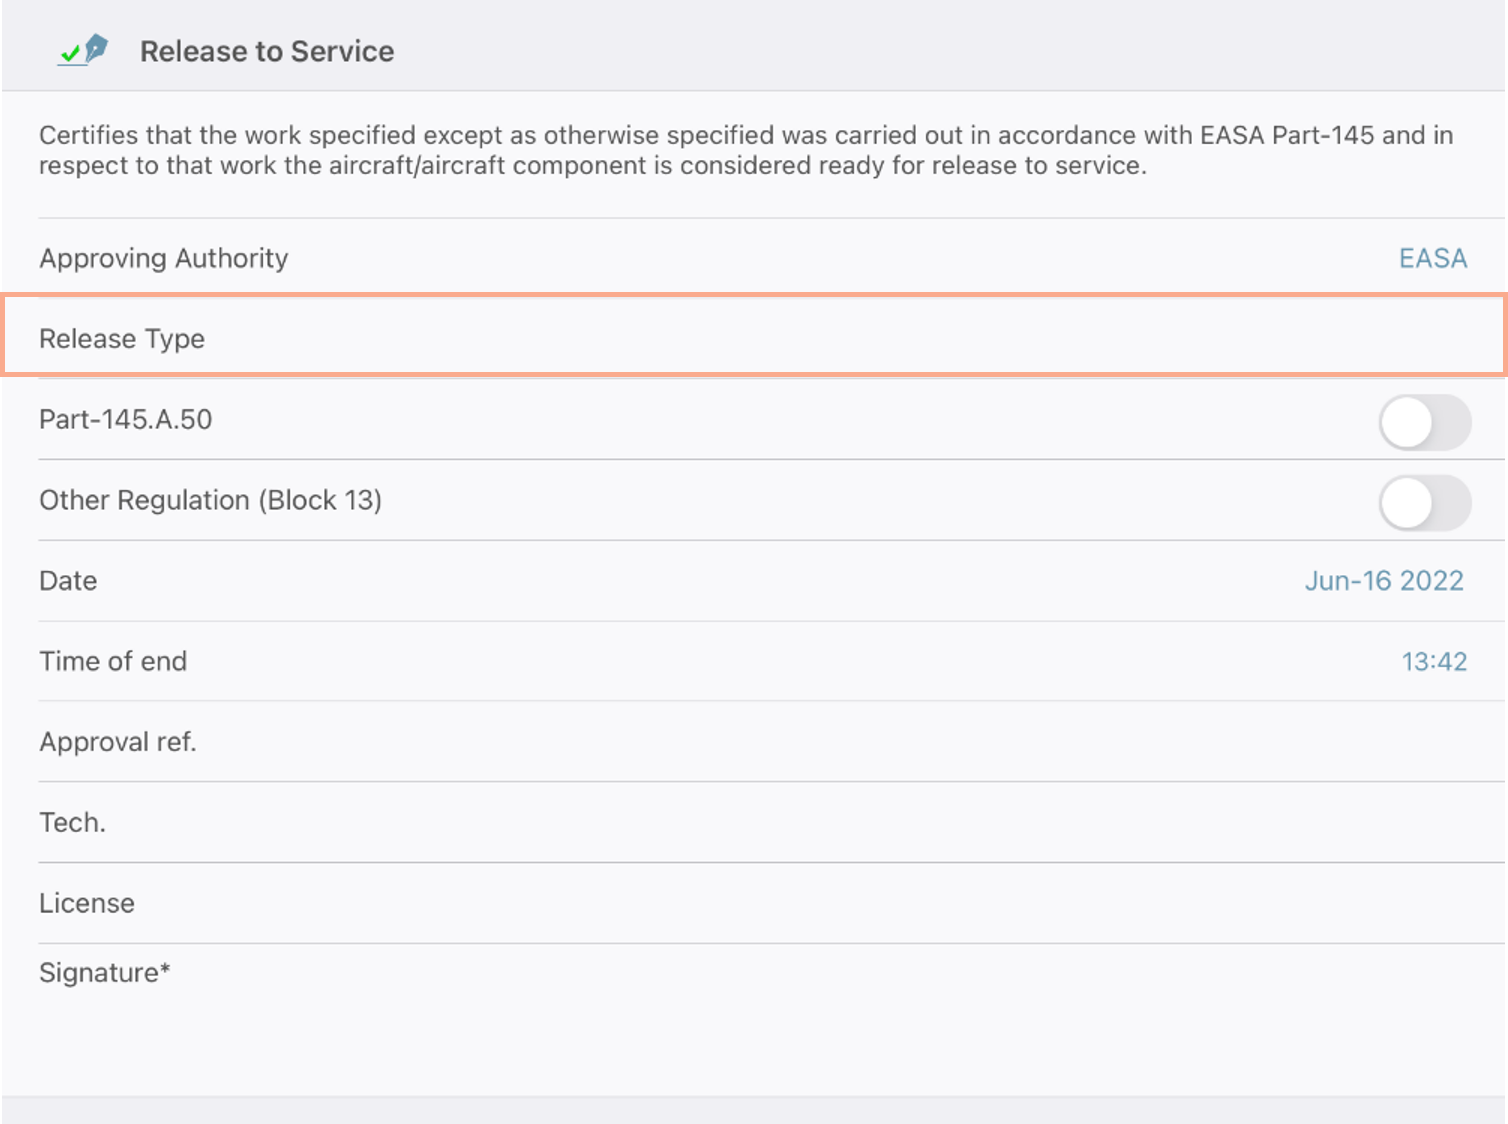
Tap on the ‘Approving authority’ box.
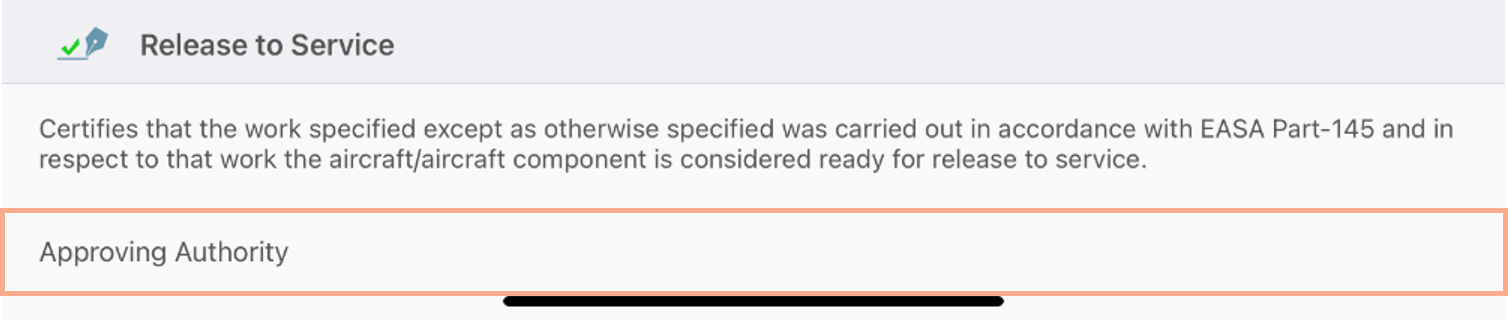
Select the appropriate approving authority or set the information manually.
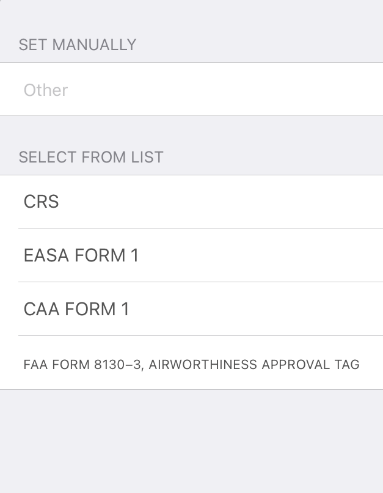
Tap on the ‘Release Type’ box to indicate if you are signing a CRS or a Form 1.
Select an element from the list or set the information manually.
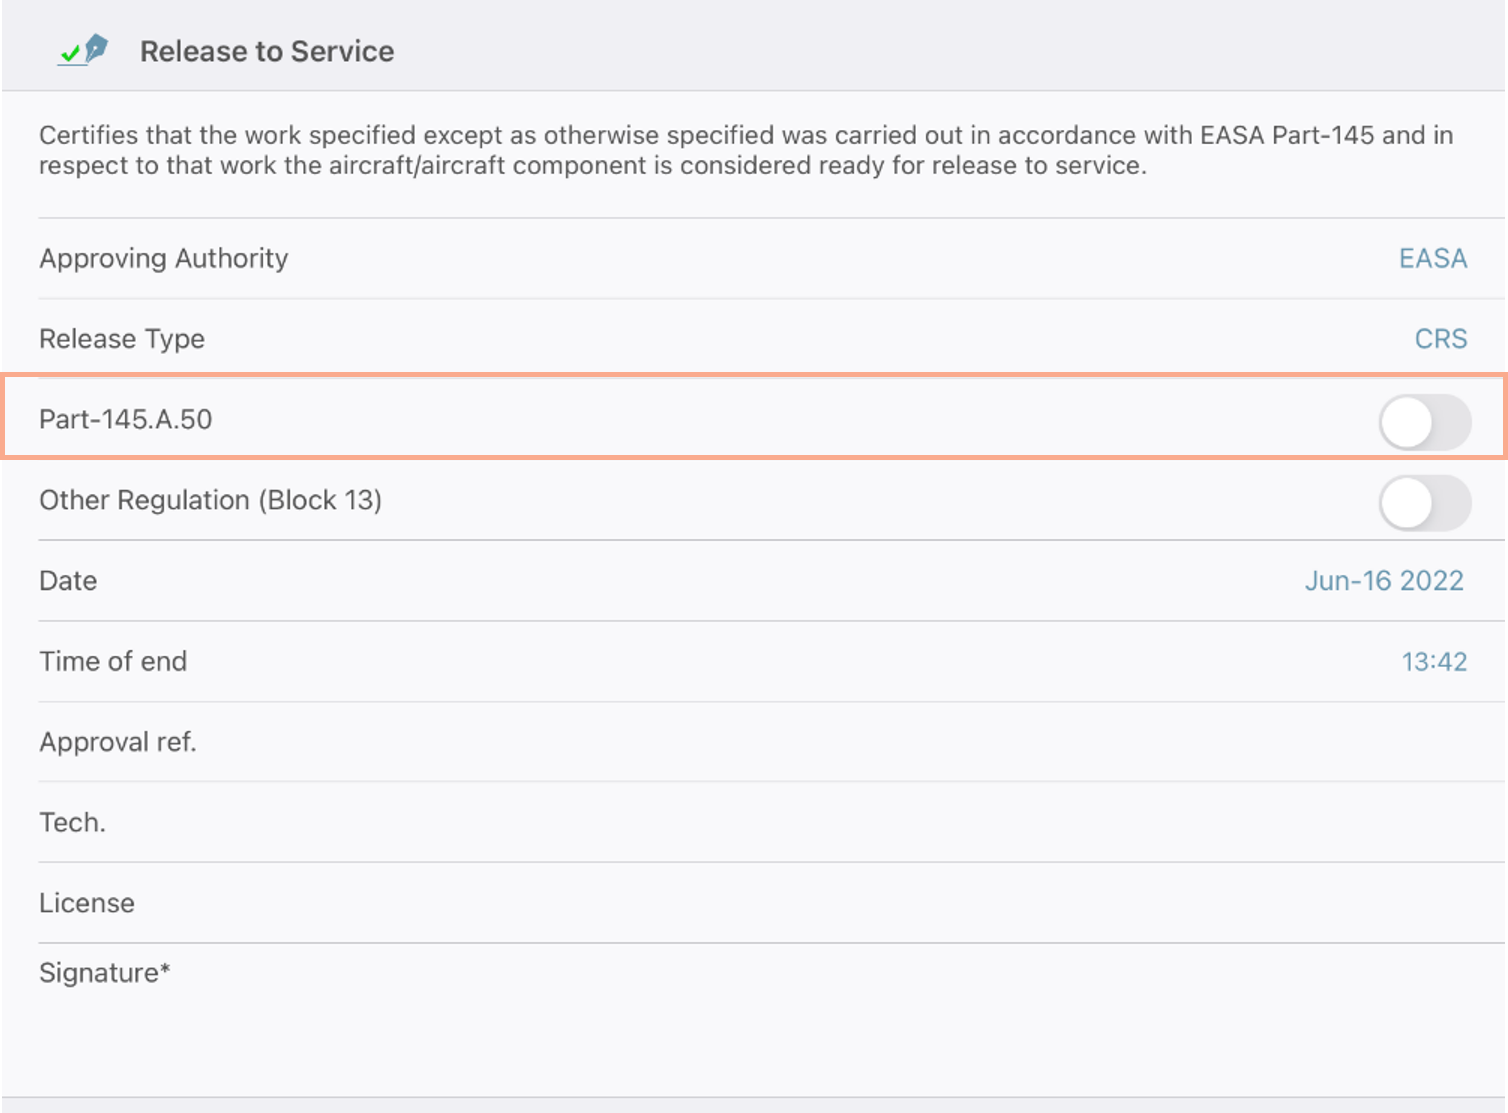
If you are signing a CRS, there is no need to activate the Part-145.A.50 toggle.
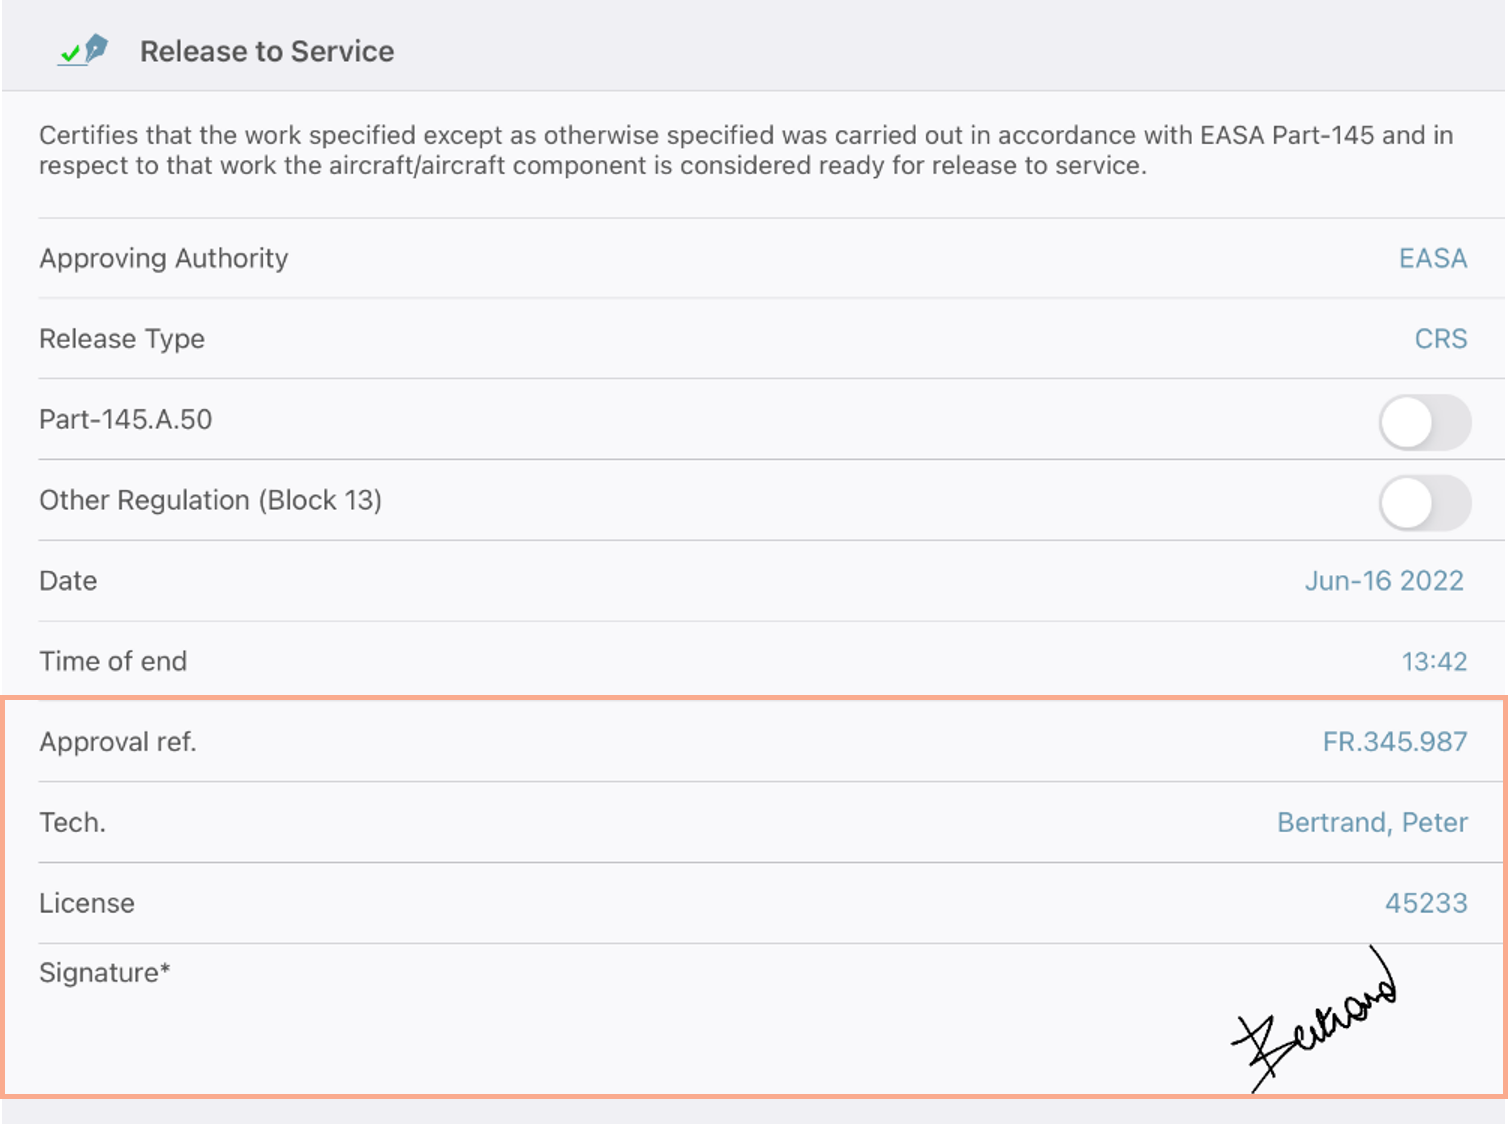
Select the ‘Approval ref.’.
Tap on ‘Tech.’ to badge and display your license.
Tap on the ‘Signature’ box to sign off the CRS.
Then, tap on ‘Done’ on top of the screen.
The work order goes from the ‘Open Work Orders’ section to the ‘Signed Work Orders’ list.
On the desktop version, if you open the work order, click on the ‘CRS / Form 1’ tab, and refresh data, you will see the signed CRS (or Form 1).

If you switch to edit mode  , you will be able to delete the
CRS by clicking on ‘Delete CRS’ in the ‘Release to Service’ box.
, you will be able to delete the
CRS by clicking on ‘Delete CRS’ in the ‘Release to Service’ box.
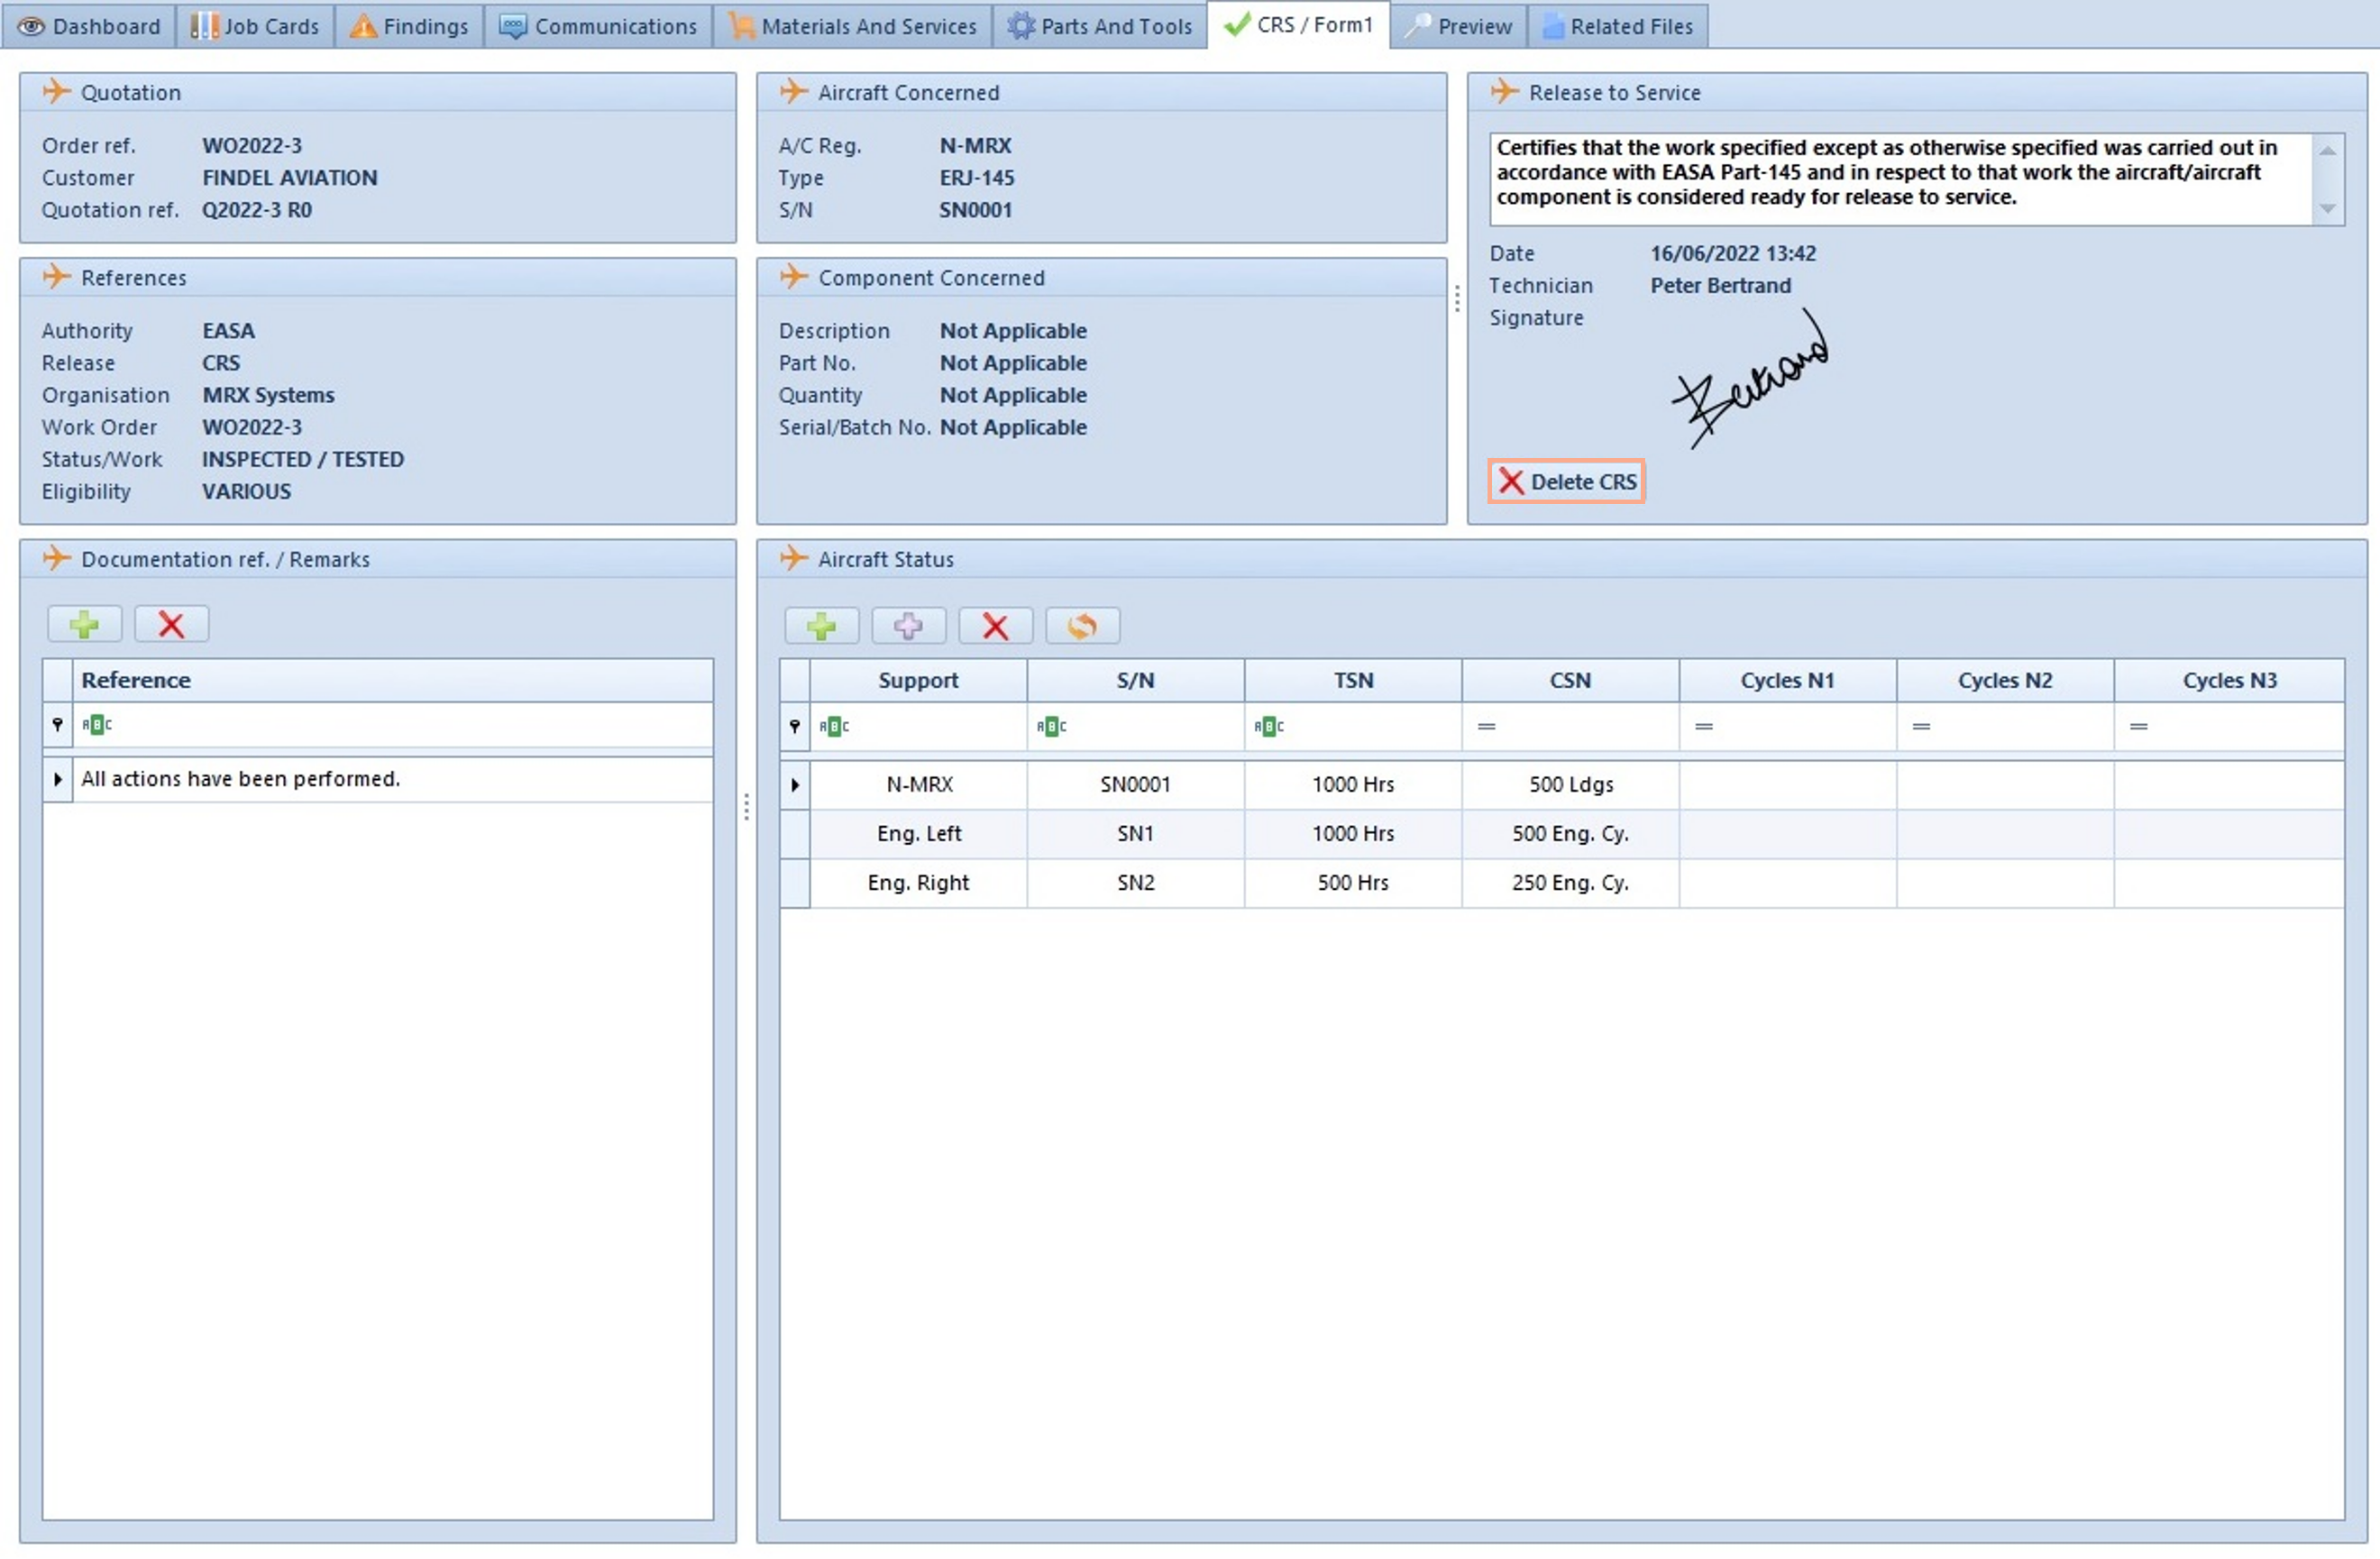
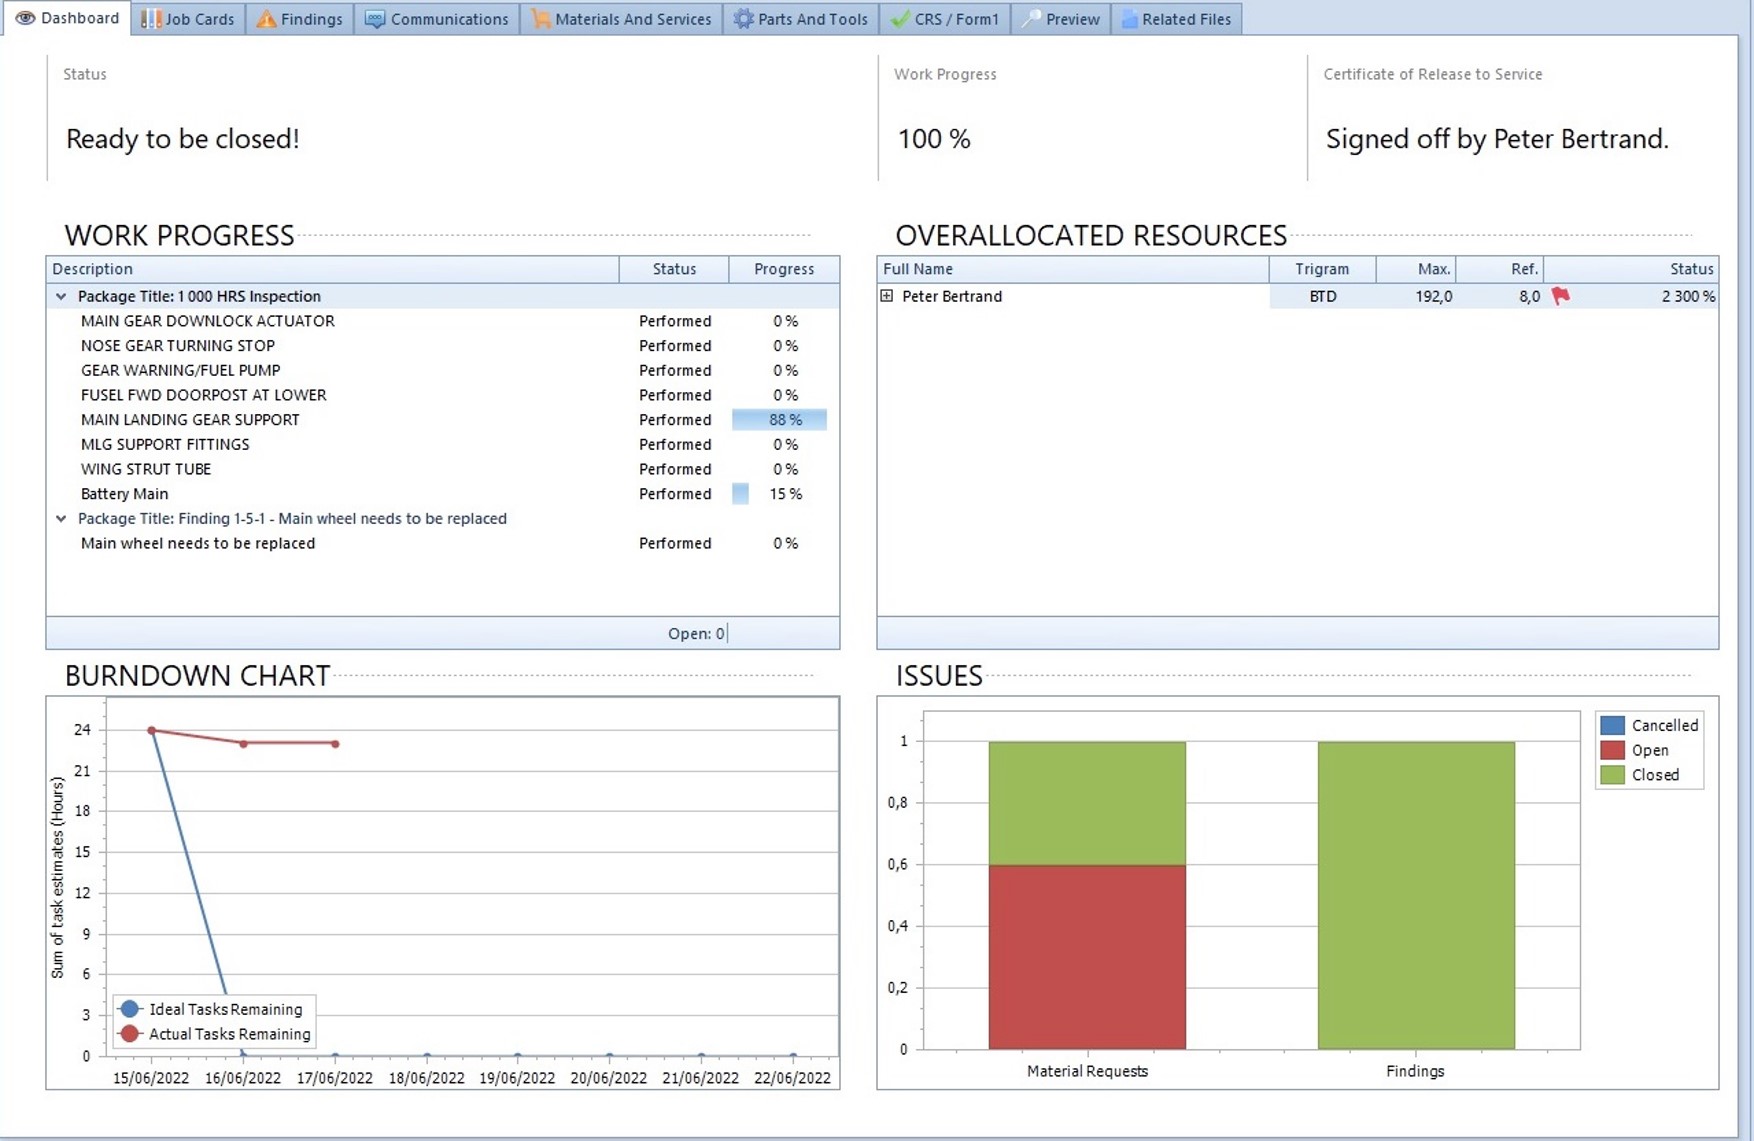
Once the work is completed, the status of the work order is ‘Ready to be closed!’, the work progress is 100% and the CRS is signed, you can export a full work report and upload it in the related files.
You can click on ‘Export full work report’ (icon). Please note that when a project contains more than 250 job cards, the work report will be divided into several documents not to exceed the capacity of the RAM of your computer and get the ‘out of memory’ error.
If needed, you can delete the CRS by opening the 'CRS/Form 1' tab and click on 'Delete CRS'.
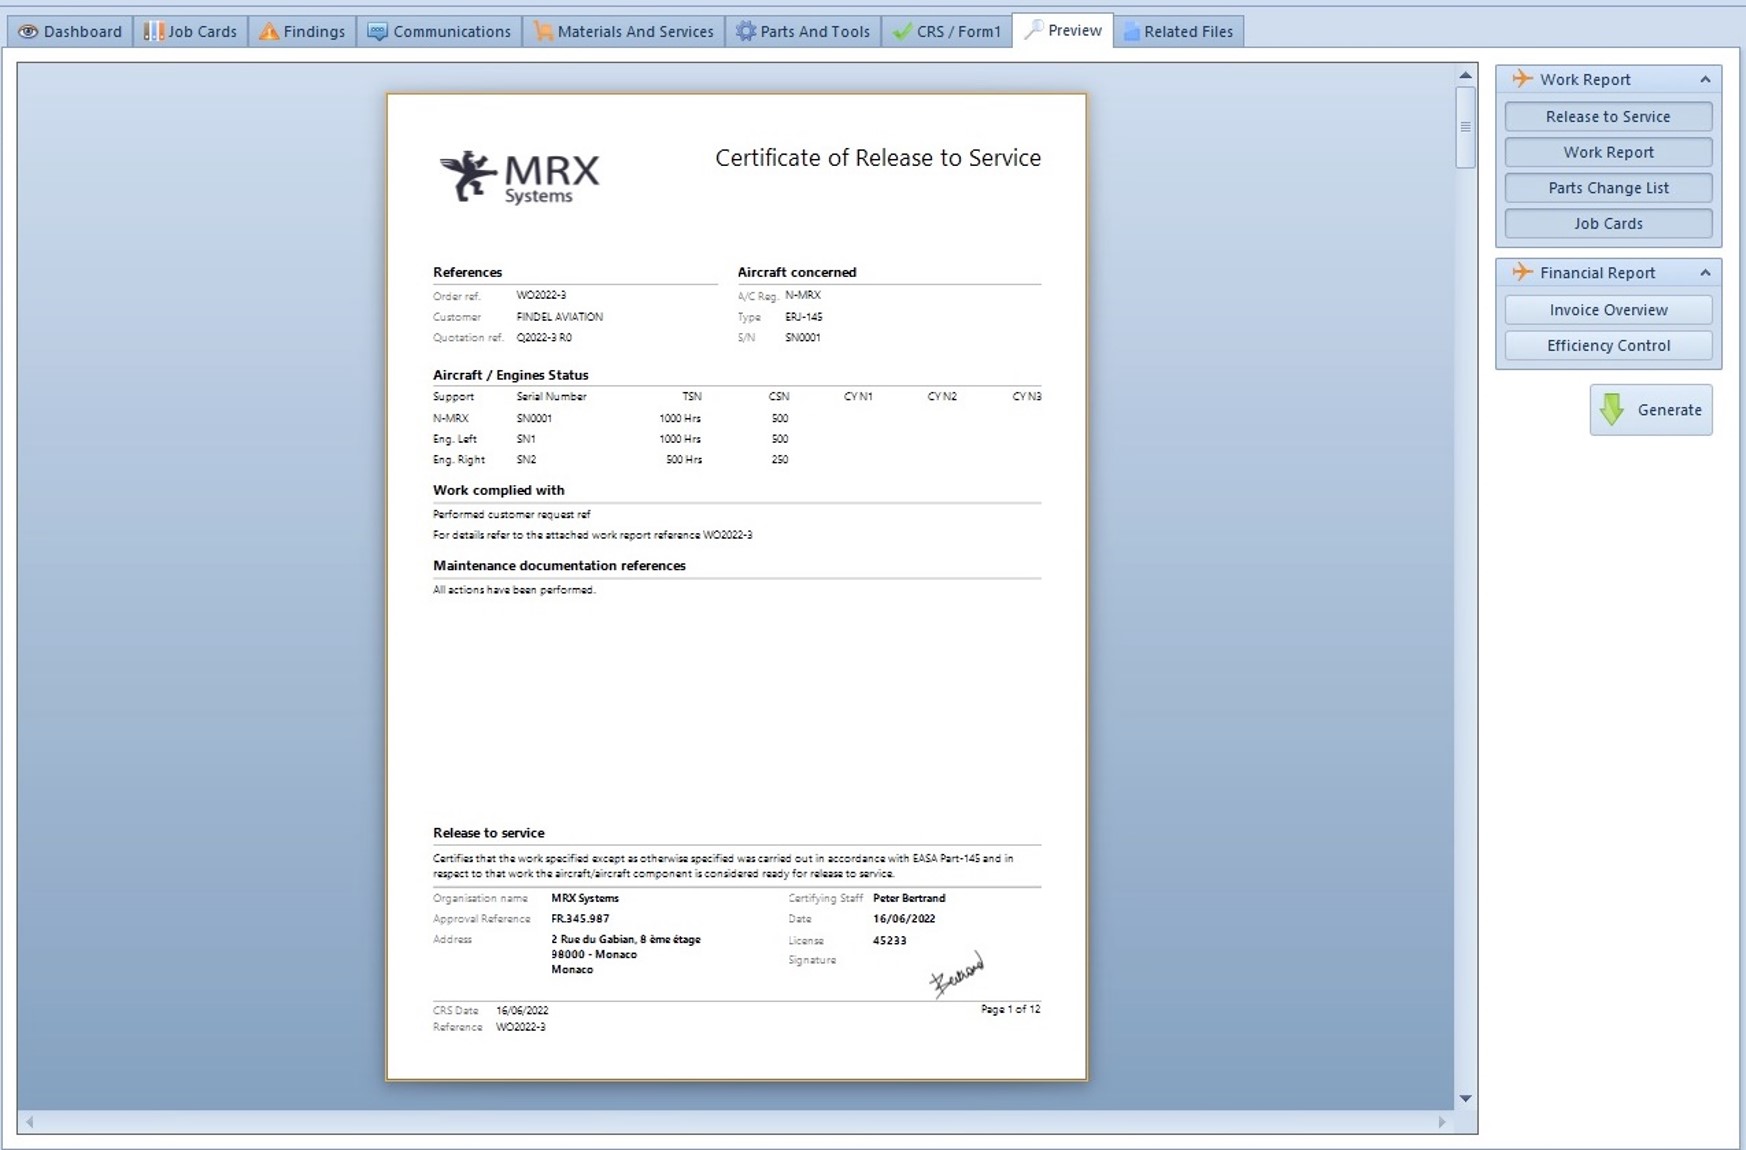
If you click on ’Preview’, you will be able to automatically generate a report with the information of your choice.
Select the appropriate options in the ‘Work Report’ and ‘Financial Report’ sections and click on generate.