
Aircraft And Engines
Add a New Aircraft
To
add a new aircraft to Blue EYE, open the ‘Aircraft and Engines’ sub-module of
the ‘Fleet Overview’ module and switch to edit mode  .
.
Then, click on ‘Add’  in
the main ribbon.
in
the main ribbon.

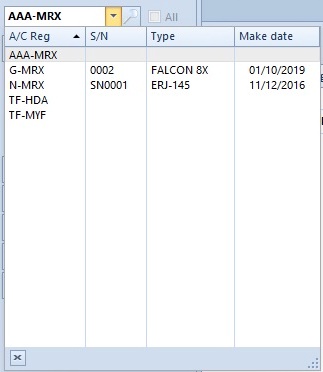
Type the aircraft registration and click on ‘OK’.
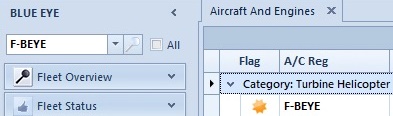
You can now find your new aircraft on the aircraft selector on the top left of the window. Click on it to select it.
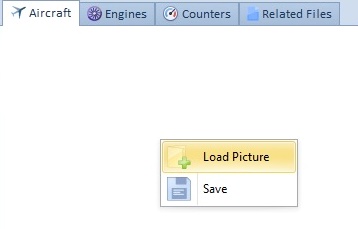
Right-click on the blank space on top of the Aircraft tab (on the right of the screen) as shown below and click on ‘Load Picture’ to add a photo of the aircraft.
The maximum size of the picture is 500x500 px, the ideal size is 350x210 px.
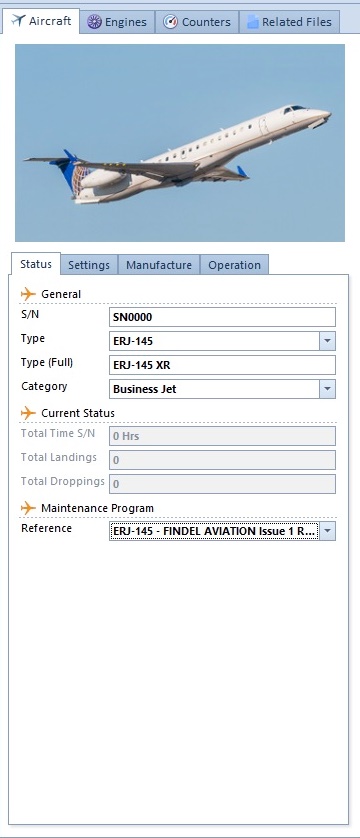
You can now fill in the general information fields. Type the serial number - 'S/N' field, select the aircraft type from the ‘A/C Type’ list (registered in the sub-module ‘A/C Type’ of the ‘Resources’ module) - 'Type' field, enter the full type (in case there is a specific variant of the aircraft type) - 'Type full' field, select the category - 'Category' field, select the relevant maintenance program (created in the ‘Maintenance Programs’ sub-module in the ‘Resources’ module) - 'Reference' field.
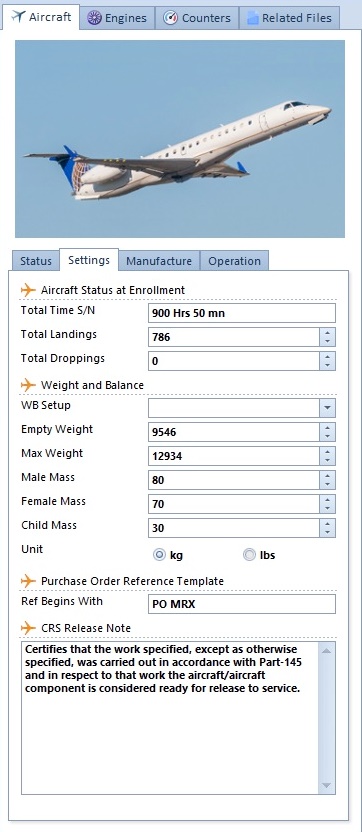
Click on the ‘Settings’ tab as shown below. Type the information required in the 'Aircraft Status at Enrollment' section to indicate the current aircraft status. In the ‘Weight and Balance’ section, add the information that will be retrieved to help you fill in eTechlogs.
Then, enter the purchase order reference template and the CRS release note.
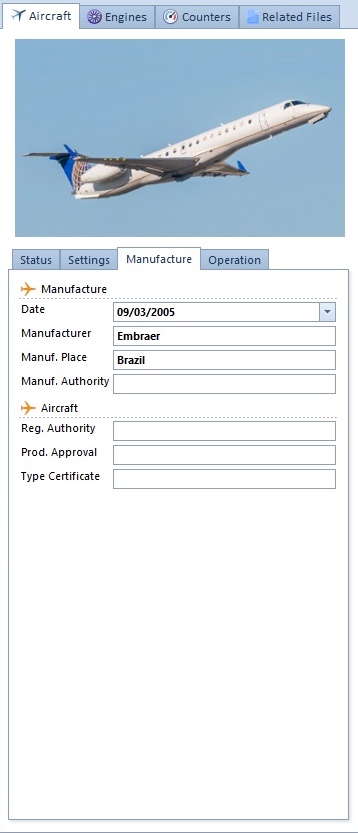
Click on the ‘Manufacture’ tab, and enter the required information.
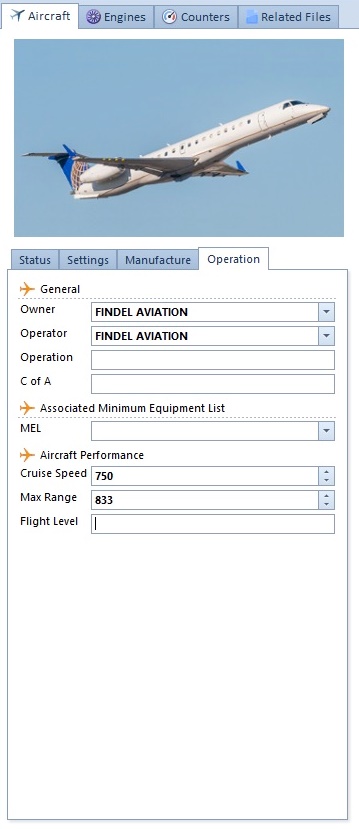
Click on the ‘Operation’ tab, select the owner and the operator from the list. The listed names come from the ‘Address Book’ sub-module of the ‘Resources’ module.
Type
the rest of the information required and click on ‘Save’  .
.
Add engines
In the 'Aircraft & Engines' module, click on 'Engines' in the main ribbon.

To create a new engine, click on the add button  in the main ribbon.

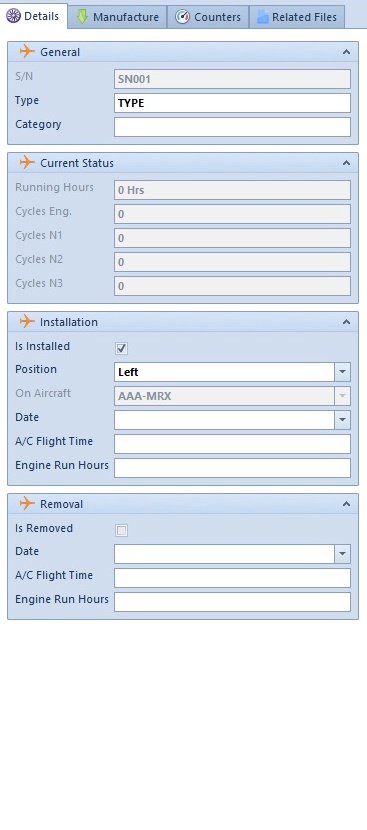
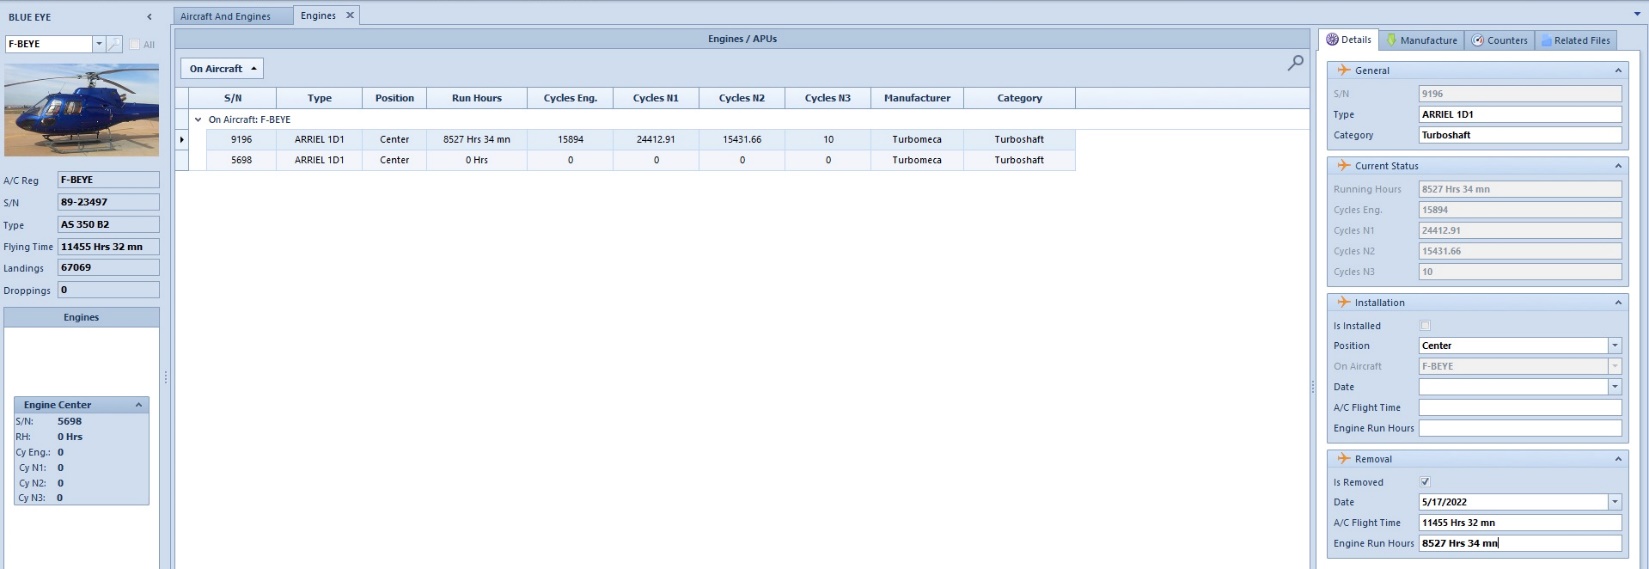
Fill in the required information in the ‘General’ and ‘Installation’ panels and tick the ‘is installed’ box.
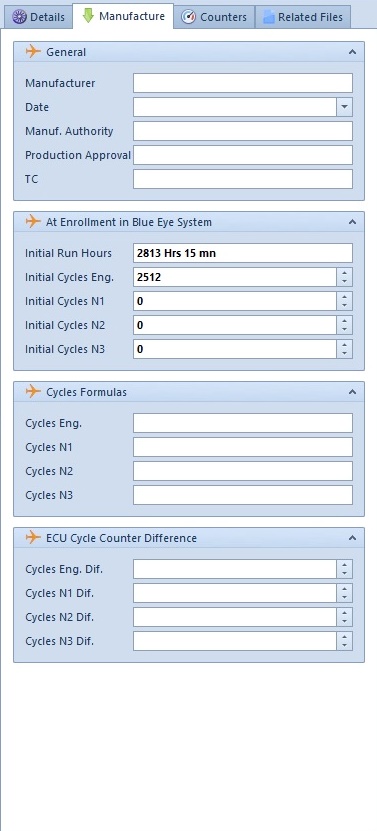
Open the ‘Manufacture’ tab and fill in the fields of the different sections (‘General’, ‘At Enrollment in Blue Eye System’, ‘Cycles Formulas’, ‘ECU Cycle Counter Difference’).
Open the ‘Counters’ tab and click on the plus button to associate counters with the engine.
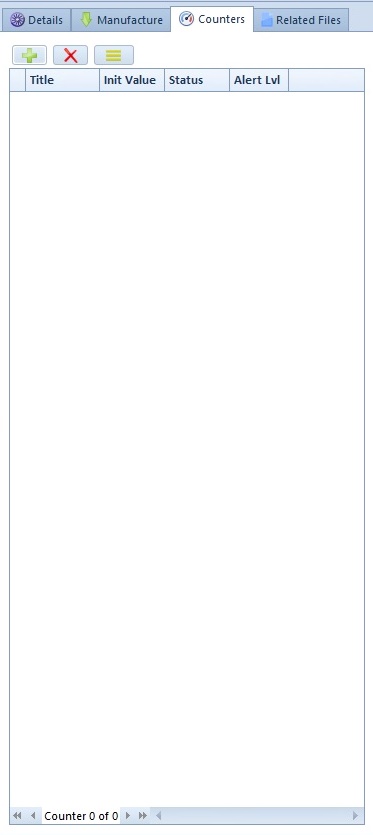
In the pop-up window, tick the boxes related to the appropriate existing counters and click on ‘OK’.

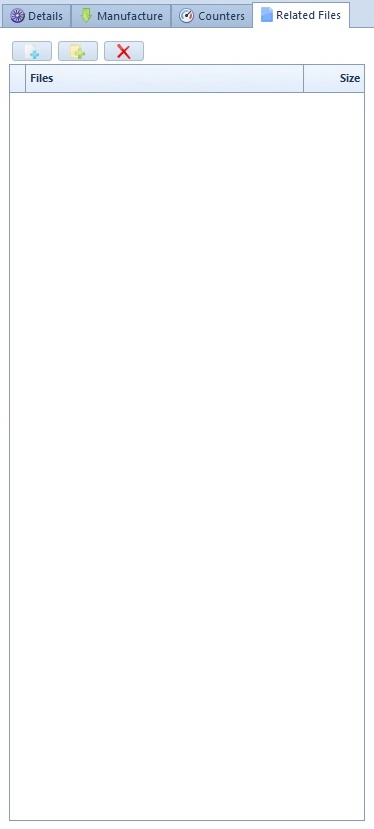
Open the ‘Related Files’ tab to create folders  , add documents related to the engine
  .
.
Once you are done, click on ‘Save’  in the main ribbon.
Give access to the aircraft
Open the ‘Users’ sub-module in the ‘Administration’ module and refresh data (button).
You will see the new aircraft in the ‘Managed Aircraft’ list.

Switch
to edit mode and select a user to add the new aircraft to this user’s ‘Managed
Aircraft’ list. Click on the plus button of the ‘Managed A/Cs’ tab and select
the aircraft. Only the administrator can give access to aircraft.

Change Aircraft Registration
Open the ‘Address Book’ module and select the appropriate address book entity.
Open
the ‘Aircraft’ tab and switch to edit mode .
Select the aircraft of your choice and click on the edition button.

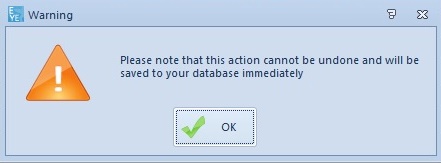
A pop-up window appears to warn you that the action is definitive and has immediate consequences.
Click on ‘OK’.
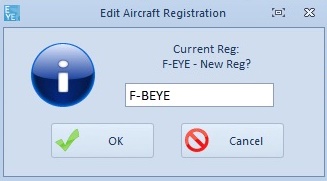
Type the new aircraft registration and click on ‘OK’.
A pop-up window appears to confirm the changes. Click on ‘OK’.

Click
on ‘Save’ in the main ribbon.

The aircraft registration is now modified.
You need to restart Blue EYE to see the changes elsewhere than in the address book entity.
Here is the result after restarting Blue EYE.
Standard Engine Exchange
1- In the "Engines" module, create a new engine and fill its basic information (Type, S/N, Position, TSN, CSN, etc.).
2- Set it as fitted by ticking the ‘Installed’ box. Select the replaced engine and tick the ‘Not installed’ box.
3- In each module of the "Fleet Status" section, select all elements of the replaced engine and duplicate them on the newly fitted engine (you will have to manually set the parts serial numbers and installed dates, and for all tracking events the "Last Performed†information). You will also have to perform AD-SB analyze.
4- All the tracking events associated to the replaced engines have to be set as "inactive" so they do not appear in the due list anymore.
Open the ‘Aircraft and Engines’ module and click on ‘Engines’ in the main ribbon.

Switch
to edit
mode click
on the add
button: add button
Fill in the required information (![]() Genenal,
Genenal, ![]() Current Status,
Current Status, ![]() Installation) and tick the ‘is installed’ box.
Installation) and tick the ‘is installed’ box.
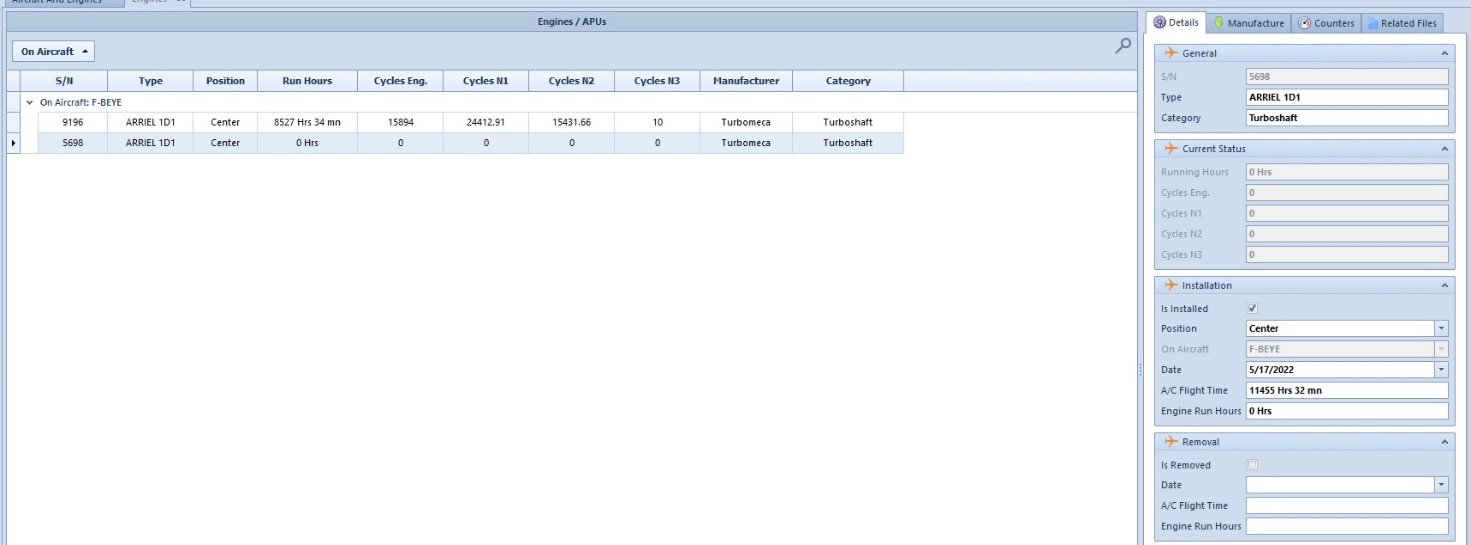
Fill in the Manufacturer information as well as the Engines Counters in the 'Manufacture' tab and in the 'Counters' tab if applicable.


Select the engine that is being replaced.
Click here (petite loupe icon) to display the basic aircraft status information. This will help you fill in the ‘A/C Flight Time’ field.
Tick the ‘is removed’ box and fill the removal information.
Once you are done, click on ‘Save’ .
Open the ‘Component Status’ module (icon) and click on ‘Engine Components’ (icon).

Switch to edit mode .
You can filter to only display the engine components of the replaced engine.
Here, there is only one engine but this can be helpful for aircraft that have more than one engine.

You can click on the 'Hide Removed Comp.' button to hide removed components.
Select all the engine components and click on ’Duplicate’  .
.

Select the appropriate aircraft and click on ‘OK’.

Select the newly fitted engine and click on ‘OK’.

Now, you can see the newly fitted engine in the engines list.

Set as inactive all the tracking events of the engine that is being replaced.

Facultative: To avoid confusion, you can go back to the engine module and add ‘(Removed)’ to the serial number field of the engine that is being replaced. This will be displayed for all the components related to this engine.

Update the Engines Components.
Filter to only display the components of the newly fitted engine.

Update the ‘last performed’ information (‘Last Perf.’ field in the
‘Tracking’ section) and click on ‘Save’ .
You can add the item serial number (![]() General) and the installation information (
General) and the installation information (![]() Installation).
Installation).

Update the inspections.
Open the ‘Inspections’ module.
Filter to only display the inspections that are related to the engine that is being replaced.

Set as inactive all the tracking events of the engine that is being replaced.

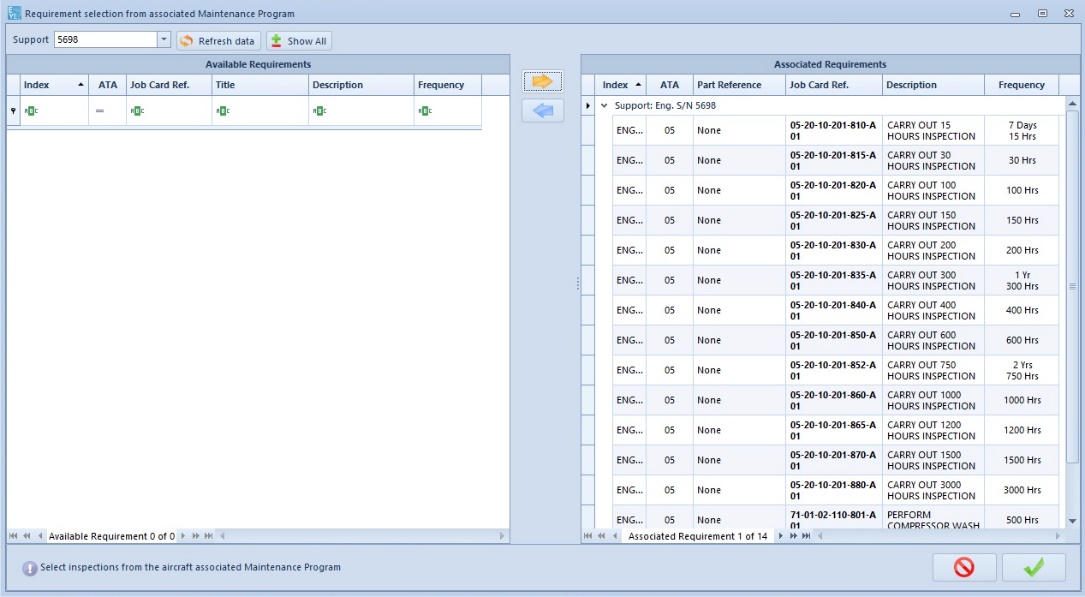
Click on the ‘Add’ button .
Select the appropriate support thanks to the selector on the top right corner of the pop-up window.
Select all the tasks.
Click this button ![]() to add the items to the ‘Associated Requirement’ panel.
to add the items to the ‘Associated Requirement’ panel.
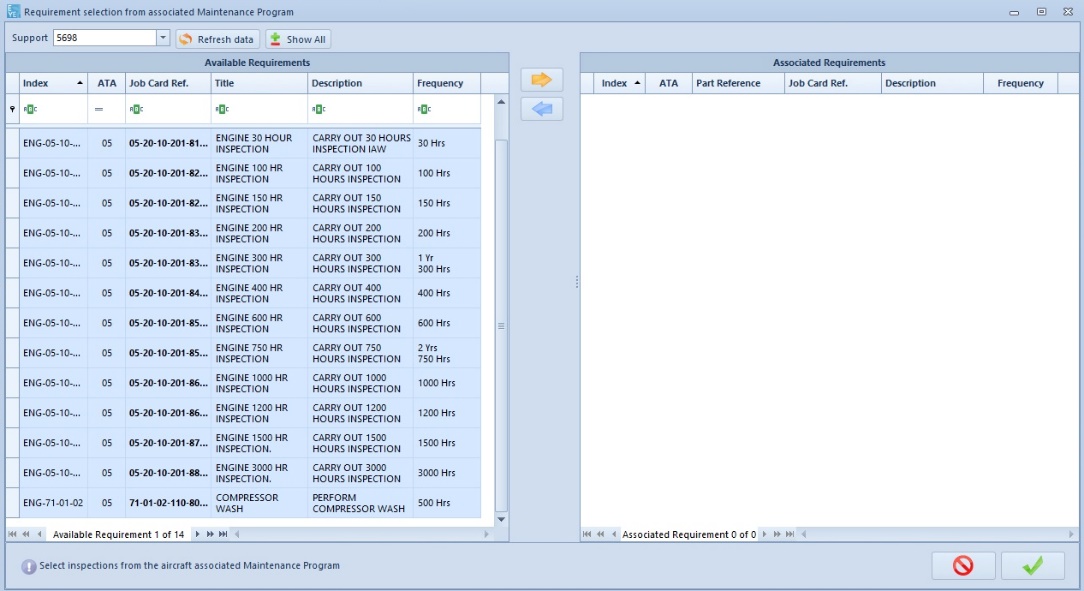
Click here to validate.
Update the ‘last performed’ fields for all the inspections related to the newly fitted engine.
Once you are done, click on ‘Save’ .
Update the ‘last performed’ fields for all the inspections related to the newly fitted engine. (‘Last Perf.’ field in the ‘Tracking’ section).

Open the ’Publications’ module
Set as inactive all the tracking events of the engine that is being replaced.

Select all the Airworthiness Directives of the engine that is being replaced.
Then, click on ‘Duplicate’ .

Select the appropriate aircraft and click on ‘OK’.

Select the appropriate engine and click on ‘OK’.

Expand the content of the newly fitted engine.
Update the ‘Last Performed’ fields of the newly fitted engine (‘Last Perf.’ field in the ‘Tracking’ section).

Once you are done, click on ‘Manufacturer Publications’ in the main ribbon. Duplicate the tasks on the new engine.
Set the last performed related to the newly fitted engine.

Open the ‘Miscellaneous Items’ module.
Set as inactive all the tracking events of the engine that is being replaced.

Select all the items related to the former engine and click on ‘Duplicate’ .
In the pop-up window, select the appropriate aircraft and click on ‘OK’.

Select the newly fitted engine and click on ‘OK’.

Update the ‘Last Performed’ fields of the newly fitted engine (‘Last Pef.’ field in the ‘Tracking’ section).
Once you are done, click on ‘Save’ .

Automatic Engine Cycle Calculation
In the « Aircraft and Engines » module, click on « Engines » in the main ribbon to access your engines detail information.
For each concerned engine, in the « Manufacture » detail tab, add the formulas in the group « Cycles Formulas ».
<img src="insert the path here" alt="">
Formula syntax
Available fields:
Operators:
Syntax:
Example :
Formula example for Cycles N1 :
[START]*0.6 + [LDG]*0.1
Once this formula is recorded, the « Cycle N1 » field will be calculated automatically.