Findings
Create a Finding
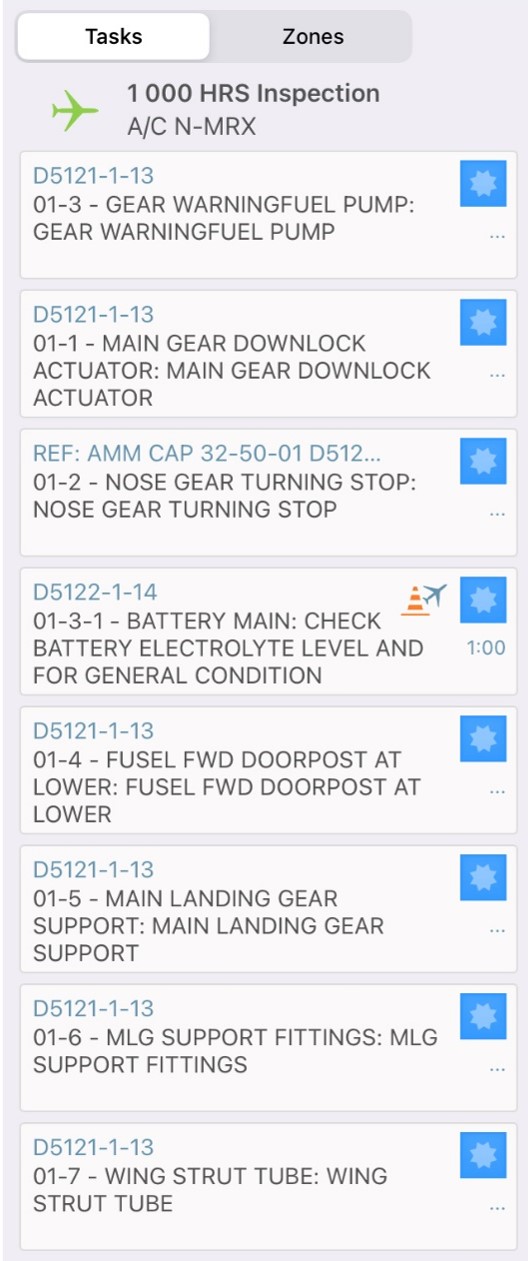
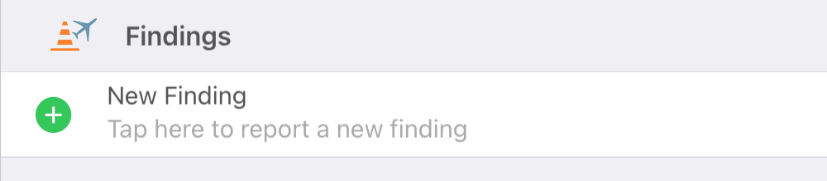
When completing a job card, a technician might need to declare a finding. To do so, tap on ‘New Finding’.
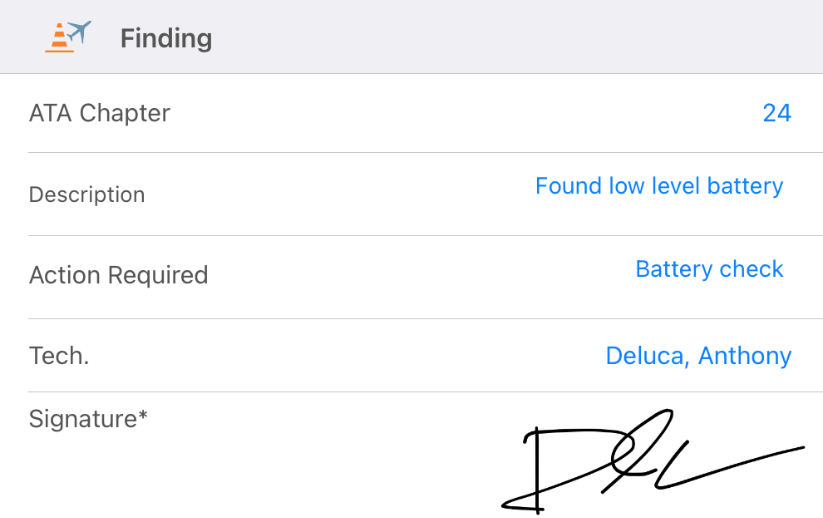
The ‘New Finding’ form appears. You will see below how to fill it in.
‘ATA Chapter’ field: Select an ATA Chapter from the list that will be displayed when you click on the field.
‘Description’ field and ‘Action Required’ field: Describe the finding and the action required thanks to the free text fields.
‘Tech.’ field: Tap on this field and badge.
‘Signature’ field: Sign to certify that you are the person declaring the finding.
To describe the corrective action recommended, you can click on the ‘Job Card’ button (icon pac-kage and job-card) or the ‘Package’ button.
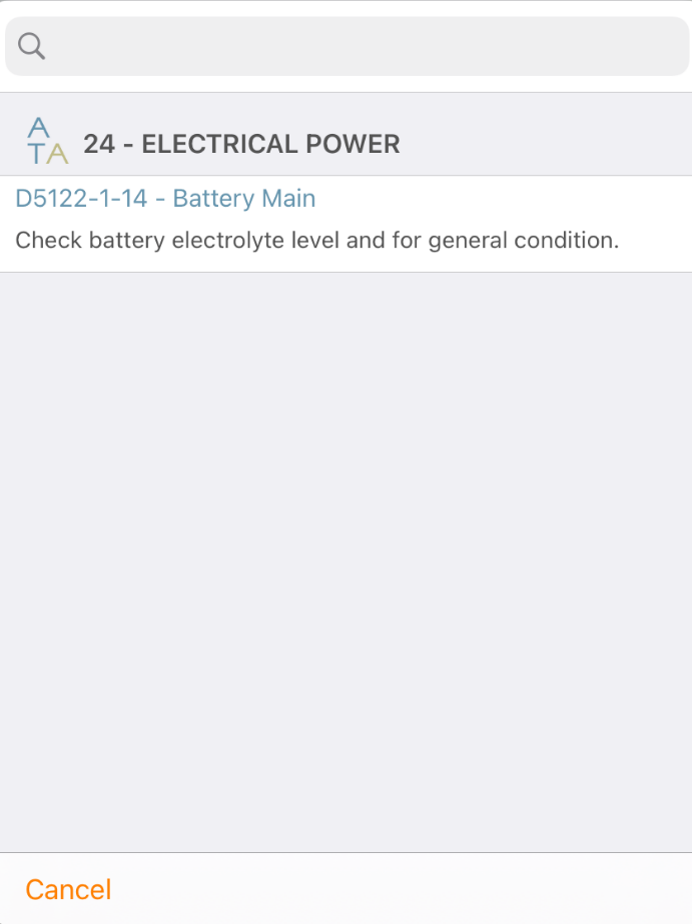
A window appears to let you select the existing job card or the package (created in the ‘Job Cards’ submodule in the ‘Resources’ module of the desktop version) of your choice.
Tap on the search bar and type what you need to find the relevant job card or package.
Select the appropriate job card or package.
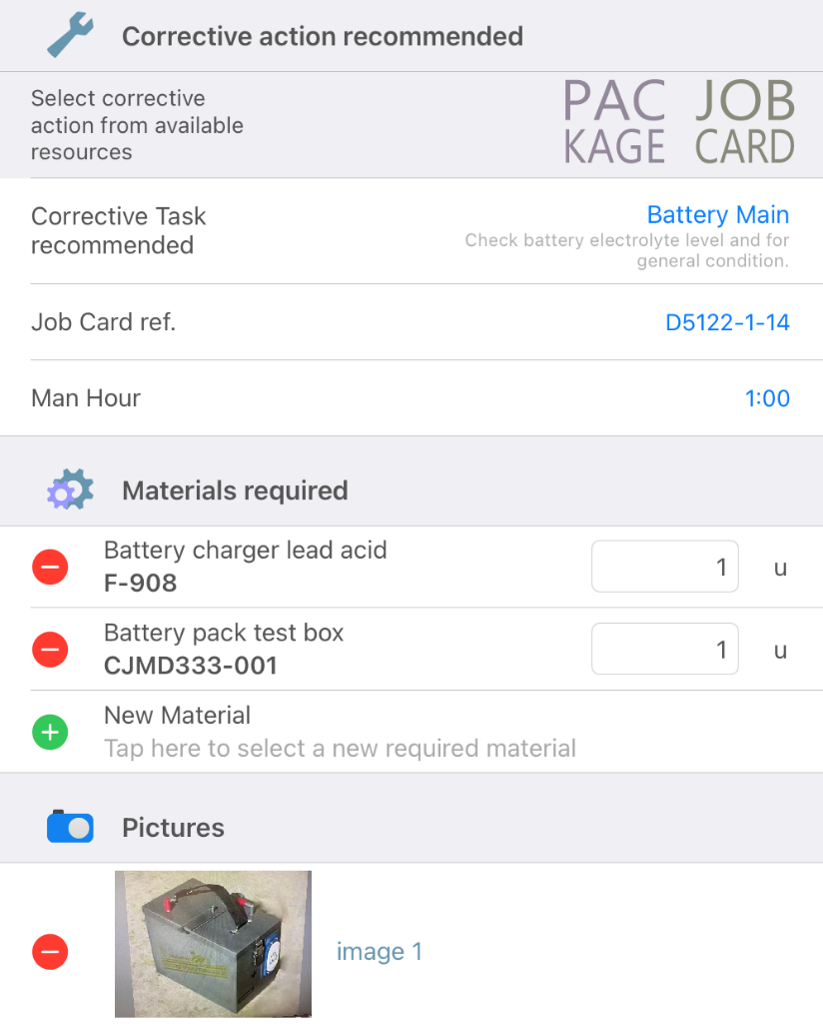
The ‘Corrective Task recommended’, ‘Job Card ref.’, and ‘Man Hour’ fields will be automatically filled in, according to the information of the job card.
The material required is taken from the job card’s information as well.
In the ‘Pictures’ section, you can take a picture to illustrate the finding.
Once you have completed everything, tap on ‘Done’.
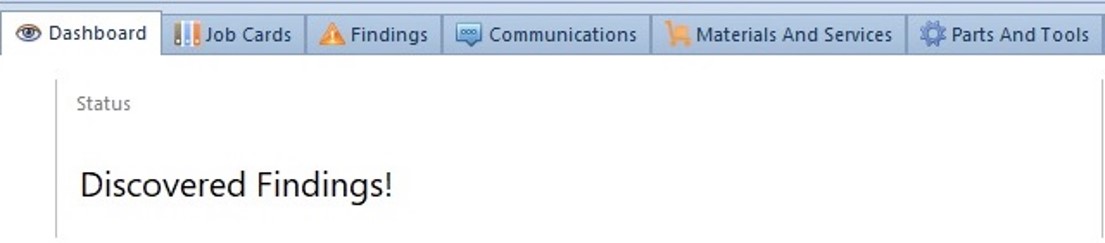
On the desktop version, open the ‘Work Orders’ module. You will see that a finding has been discovered.
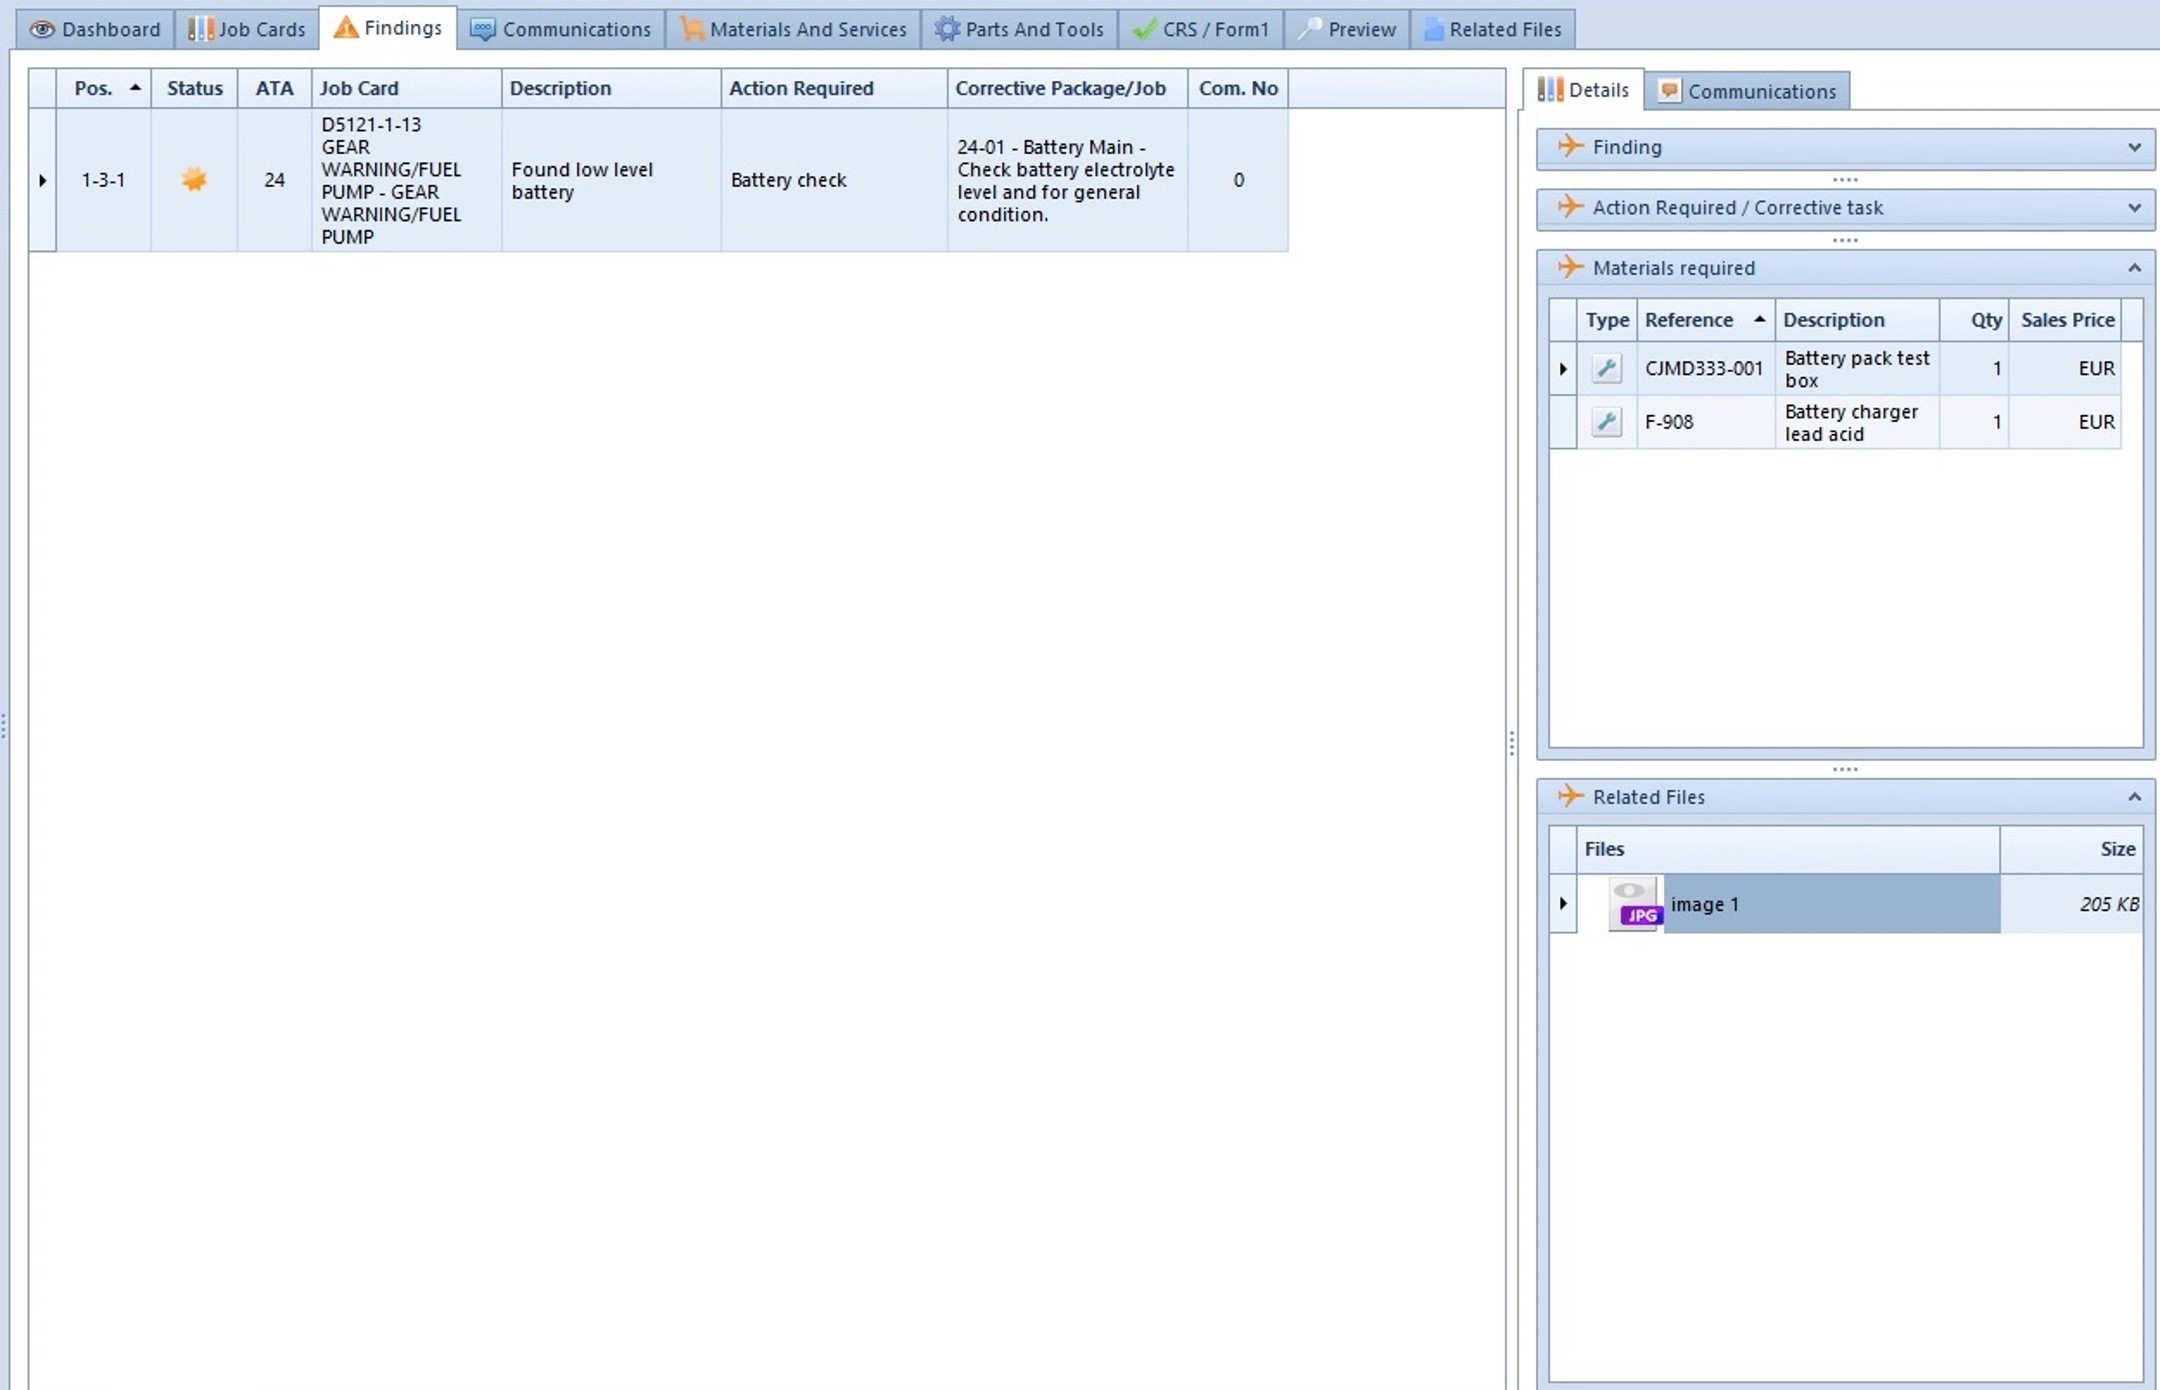
If you open the ‘Findings’ tab, you will see the finding you declared with the picture you took and the list of the material required.
You
can
either
cancel the finding by clicking on this button  if the finding
has been accidentally declared.
if the finding
has been accidentally declared.
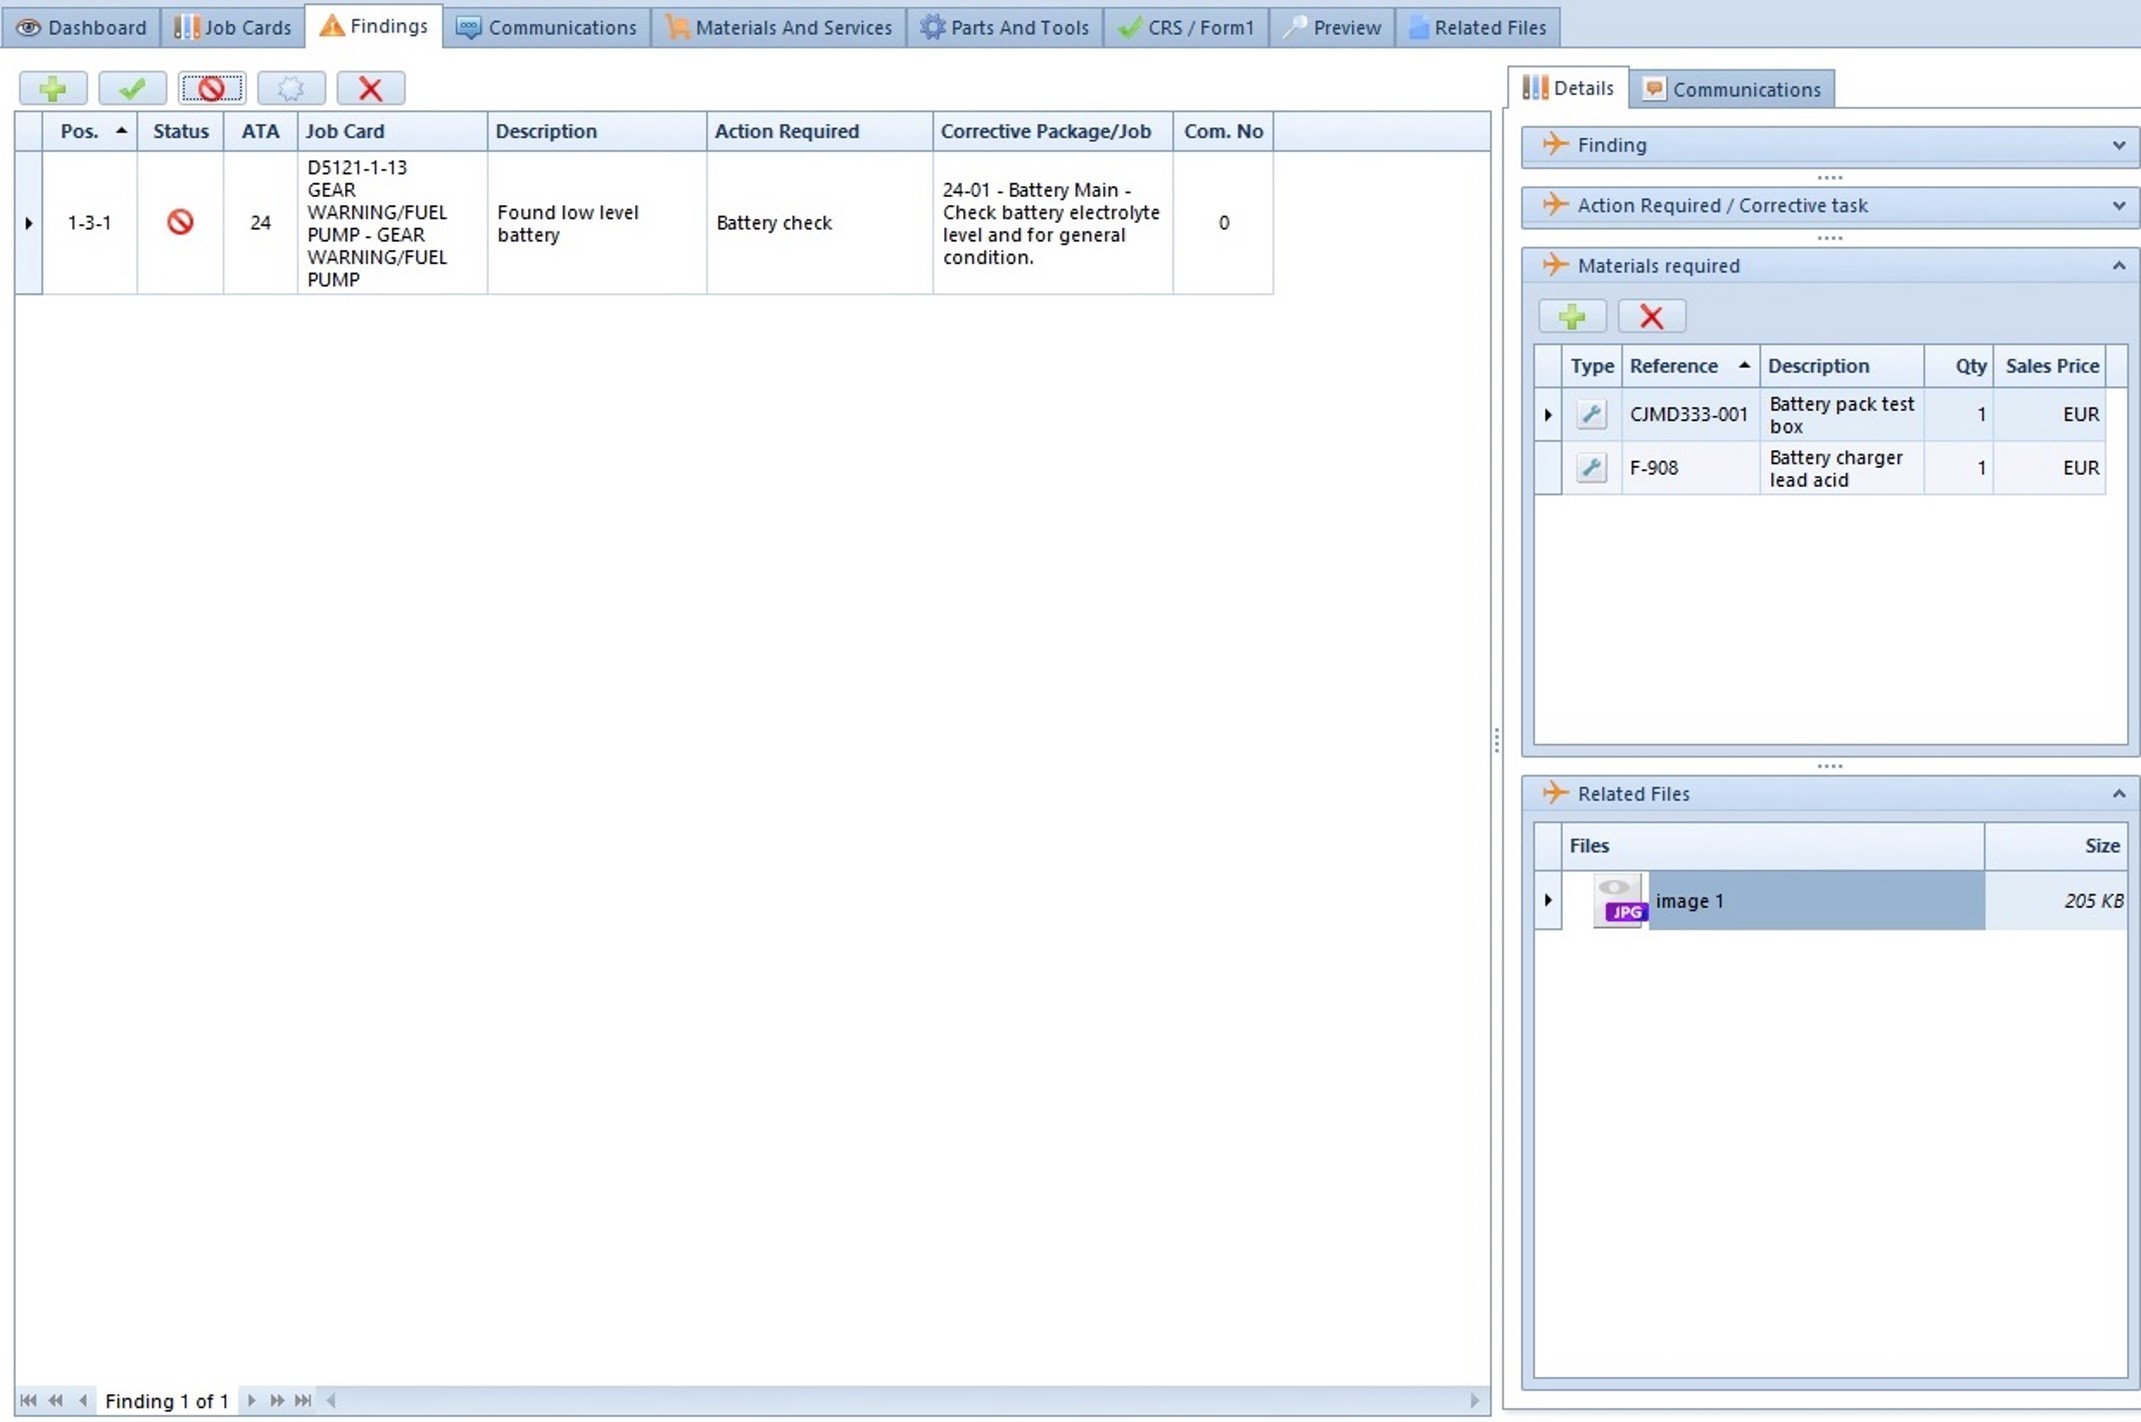
Or you can validate your finding if the corrective action has been directly completed.

To add this finding to a quotation, open the ‘Quotations’ module. Switch to edit mode and click on ‘Add Quotation’ in the main ribbon.
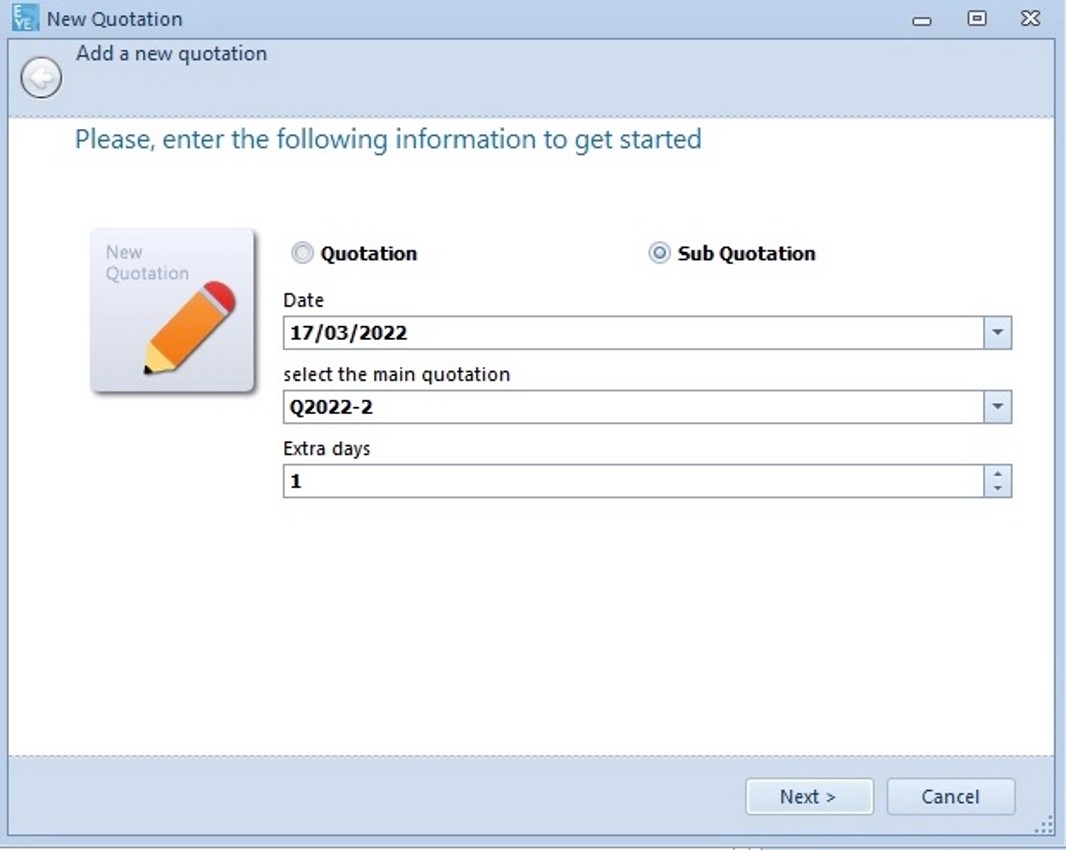
In the pop-up window, select ‘Sub Quotation’, select the date, choose the appropriate main quotation, and indicate the number of extra days of work required.
Then, click on ‘Next’.
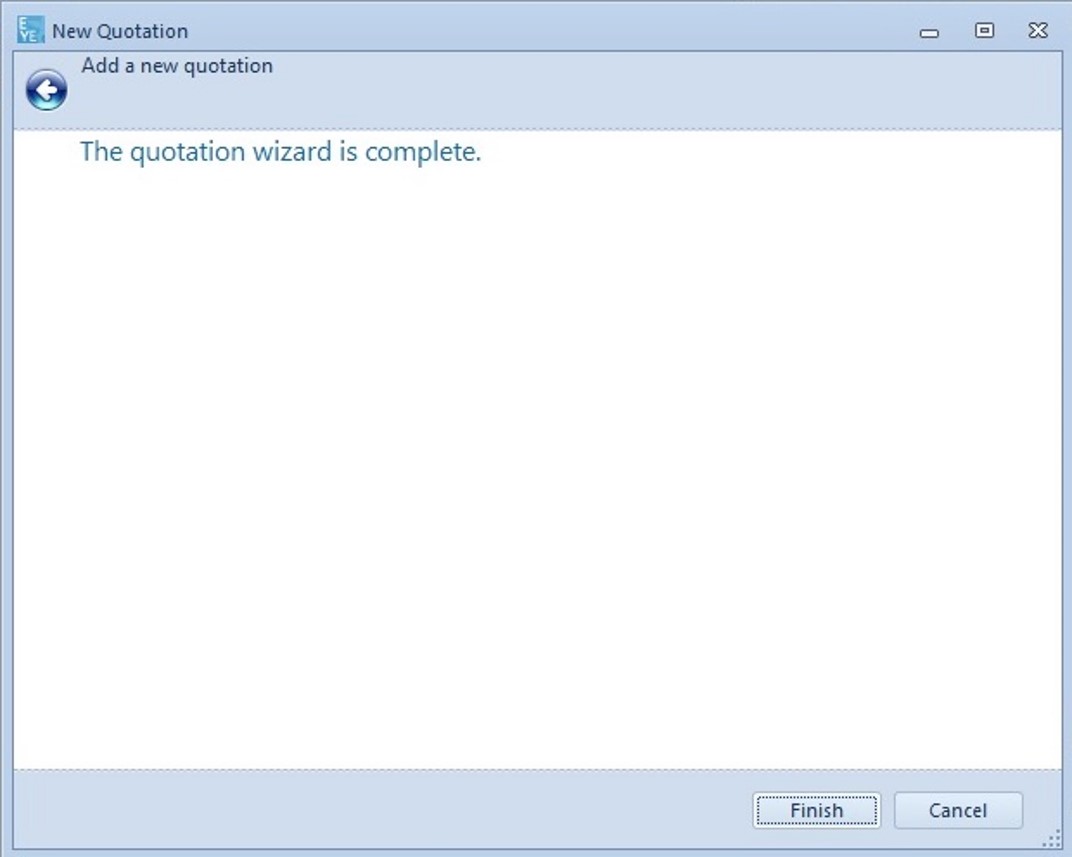
The quotation wizard is now complete. You can click on ‘Finish’ to access the next step.
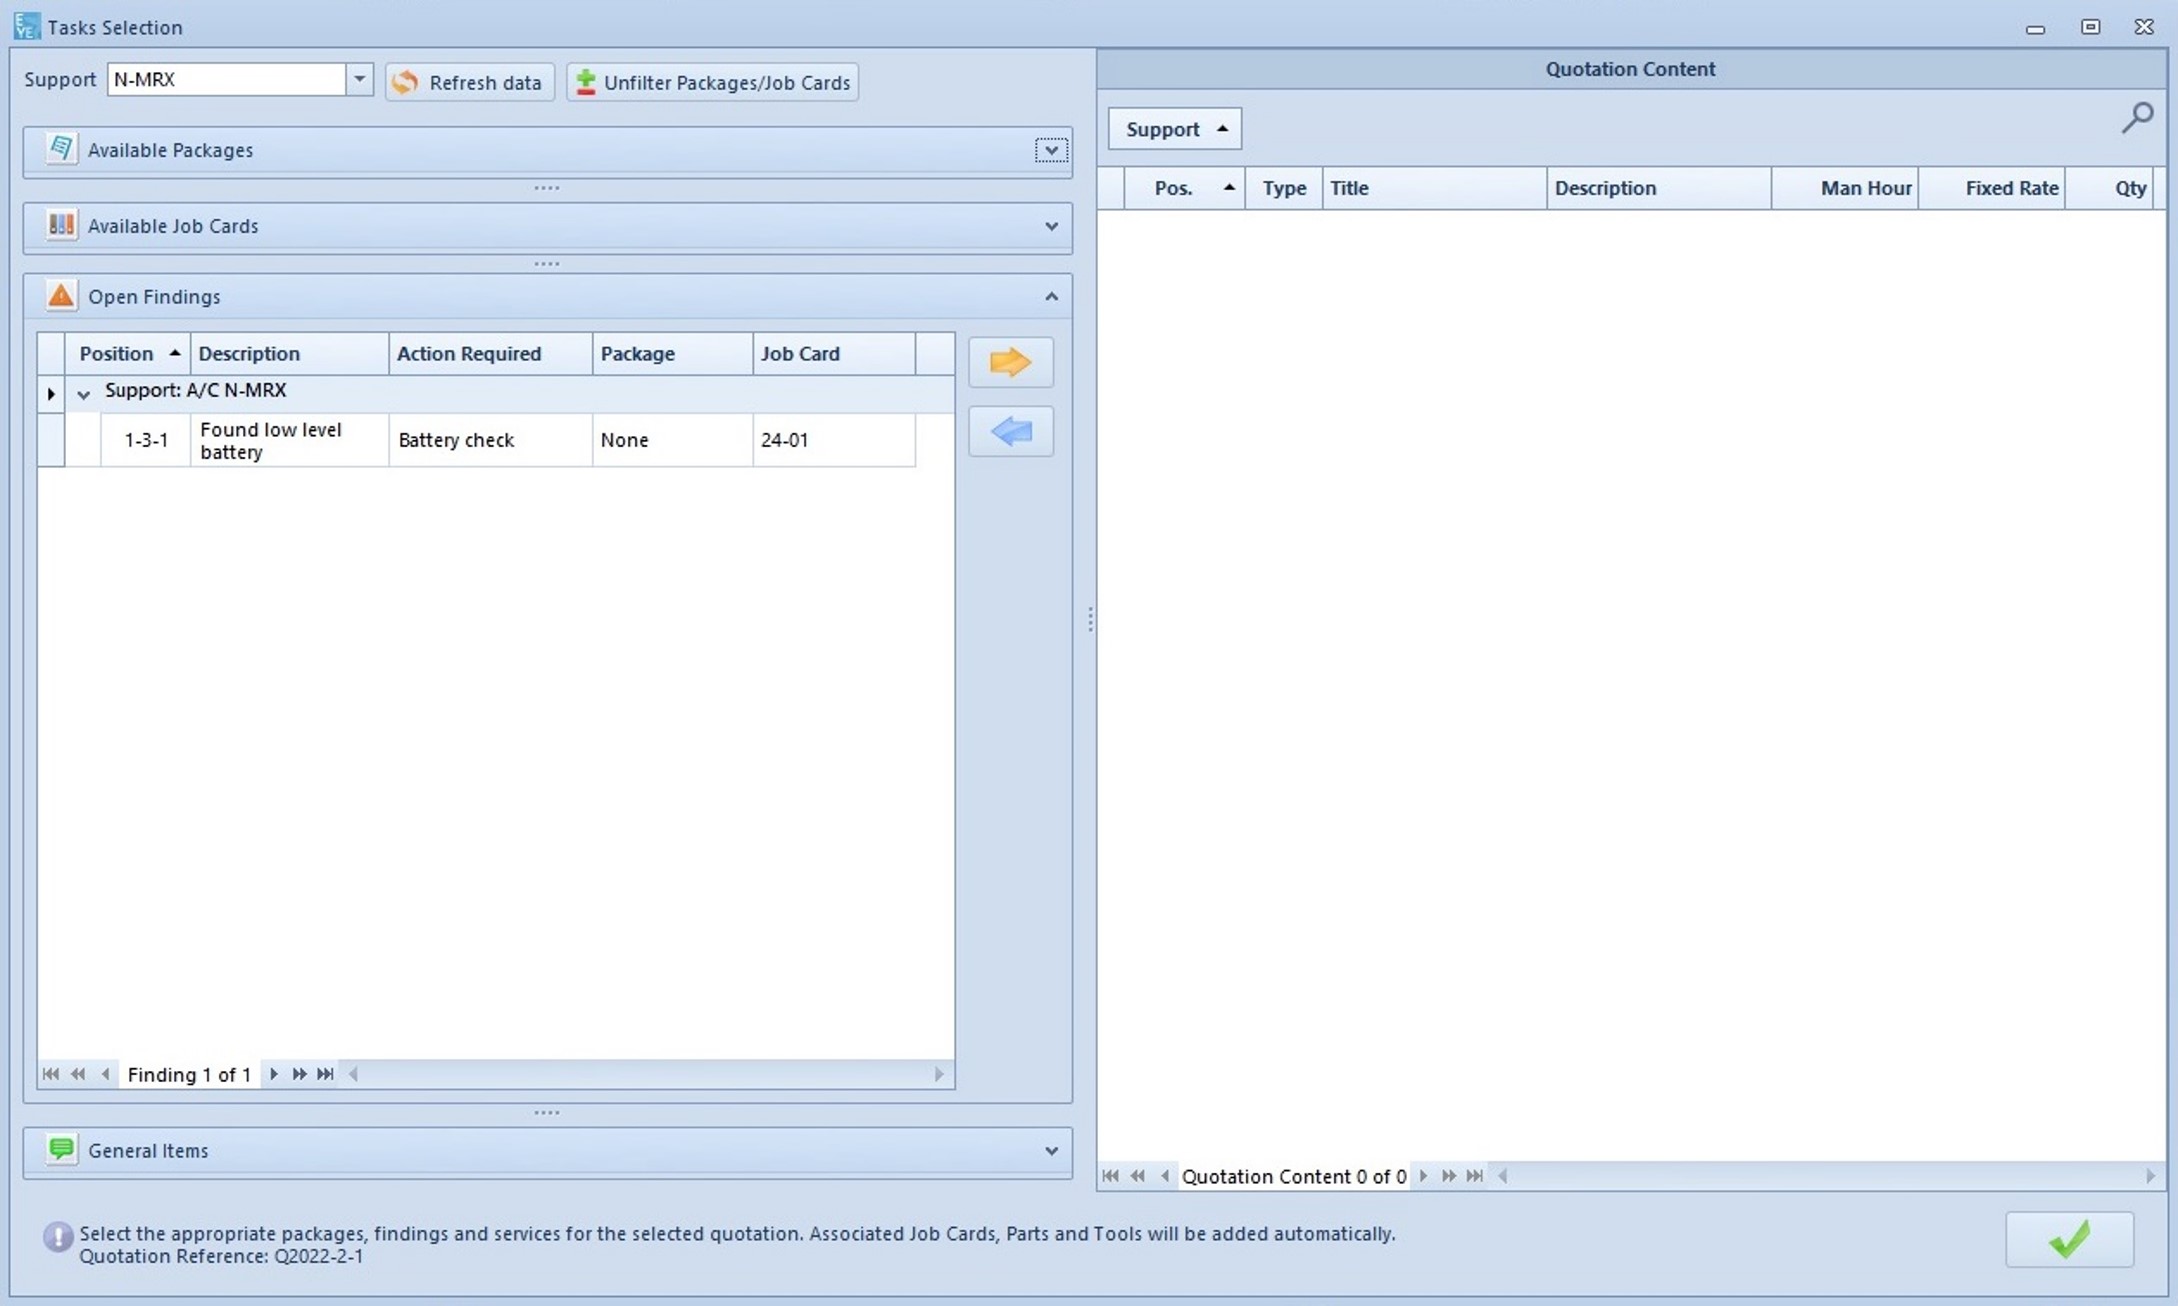
You are now able to select the finding from the Open Findings list and add it to the quotation content.
Select
it
and click on the orange arrow ![]() . Then, click on the check button to validate.
. Then, click on the check button to validate.
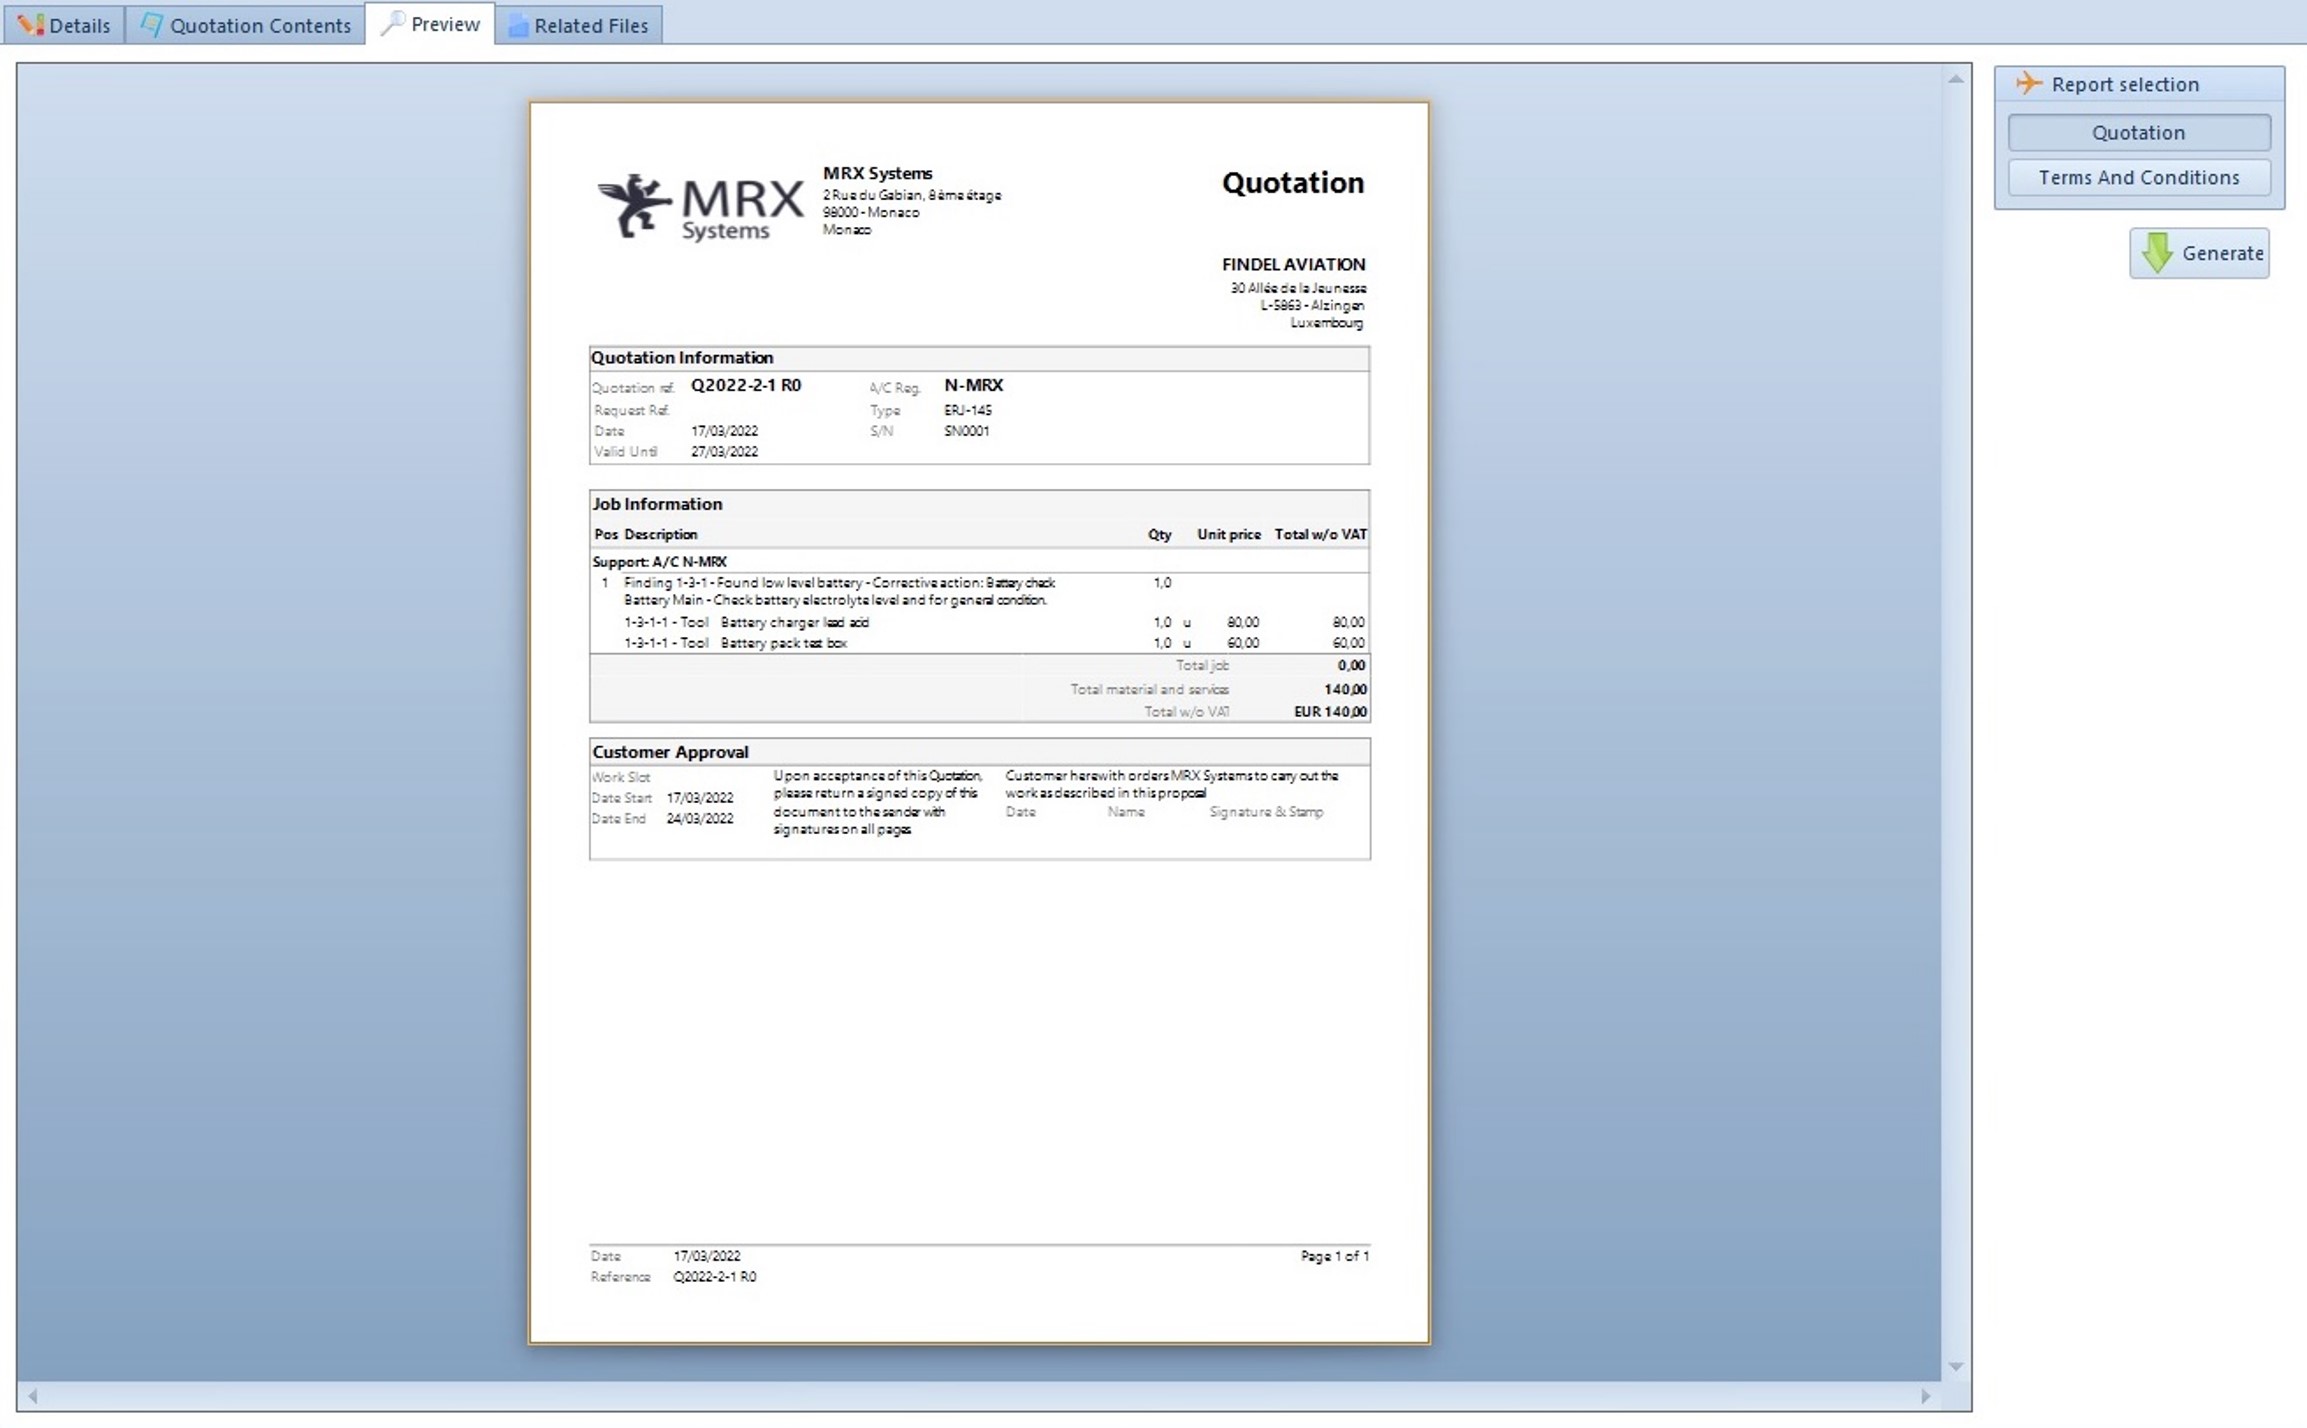
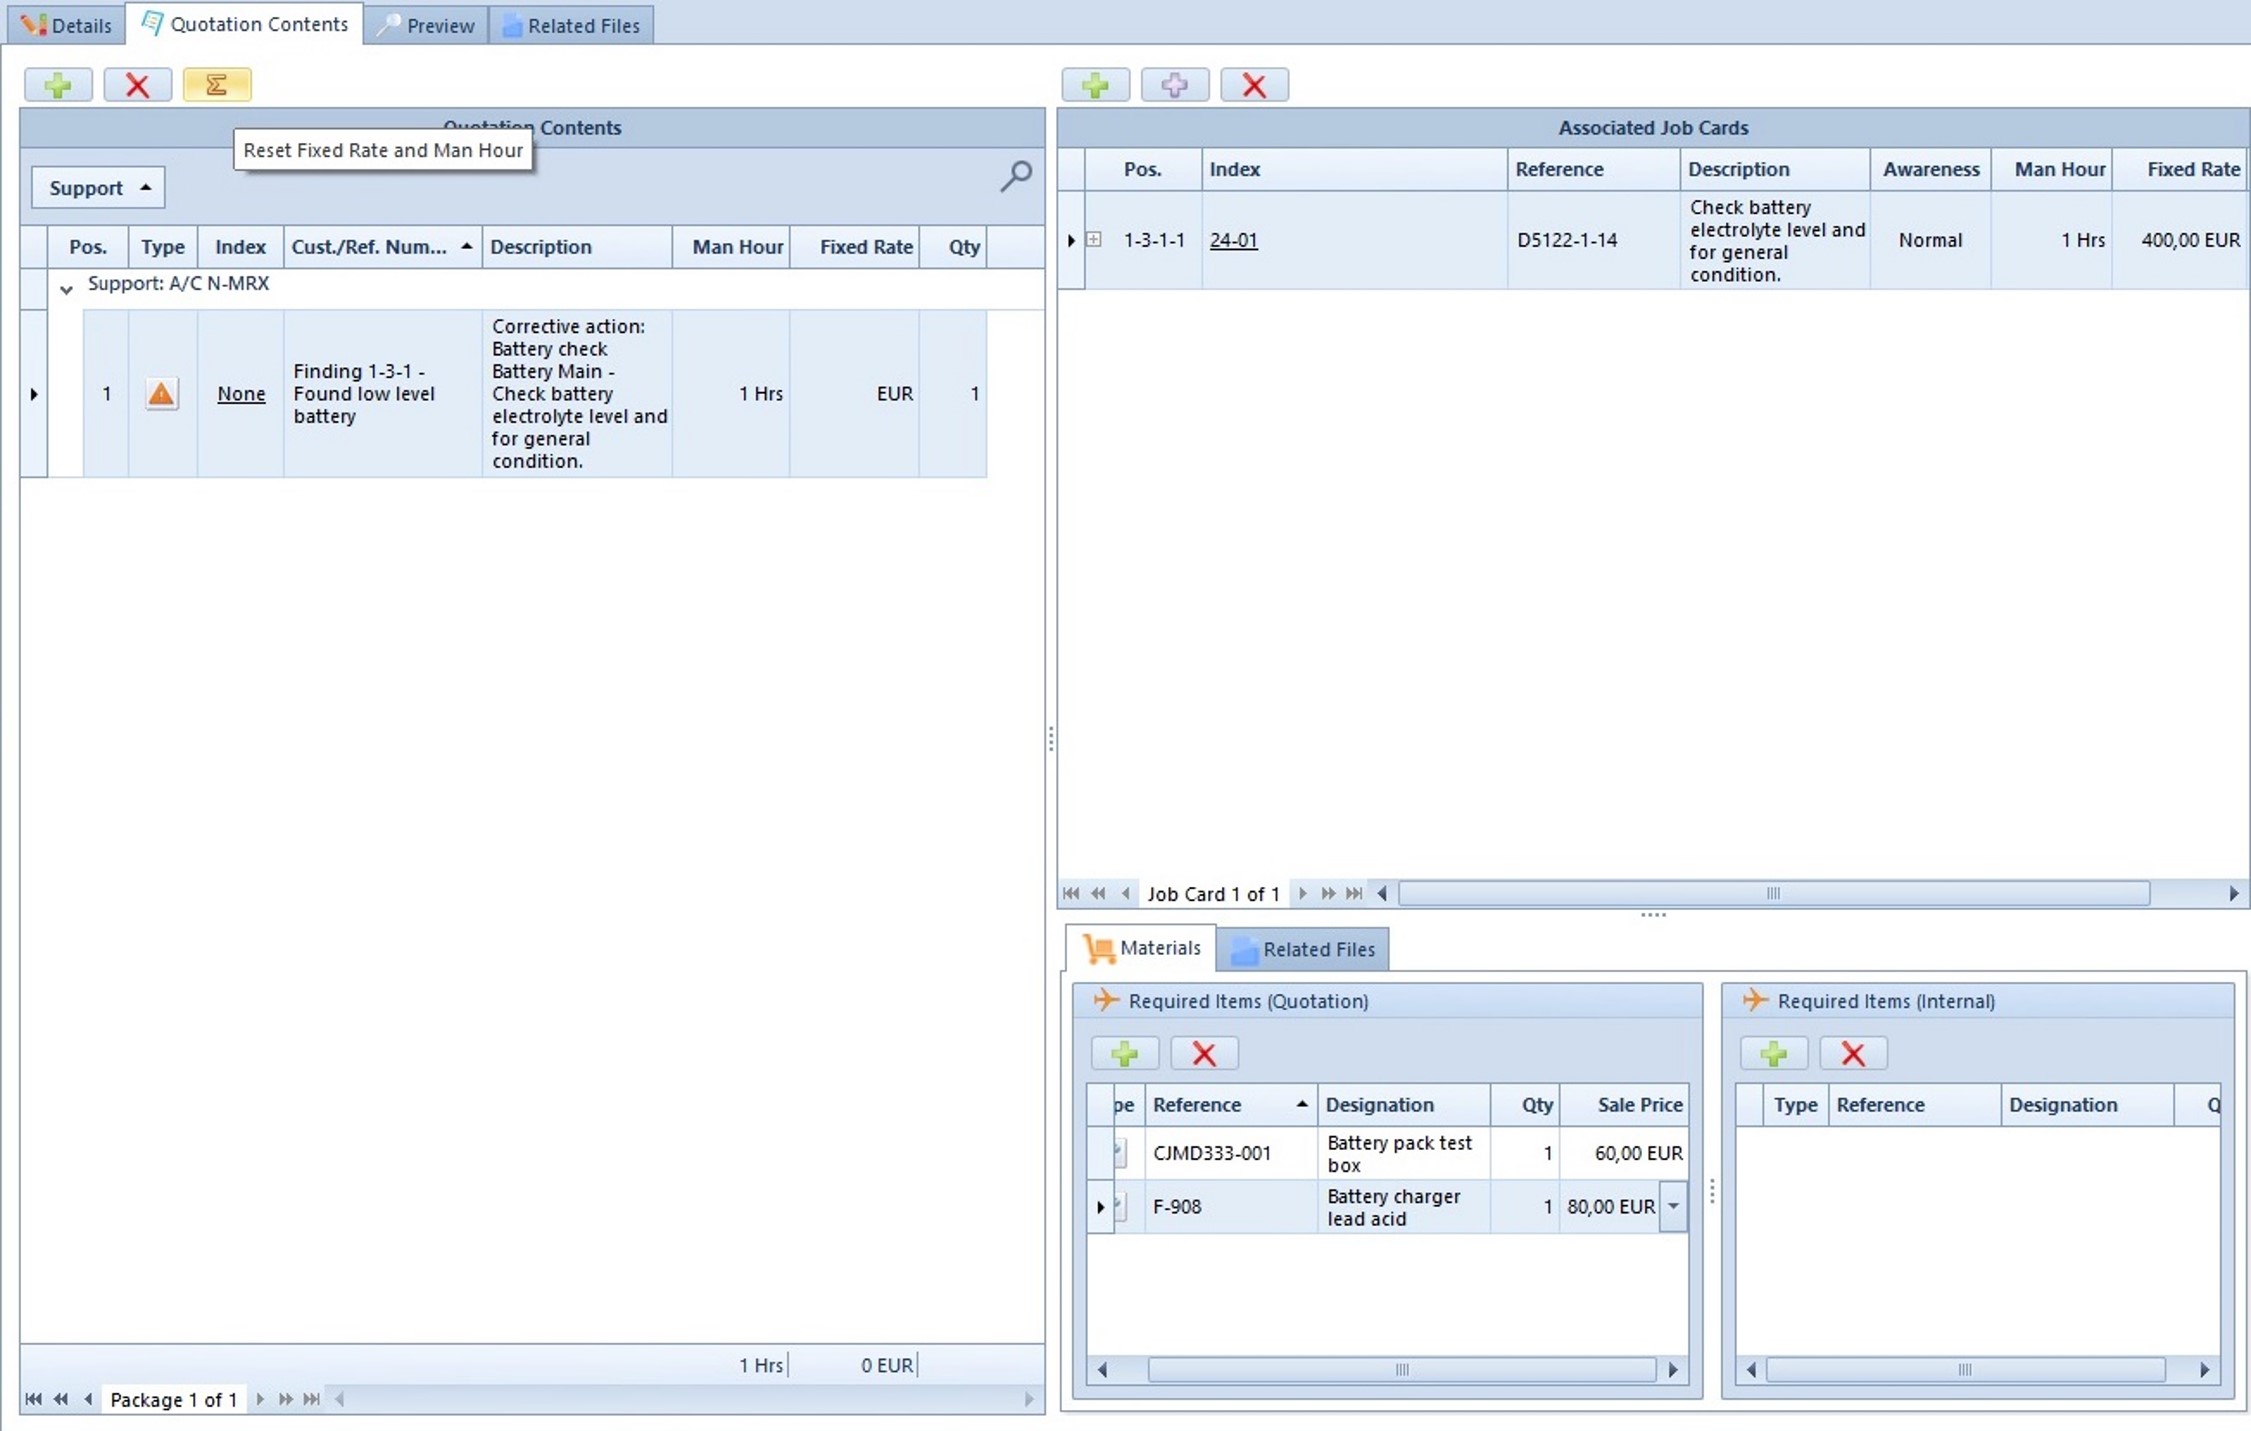
The quotation content appears. The fixed rate of the associated job card is displayed for your operational efficiency but you have to indicate the fixed rate of the quotation content to make it appear on the quotation.
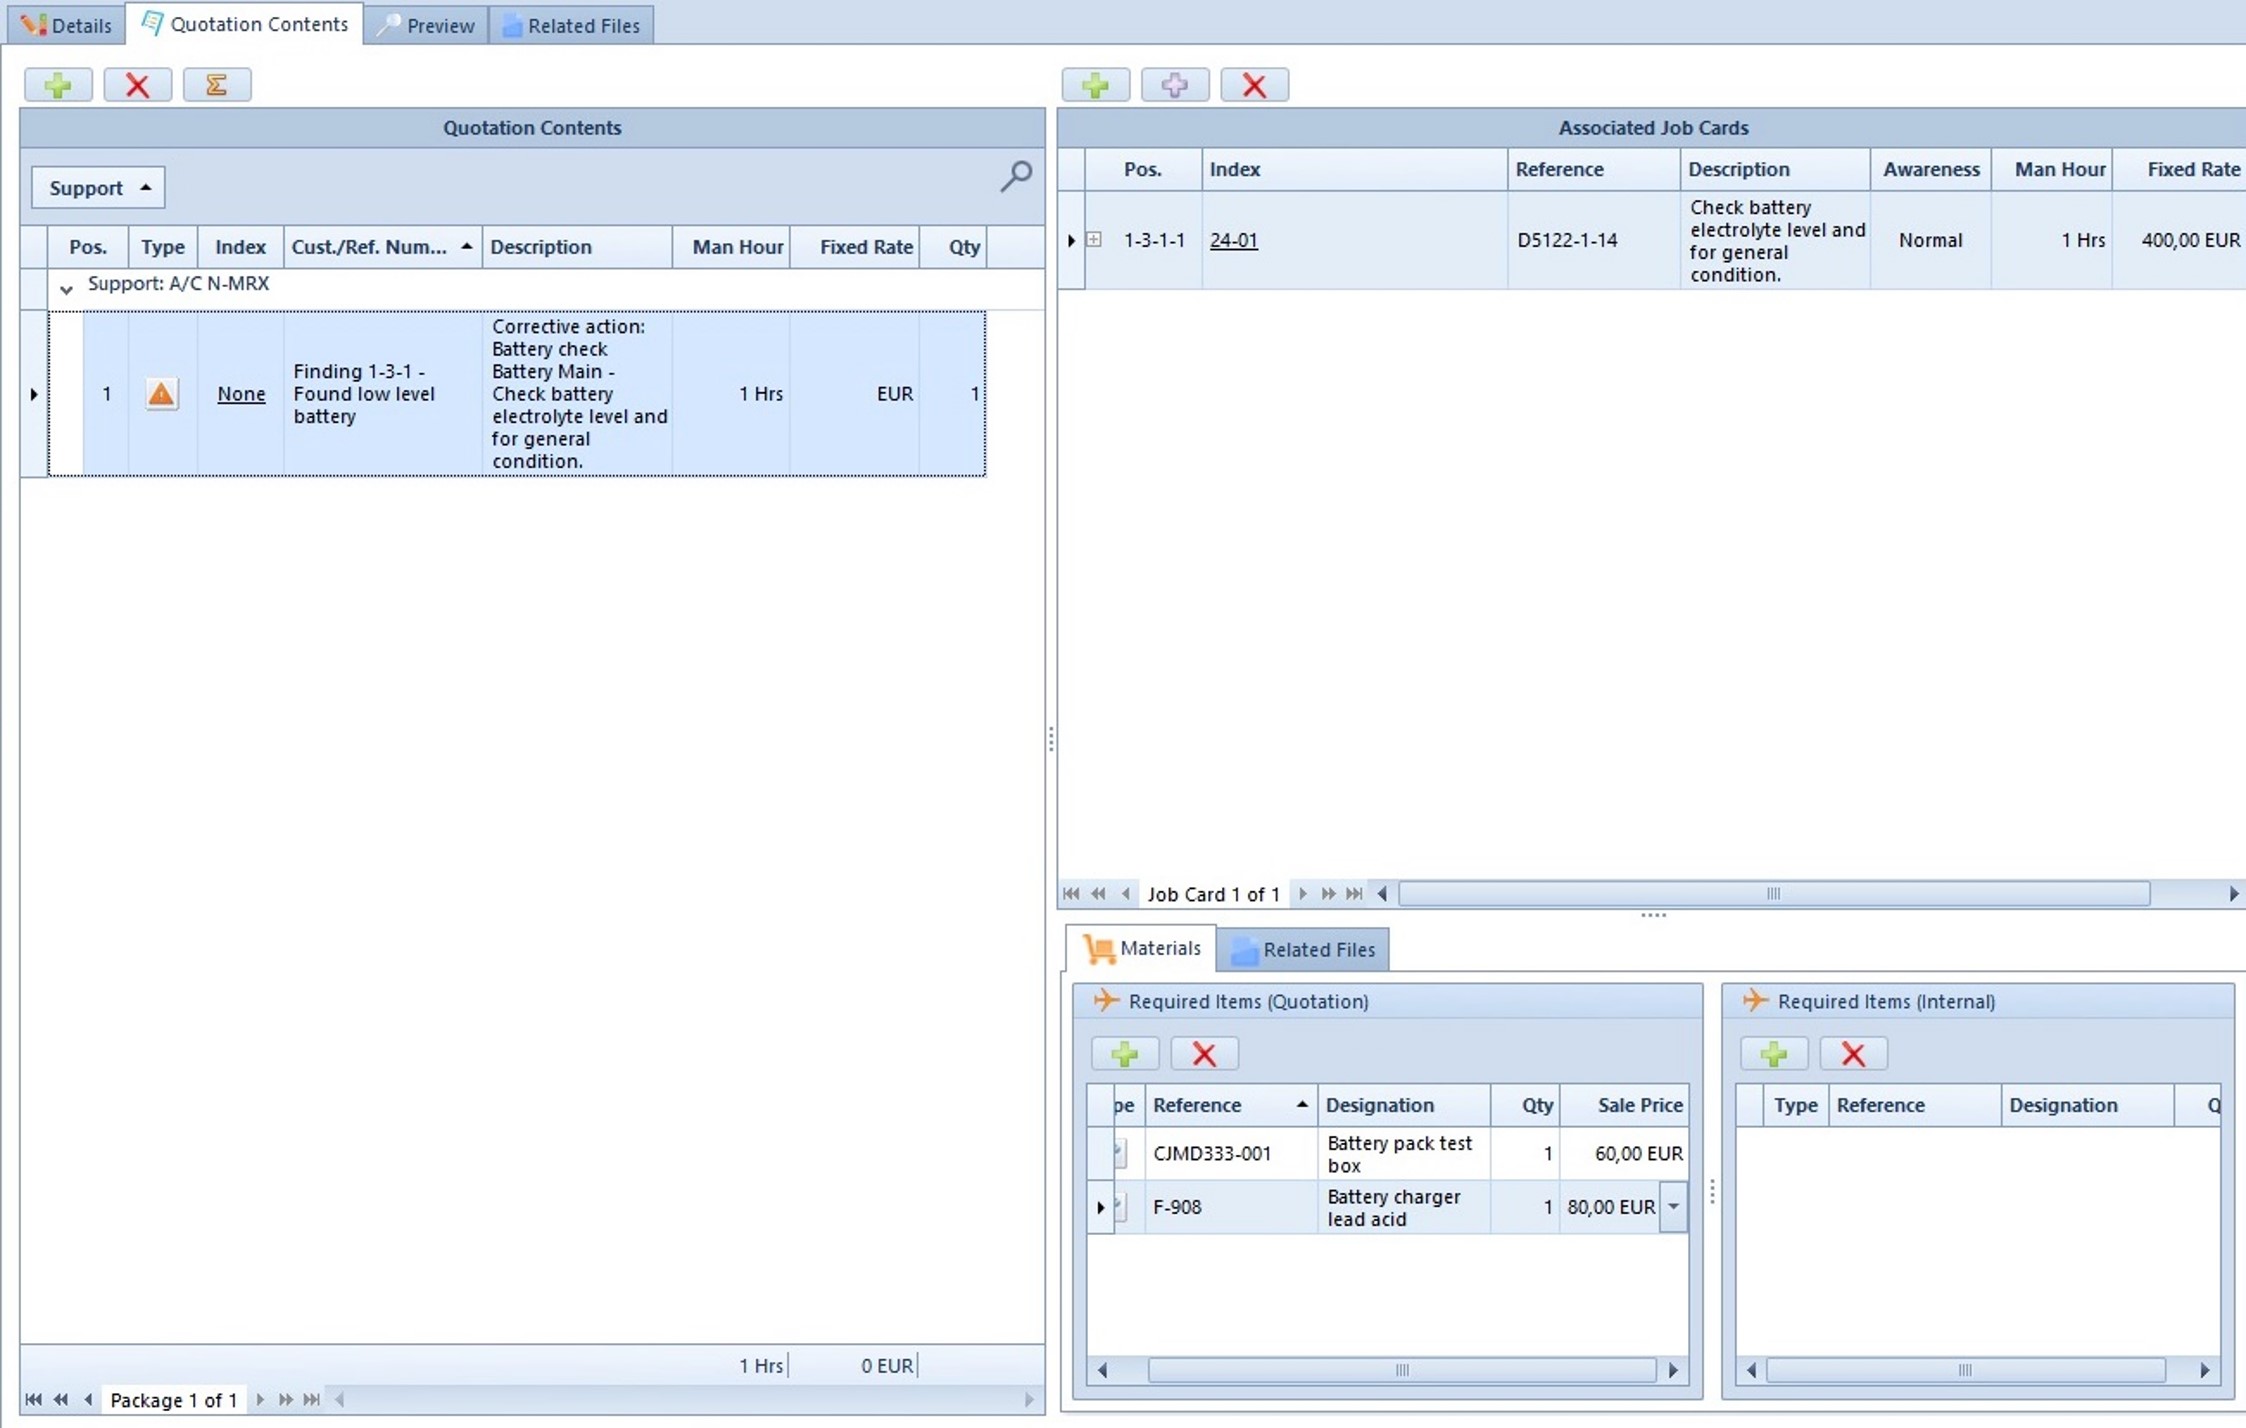
If you do not indicate the fixed rate in the ‘Quotation Contents’ panel, the price displayed on the quotation will be zero.
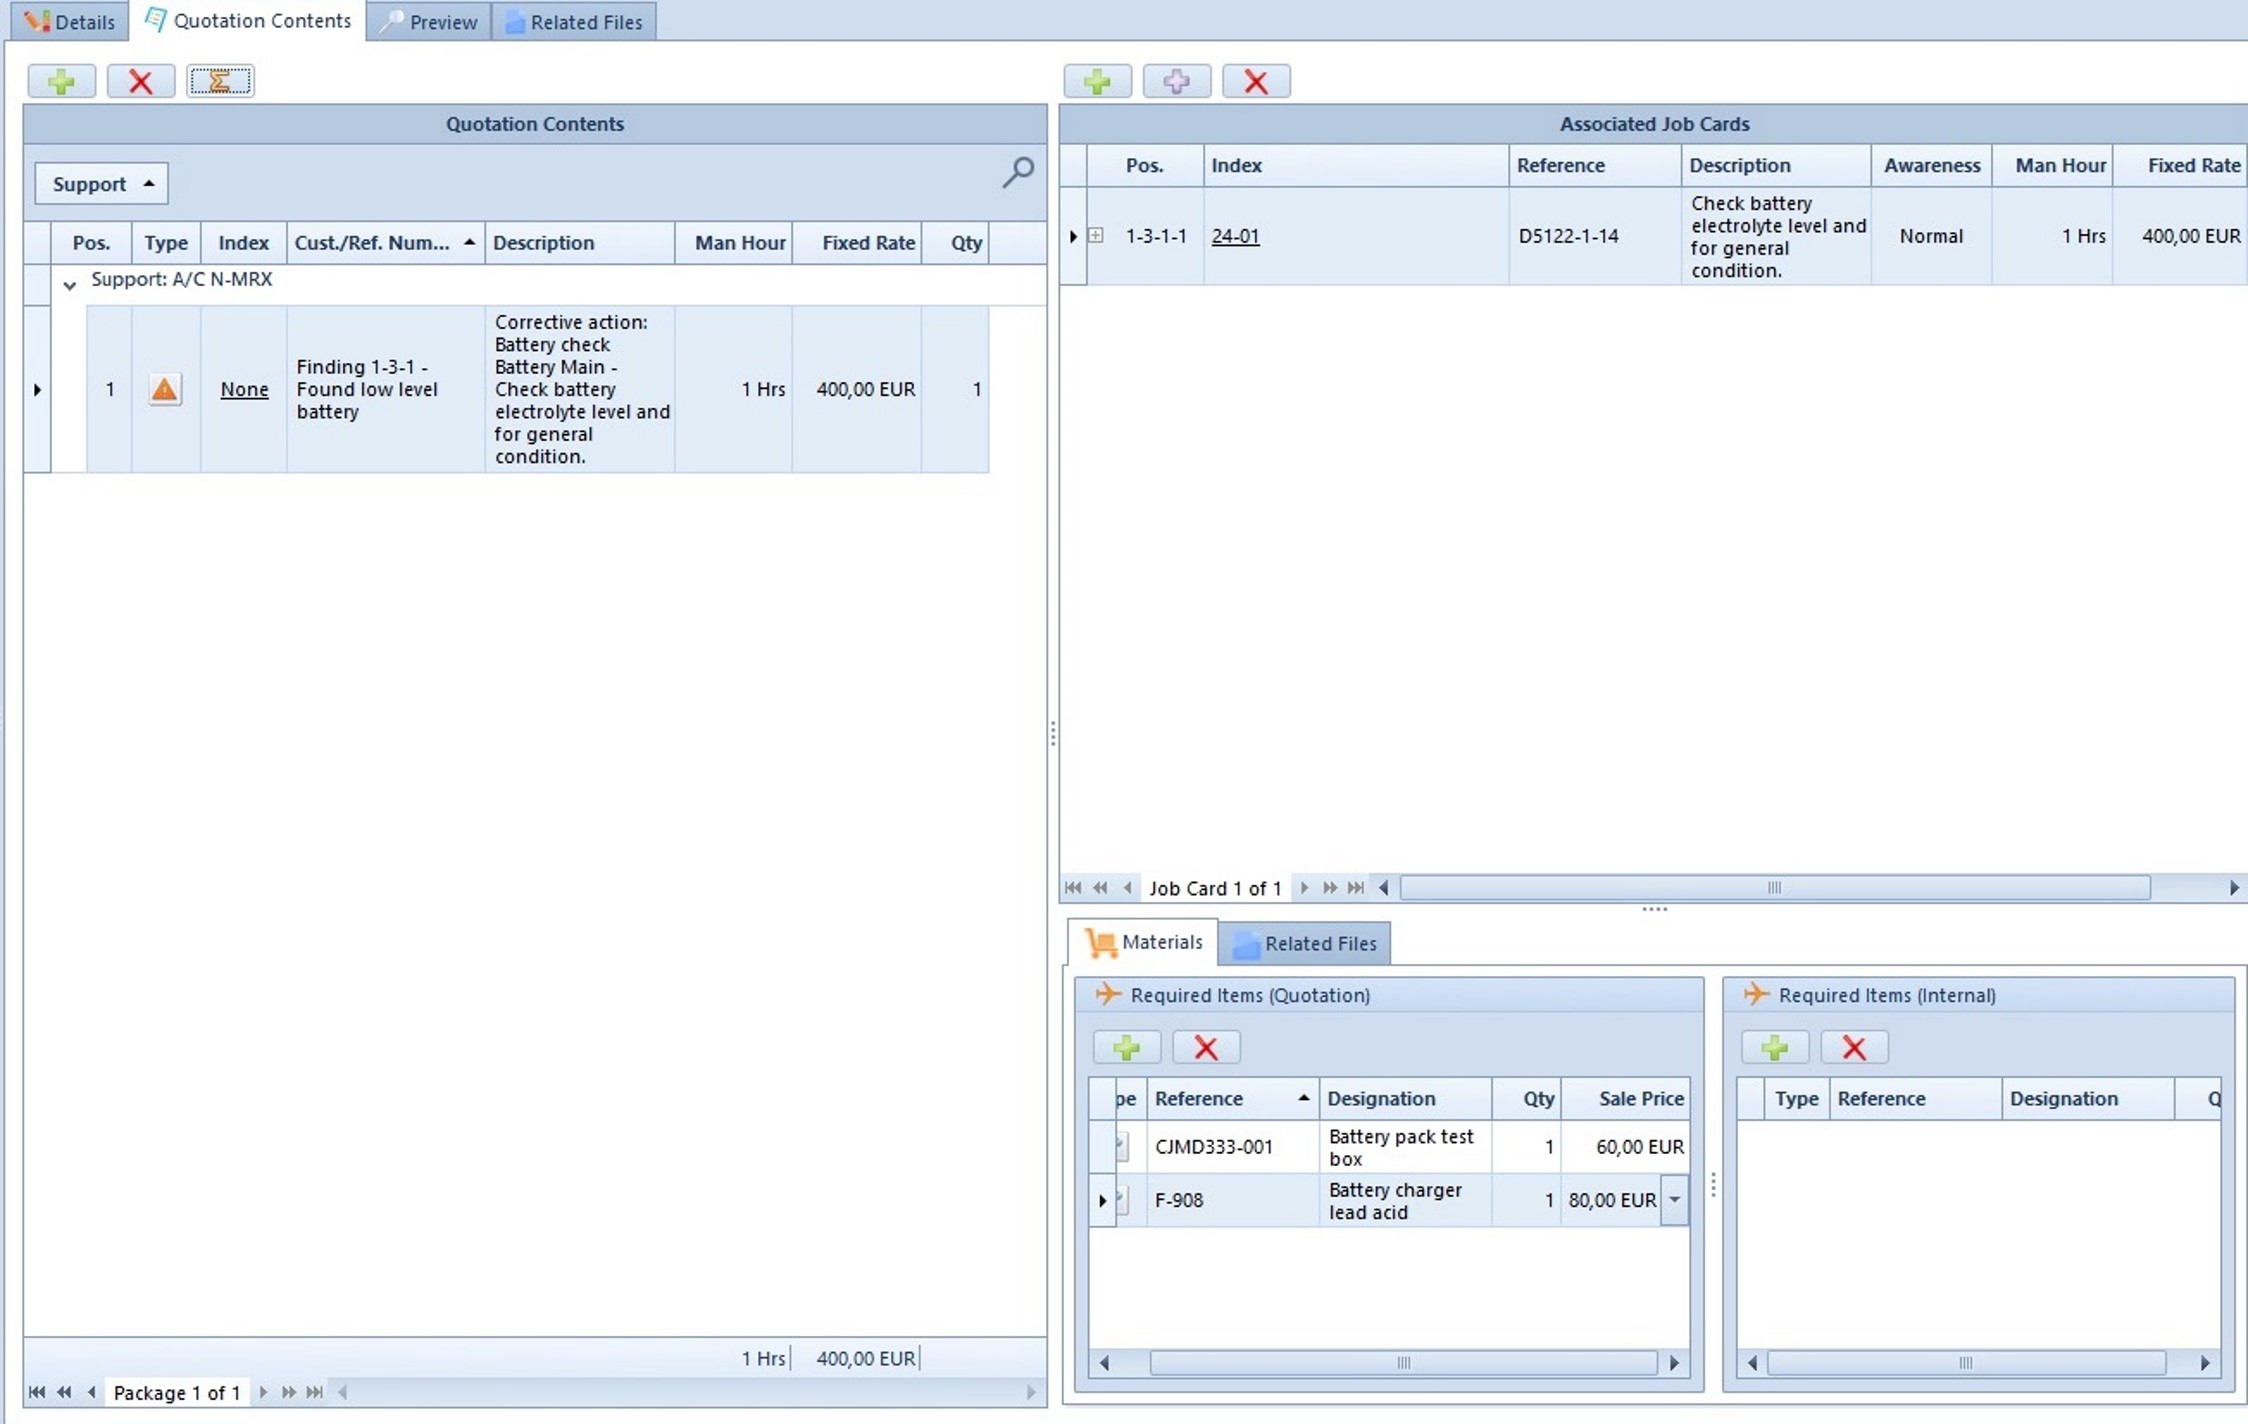
You can click on the ‘Reset Fixed Rate and Man Hour’ button in the ‘Quotation Contents’ panel to display the same fixed rate as the one indicated in the ‘Associated Job Cards’ panel. You can also type a new fixed rate.
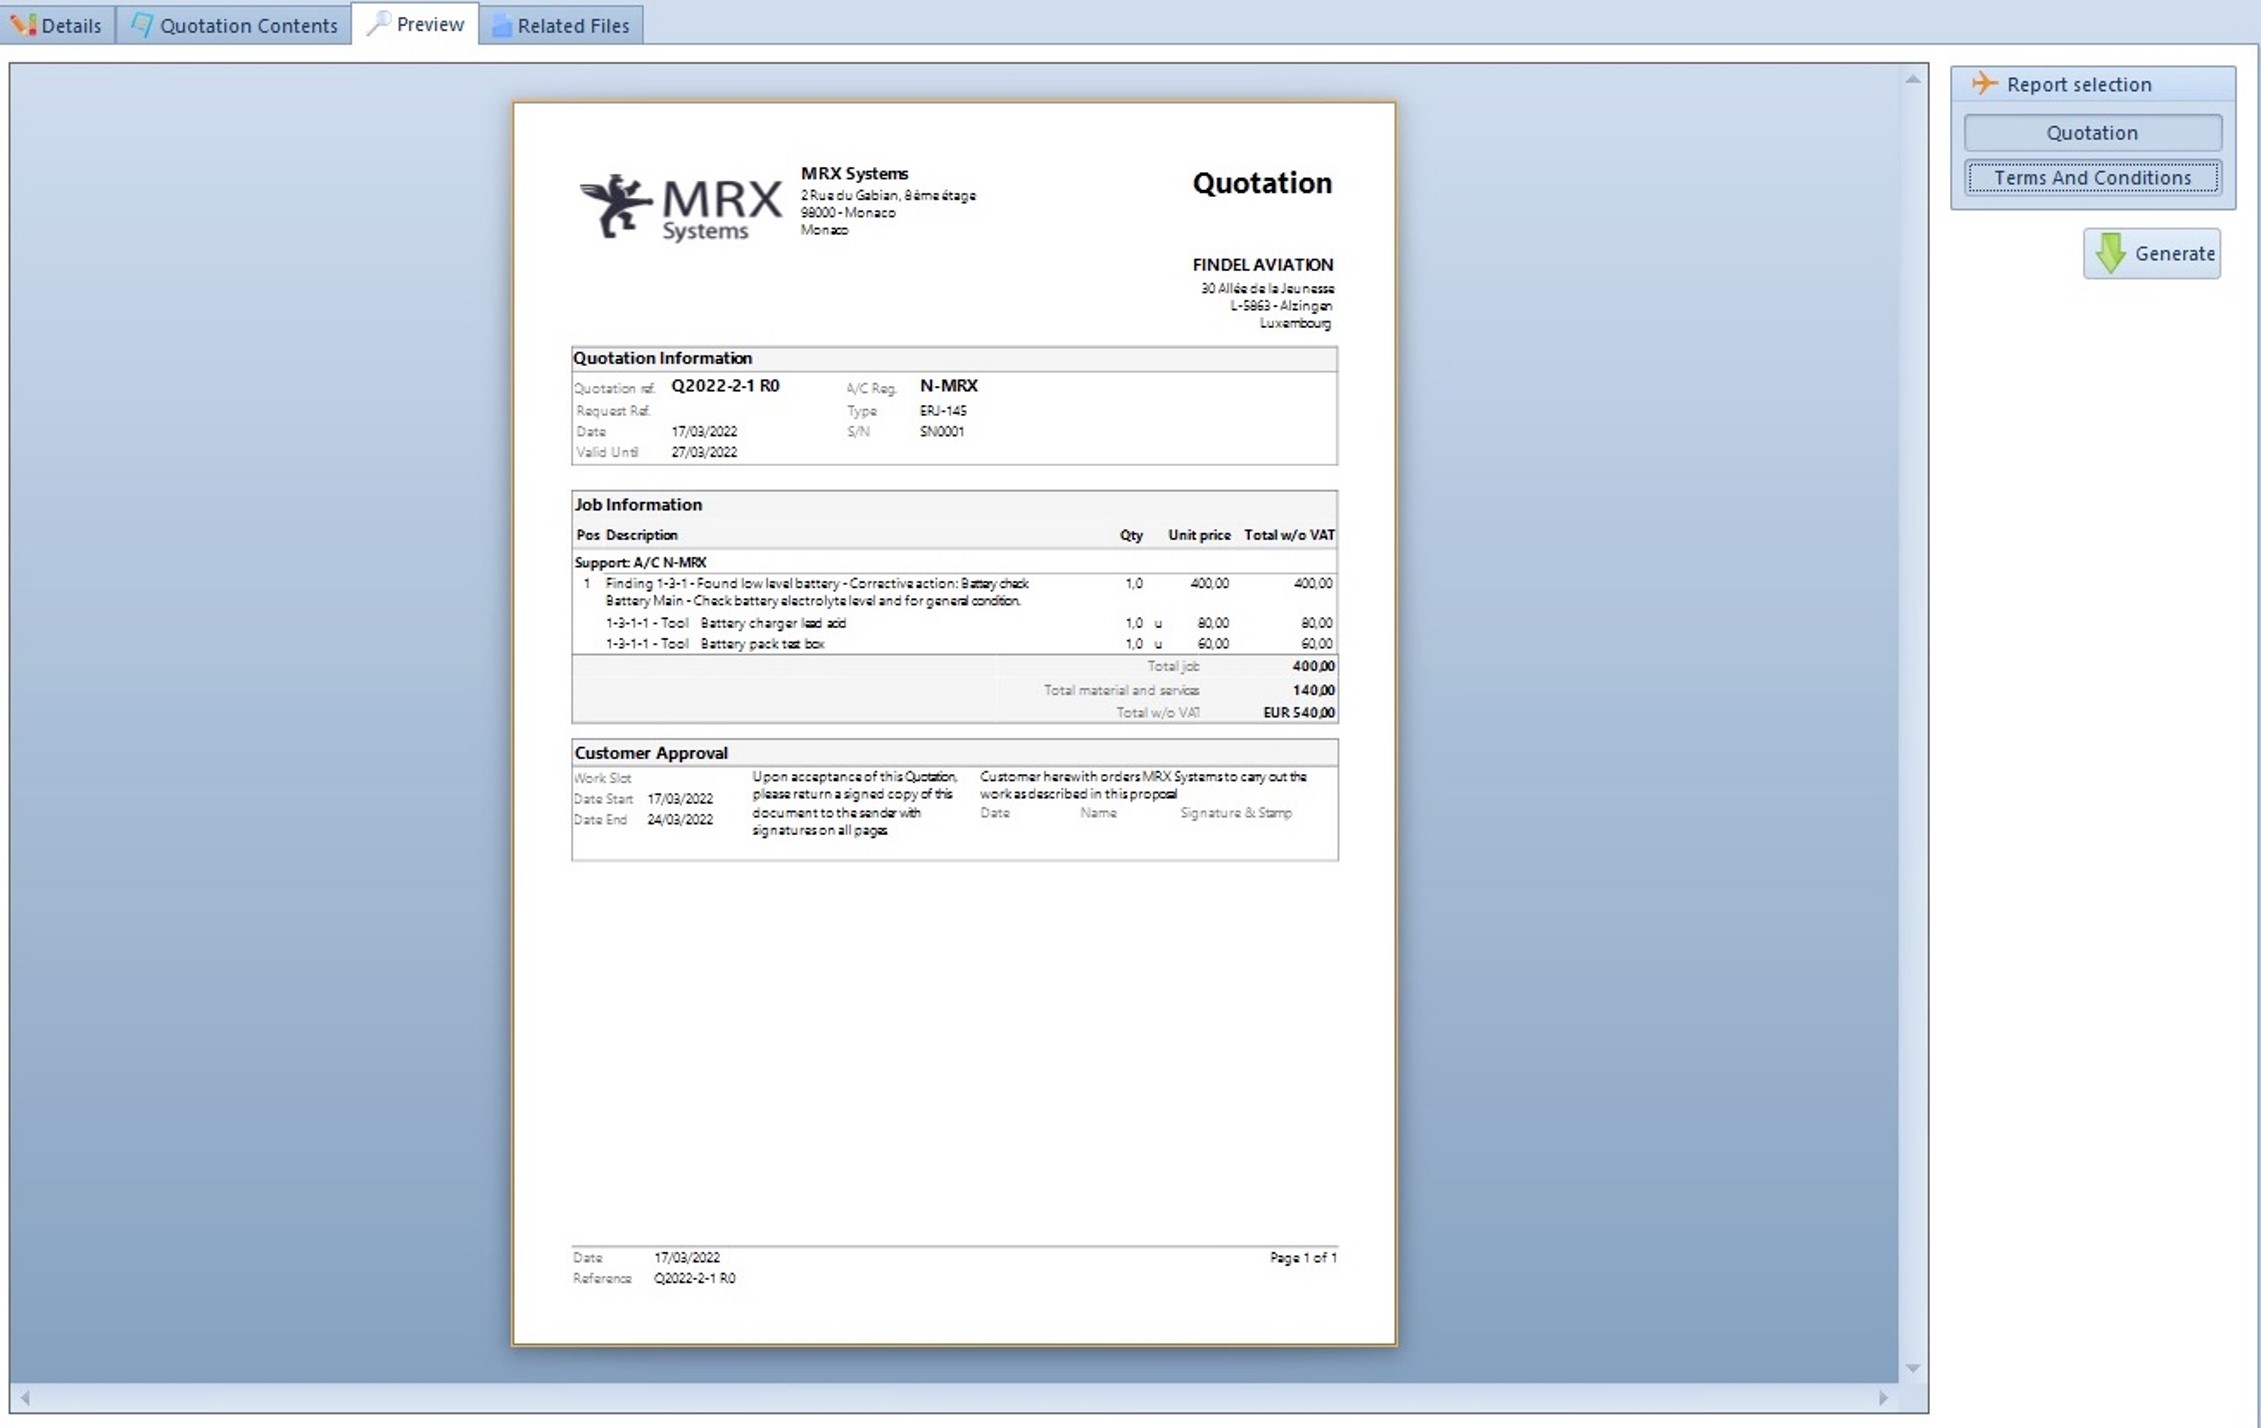
The fixed rate is now displayed in the ‘Quotation contents’ panel and in the ‘Associated Job Cards’ panel.
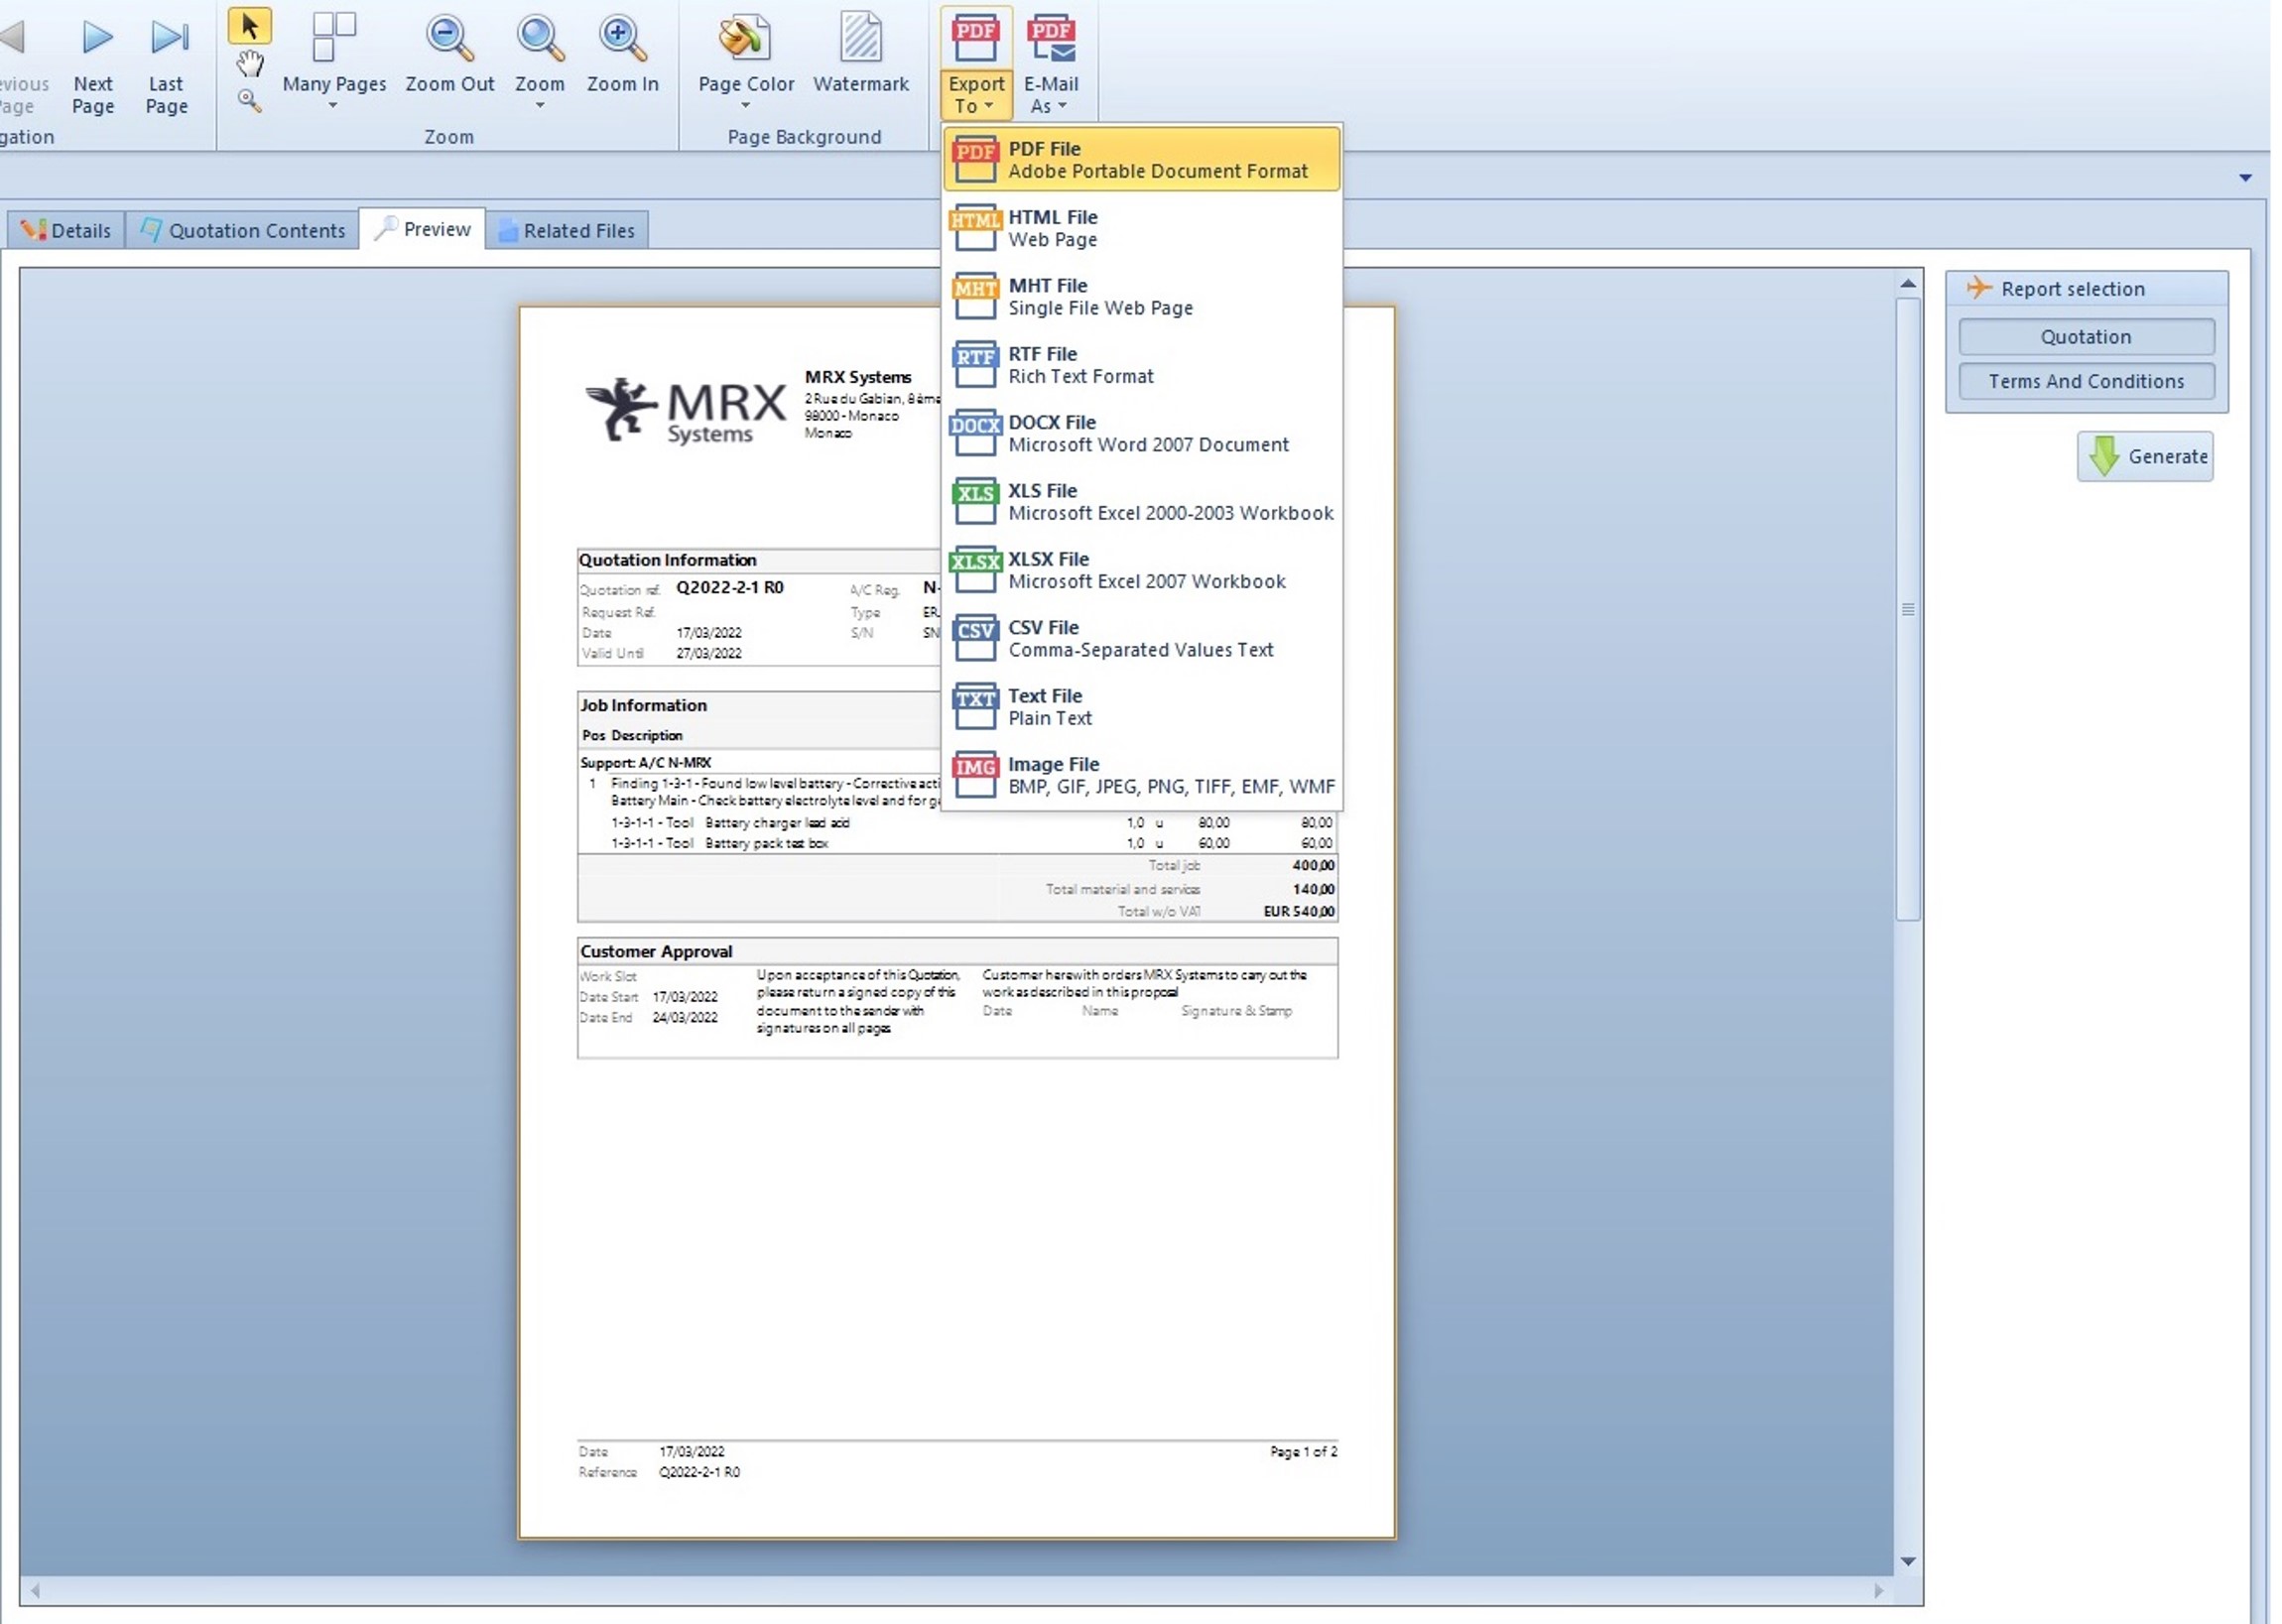
You can now select ‘Quotation’ and ‘Terms and Conditions’ in the report selection box and click on ‘Generate’ to display the report.
You can export the document as PDF file to send it for approval. Click on ‘Report’ in the main ribbon and then ‘Export To’.
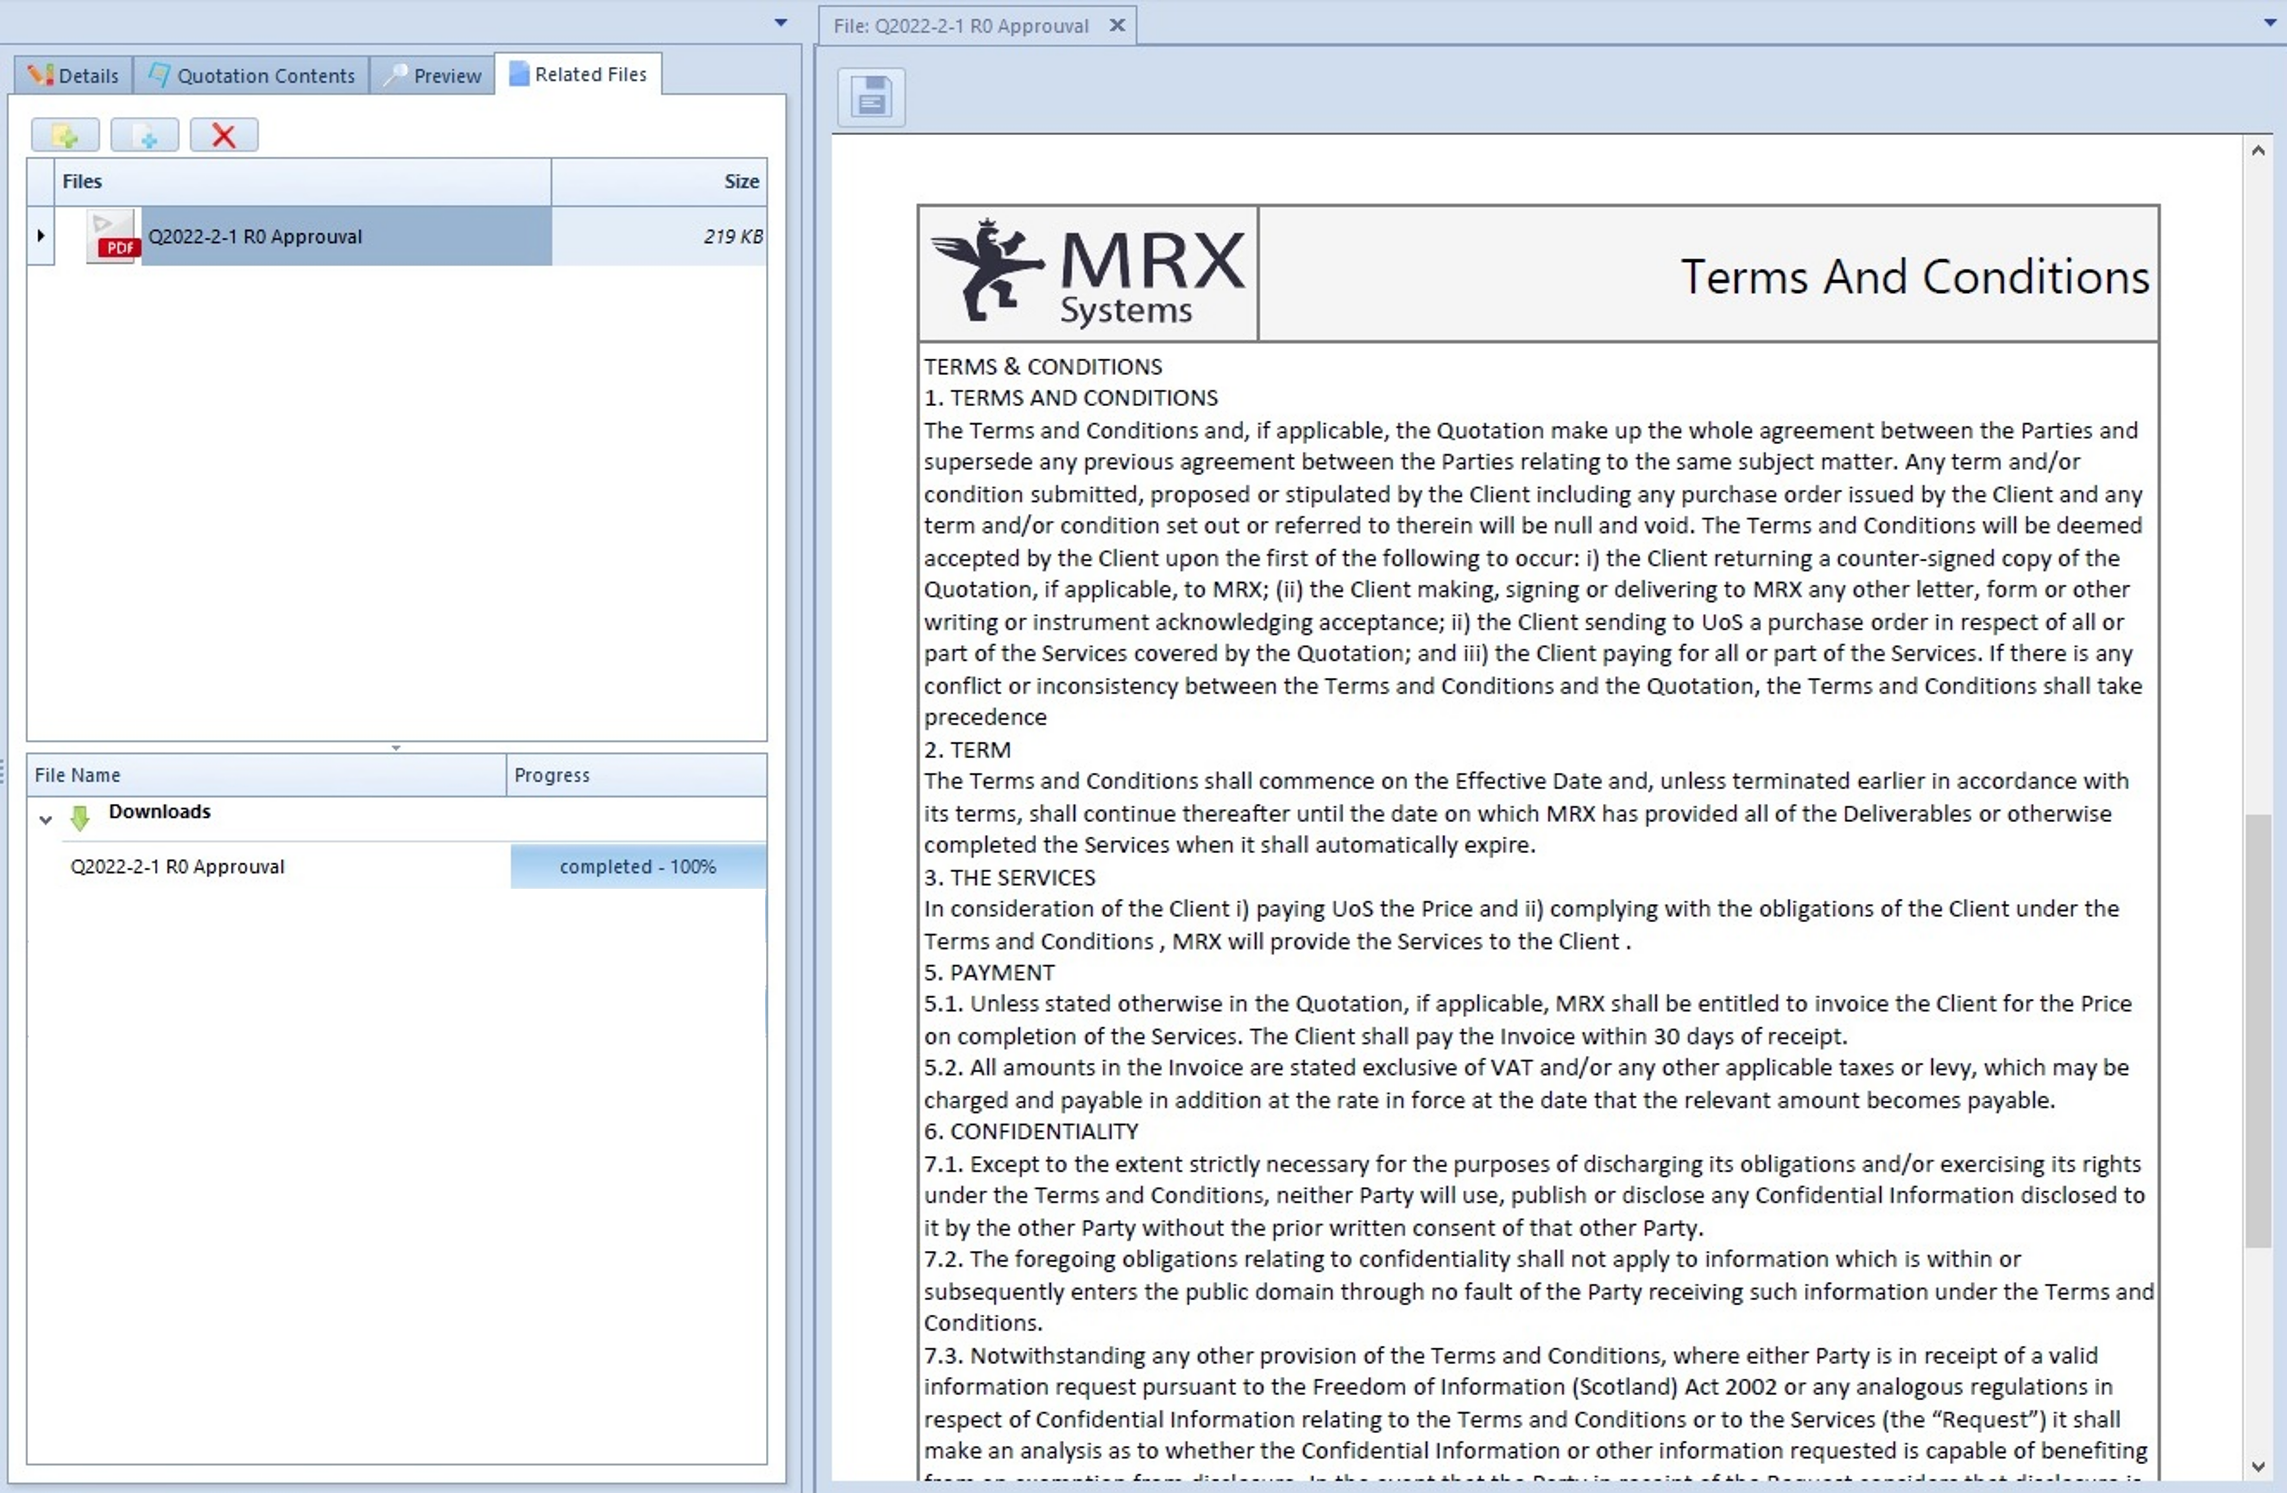
Once your client has signed and sent back the document, you can add it to the related file to keep proof of approval.
Drag and drop the document in the ‘Files’ panel or click on the plus button of the ‘Related Files’ tab and select your file.

On the second page of the document, you can see the terms and conditions that you set in the ‘General Terms’ tab of the address book entity of the client.
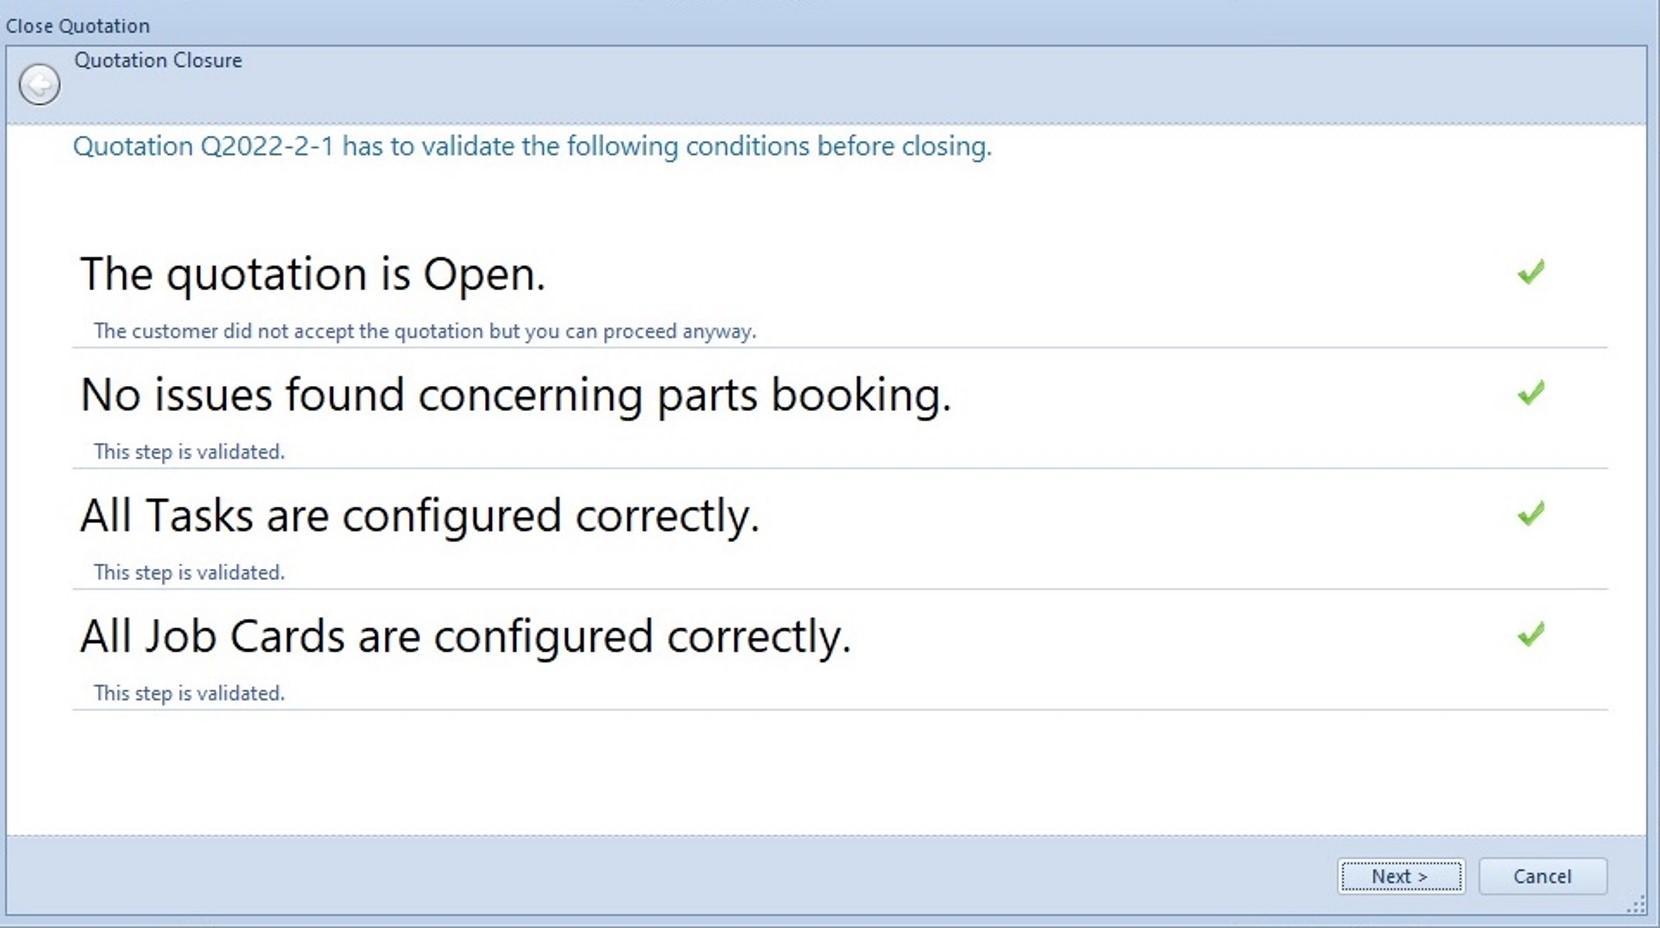
You can now validate your quotation by clicking on ‘Validate Quotation’.

An assistant appears to state that the quotation is currently open, no issues were found concerning parts booking, all tasks are configured correctly and all job cards are configured correctly. You can click on ‘Next’.
Click
here  to save
the changes.
to save
the changes.
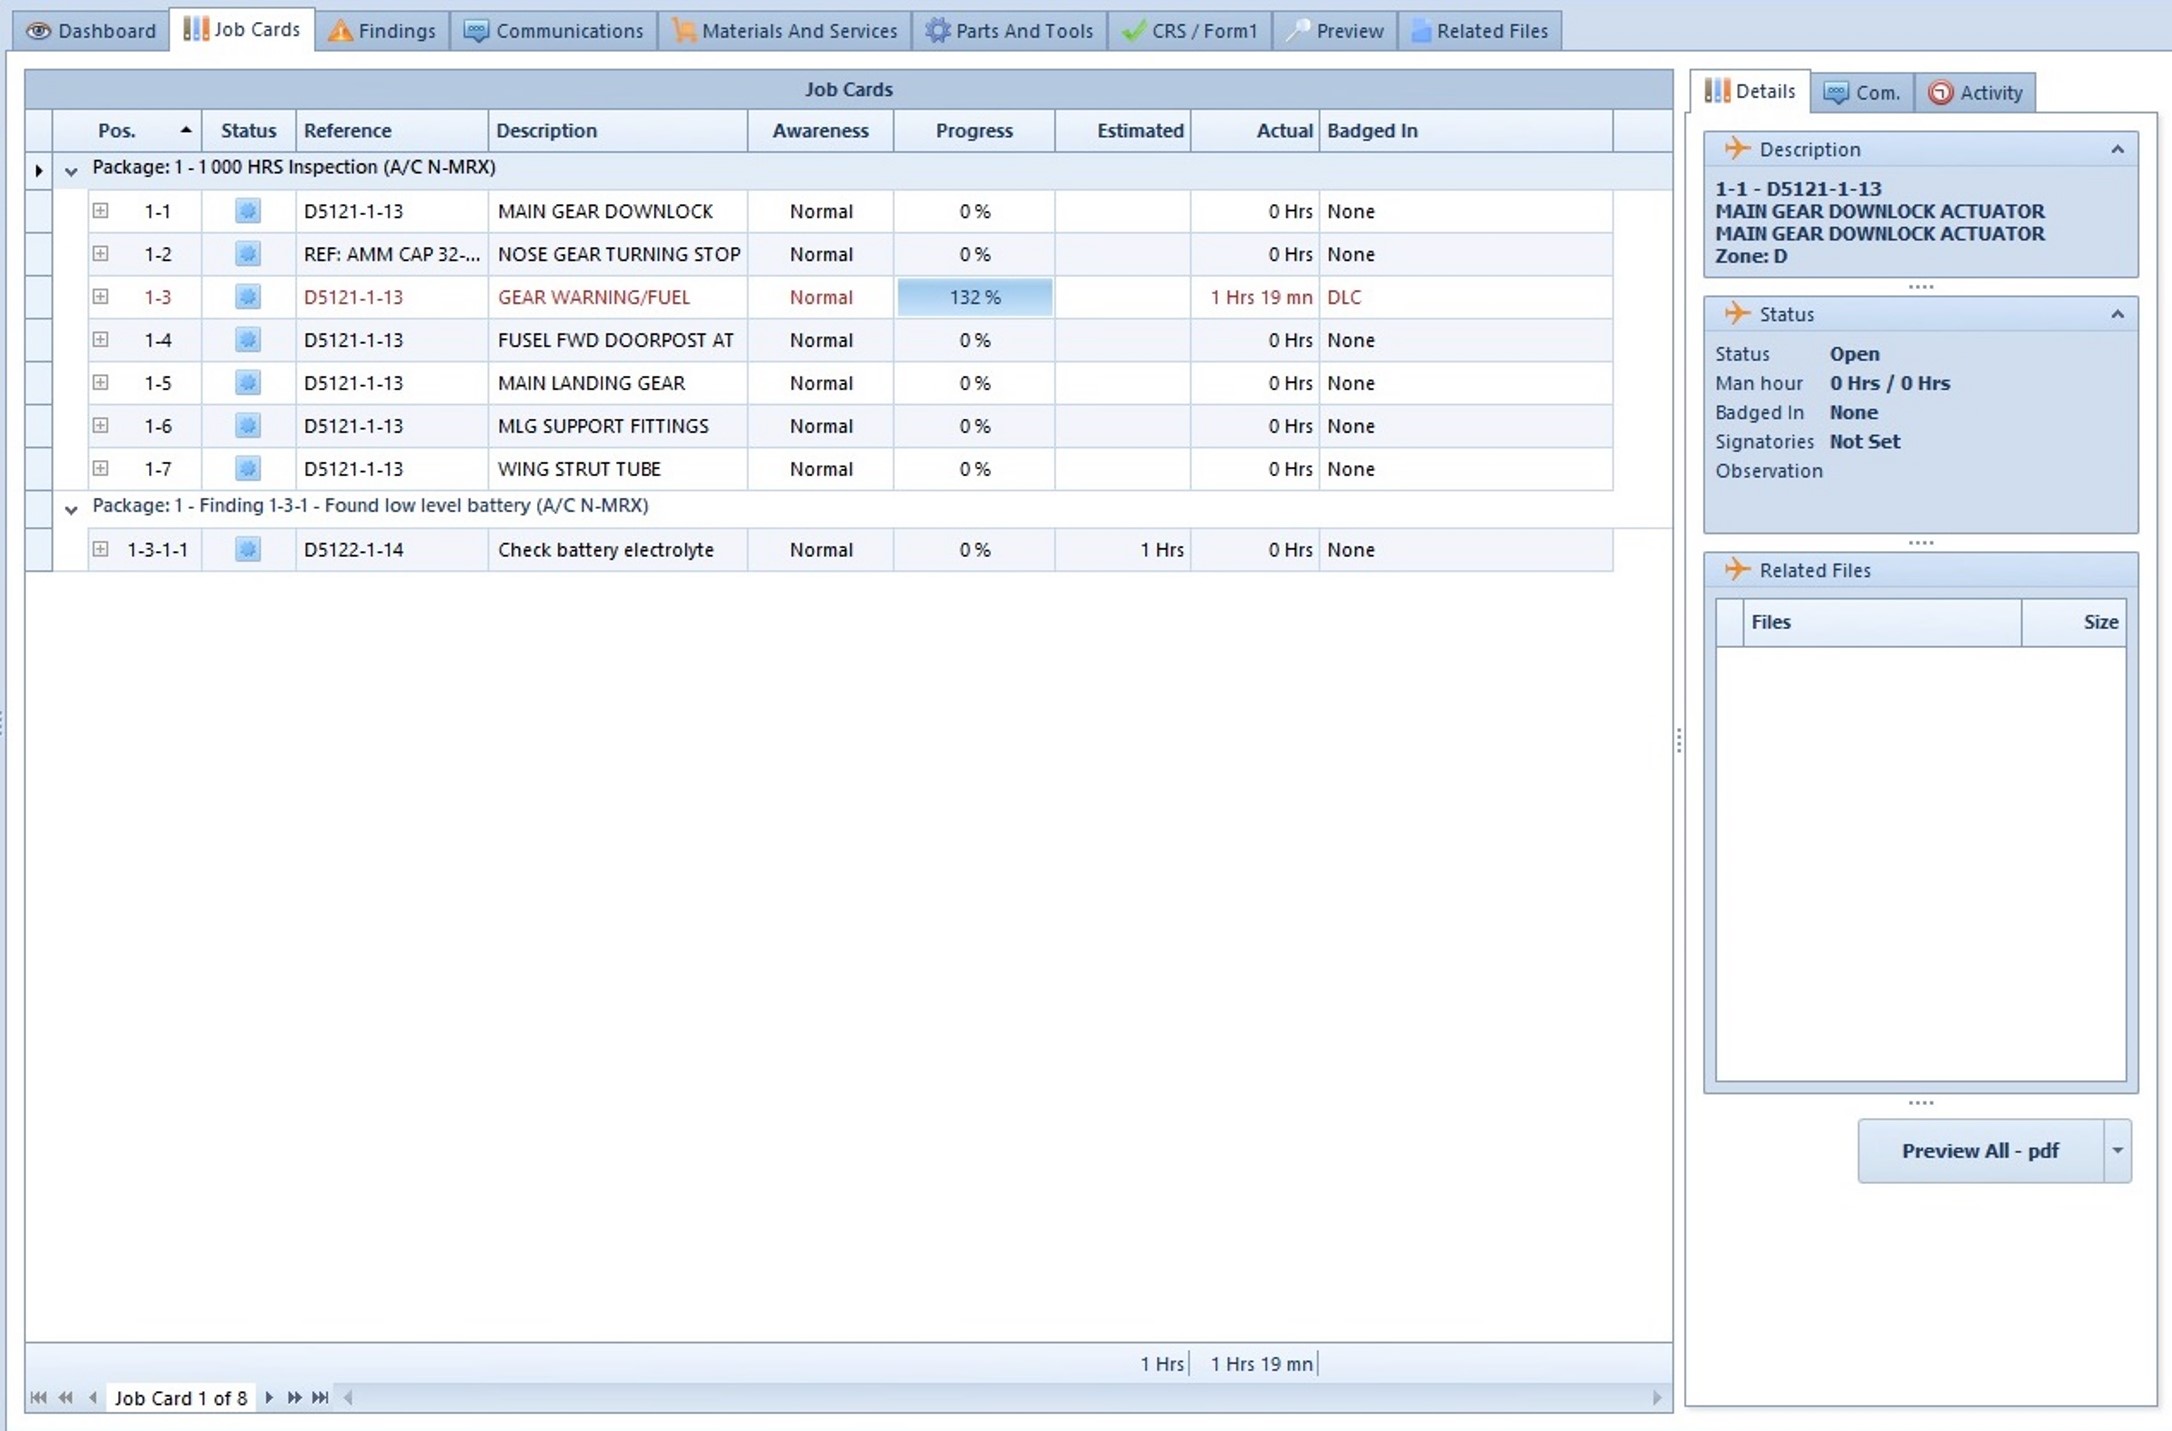
You can go to the ’Work Orders’ module and refresh the data. The finding has been managed.

If you open the ‘Job Cards’ tab you will see the job card of the corrective action related to the finding.
If you refresh the data on the iPad app, you will also see the corrective action in the job cards’ list.